Moss Covered Bunny DIY for Your Spring Decor
I had so much fun with this spring craft, so I want to share this moss covered bunny DIY for your spring decor.
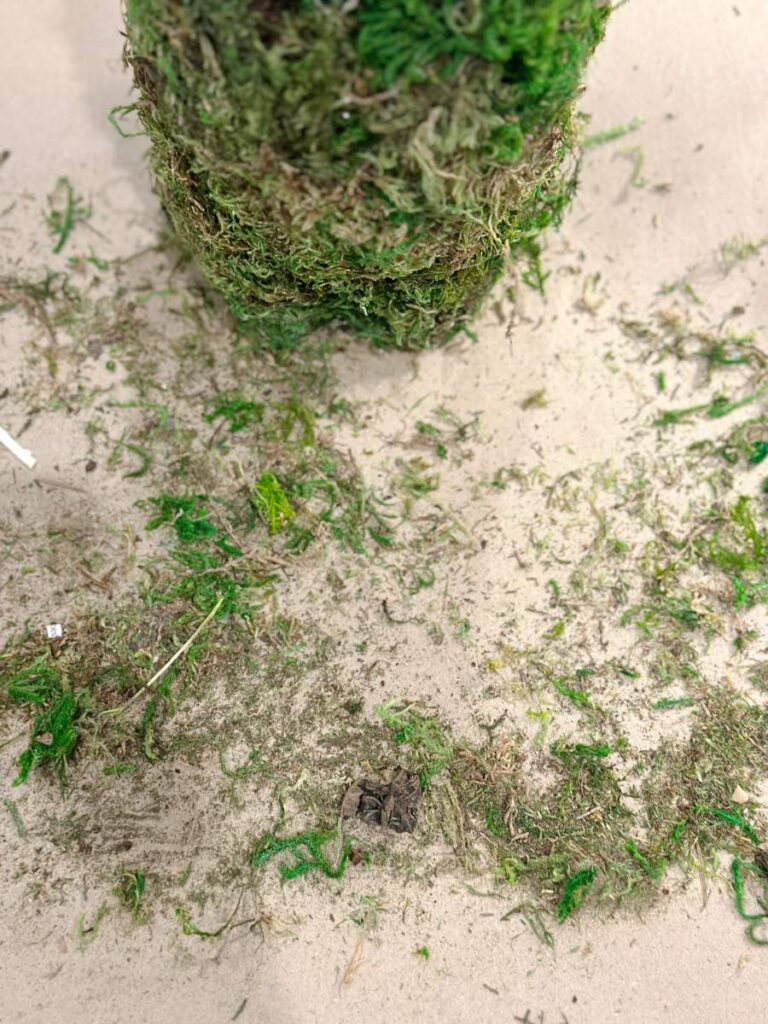
This project was a bit messy, but so worth it!
It’s super easy and very affordable and can be used in so many ways in your home during the spring season.
This post contains affiliate links which means if you purchase something, I make a small commission at no additional cost to you. Thank you for supporting my blog. You can read my full disclosure policy here.
First of all, lets talk about what you will need for this project.
have you seen these flocked bunnies?

Although I like the bunnies, the colors don’t really work with my neutral home decor.
And yes, I even use mostly neutral colors for seasonal decor.
The simplicity of the subtle colors are soothing to me, so I just go with it even during seasons that are typically bright color decor.
supplies for a moss covered bunny
To make a moss covered bunny, you will need just a few craft supplies.

a plastic, wood or resin bunny shape – basically any bunny shape you like, that doesn’t have a lot of detail, because the detail will be covered by the moss.
The flocked bunny like I showed above was perfect for this project, so I grabbed one of the green ones.
I linked some of these bunnies at the bottom of this post.
Or, you should be able to find a bunny shape that will work at the dollar store or a craft store like Hobby Lobby.

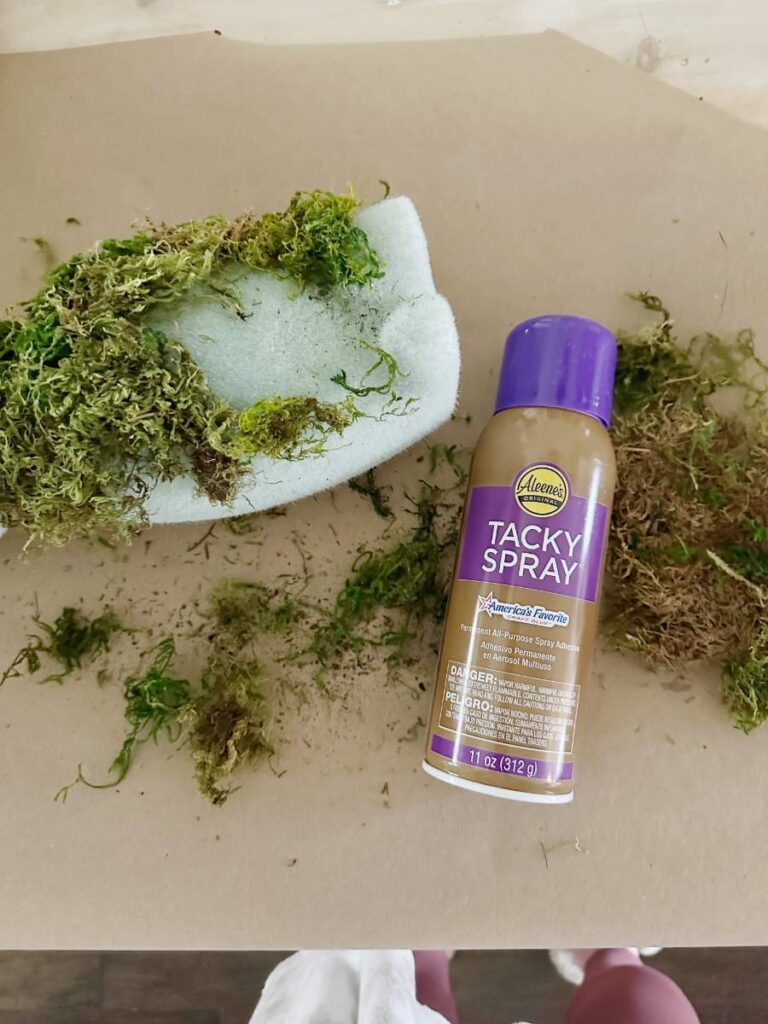
spray adhesive
hot glue gun and glue sticks
preserved or artificial moss for crafting – you can also use reindeer moss if you prefer the look
ribbon for bunny’s neck (optional)
prepping your work space

You will want to cover the surface you are working on or work on an table outside.
As I mentioned, this project is a bit messy.
I used brown kraft paper and rolled out on my kitchen island.
This protected my island top from any of the spray adhesive, or hot glue from getting on it.
It also made clean up so easy, because I just folded up the paper with all of the excess moss pieces and threw it away.
creating a moss bunny

Working in small sections, spray your adhesive and begin pressing the green moss onto the bunny shape.
Work all the way around the bunny shape, spraying the glue and covering with moss.
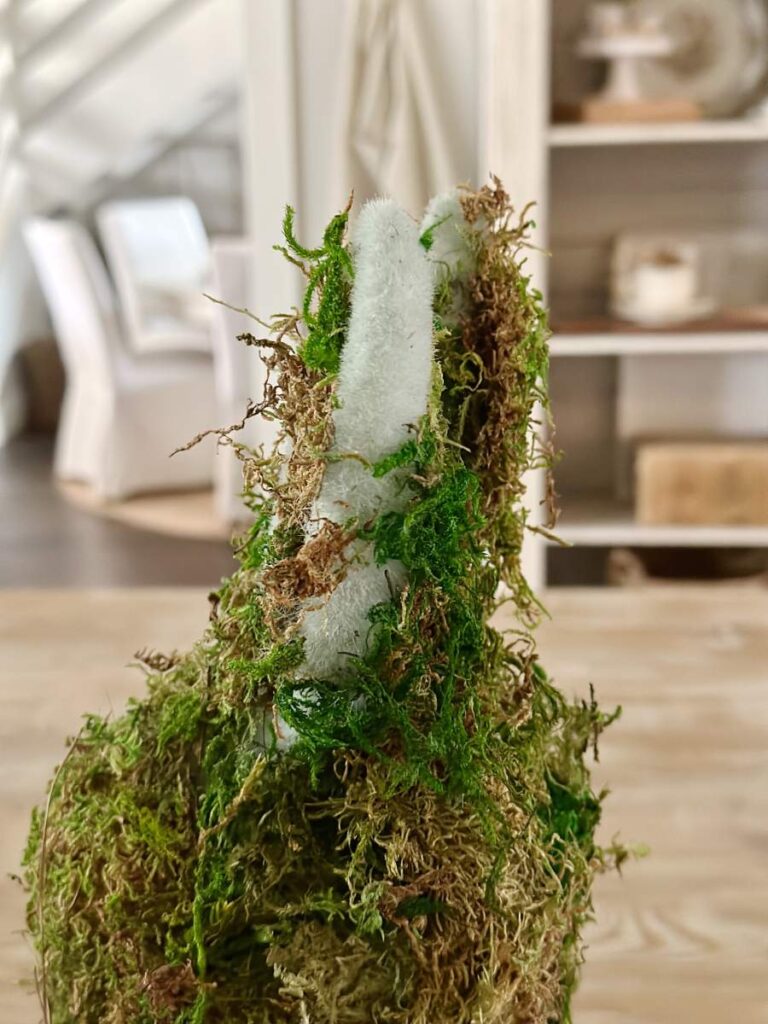


When you get to the bunny ears, you will need to press the moss into the ear indentions, if your bunny form has them.
When you have finished covering your bunny with the sheet moss, you might want to trim off any long or stray pieces.
You also may need to add a touch of hot glue to places that didn’t stick well.
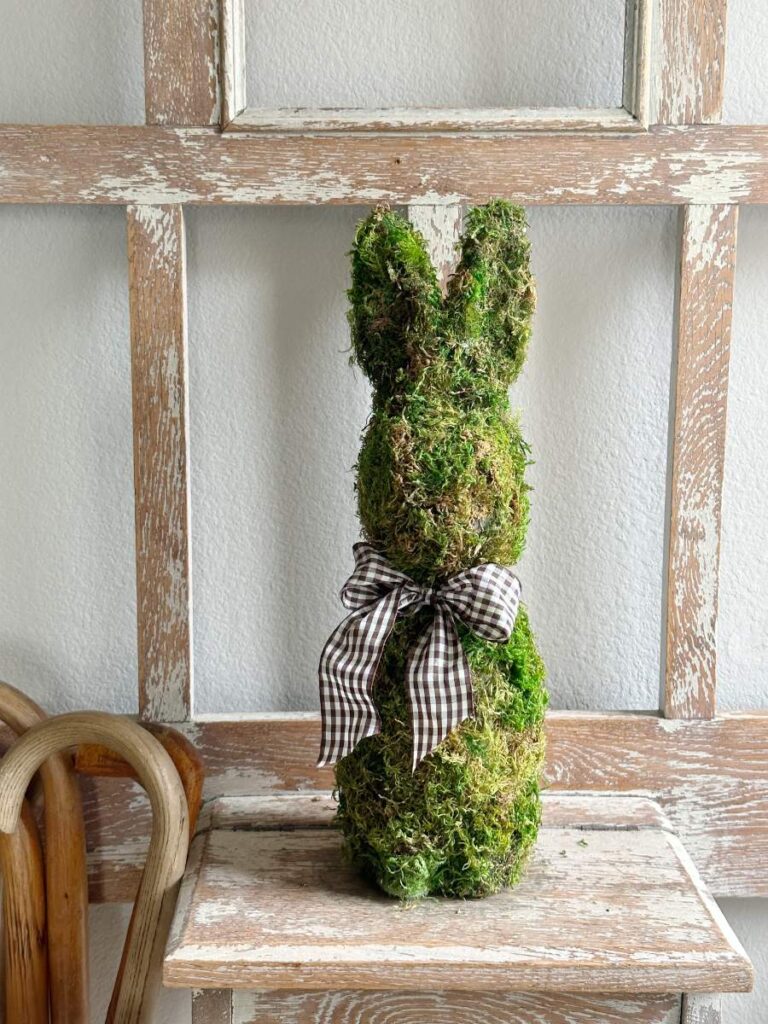
I added a brown and white check ribbon around his neck to finish it off.
You could even attach small faux flowers around his neck instead of ribbon.
finished moss covered easter bunny

I love how this little guy turned out!
The best part is it was super easy to make and is so cute with my other spring decorations.
I can move it around from year to year in different places in my home.
Wouldn’t he be cute on a spring mantel or in a large basket with Easter eggs or plants around it?
ways to display your moss bunny
I used the moss bunny on my entryway table for now.
However, I’m thinking it would be so cute on a wreath or in a basket on my front door.
If your bunny is a foam shape, you could even make a cute bunny topiary.
Just add some floral foam to the bottom of a flower pot or clay pot and insert a stick or dowel.
Then run the dowel stick up through the bottom of your bunny.
I hope you enjoyed this moss covered bunny DIY for your spring decor.
Let me know if you try it, I would love to hear!
Be sure and subscribe, so you don’t miss future projects and decor ideas.
blessings and happy Spring,
Pin It to remember it….

shop the post

If you liked this Spring DIY project, you might also like this…
Easy Decoupaged DIY Floral Bunny For Your Spring Decor

and this…
How To Make a Faux Topiary That Look Real

I love this idea. Super
Cute! I would love to share this on my newsletter. Hugs to you.
Oh, thanks so much Renae! I really appreciate that, and I’m so glad you liked it.
Oh my gosh Michelle…what an adorable bunny!!! you did such an amazing job making it. Pinned!
Thanks so much Rachel! I had fun transforming him to fit my style a little better. So glad you liked it!@
How cute it that bunny!!! When I opened my email, before I read yours, I had an email from Lee Valley and when you mentioned that it was a messy job I thought I would like to share Lee Valley’s tabletop tarp (which I am sure you could easily make one by sewing button holes/and buttons or even snaps or you can purchase it for $11.50 Canadian. The link is:-
https://www.leevalley.com/en-ca/shop/garden/planting/potting/70699-tabletop-tarp?item=XJ316
Or google:- Tabletop Tarp – Lee Valley Tools
Mini tarp helps keep surfaces clean during messy tasks. Made of thick woven polypropylene, it has strong, rust-resistant fasteners to draw the corners in, forming flexible sidewalls that stand approximately 3″ high to help prevent runoff. At 32″ × 32″ overall, it provides a generous 26″ × 26″ working space with the snaps fastened, and folds compactly.
Oh, that sounds great! Thanks so much for sharing. I will definitely check it out. Have a wonderful weekend!
This is the cutest idea, Michele. It’s hard to believe what you started with! I love the bunny inspiration.
Thanks so much Kim! It was fun to transform him to fit my style better.
LOVE your take on this trend, Michele! We will be featuring you starting Wednesday at the Creative Crafts Linky Party! Pinned and shared
Creatively, Beth
Thanks so much Beth! I really appreciate that and I’m so glad you like it.
Your bunny is adorable Michele. I agree, I am a neutral kind of gal when it comes to colors too. While I can appreciate color in other’s homes, for me, I need the calmness of neutrals. Thank you for sharing with Whimsy Home Wednesday!
Of course Cara! So glad you liked it!
I love your moss covered bunny, Michele! It is so cute and the perfect Easter decoration for your neutral decor! I am excited to feature your post at this week’s Tuesday Turn About link party. Thank you so much for sharing!
Thank you so much Lynne! I’m so glad you liked it and I really appreciate the feature!
I love love love this! Going to buy one tomorrow! Hope it turns out as cute as yours. Thank you for sharing it with us on Farmhouse Friday! Featuring it this week. pinned
I’m so glad you liked it Cindy, and I really appreciate the feature!
Your bunny is so darn cute, Michele. I’m going to share a link to your DIY in my weekly recap post on Saturday. I think my readers will love your project as much as I do.🥰
Oh, thanks so much Jen! I really appreciate that, and I’m so glad you like it.
Does the flicked bunny have to be green or close to green? I found a bunny I like at the Athome store but it’s a purple color. Will the purple show through the moss?
You can paint the bunny if you are concerned the purple would show through. Just use a can of green spray paint or a bottle of green craft paint.
I haven’t used another color, so I’m not certain if it would show.
How adorable!!! I love this!
Oh, good! So glad you like it and I really appreciate the kind words.
Such an easy and elegant DIY, Michele! Thanks for sharing! Creatively, Beth
Thanks so much Beth!
Adorable! I just purchased some much smaller Styrofoam bunnies to attempt a similar project so I am thrilled that you shared your successful tips with us at the party this week. I feel much better prepared to start my project. This post will be a feature this week. #HomeMattersParty
Thanks so much for the kind words Donna. I’m so glad you liked the project and I truly appreciate the feature!