reclaimed wood candleholder
I’m loving my DIY reclaimed wood candleholder! My daughter made one of these and I loved it so much, I asked my husband to make one for me.

Look how cute this one is that my daughter did for a baby shower!!
supplies
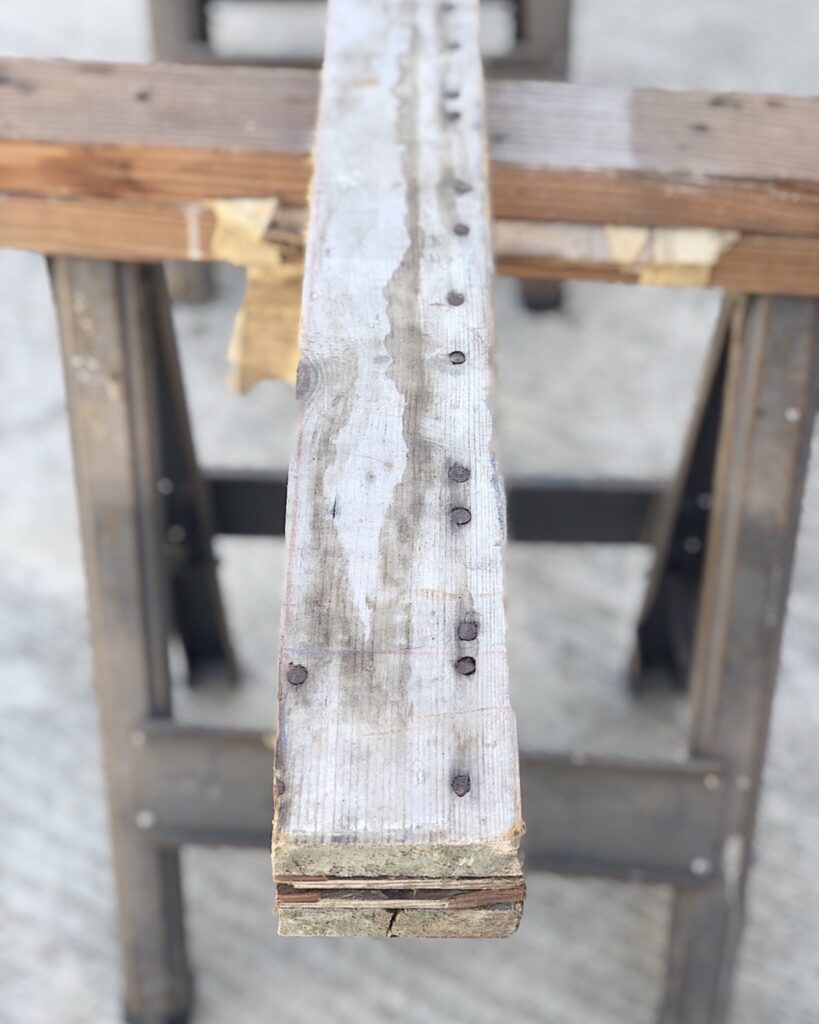
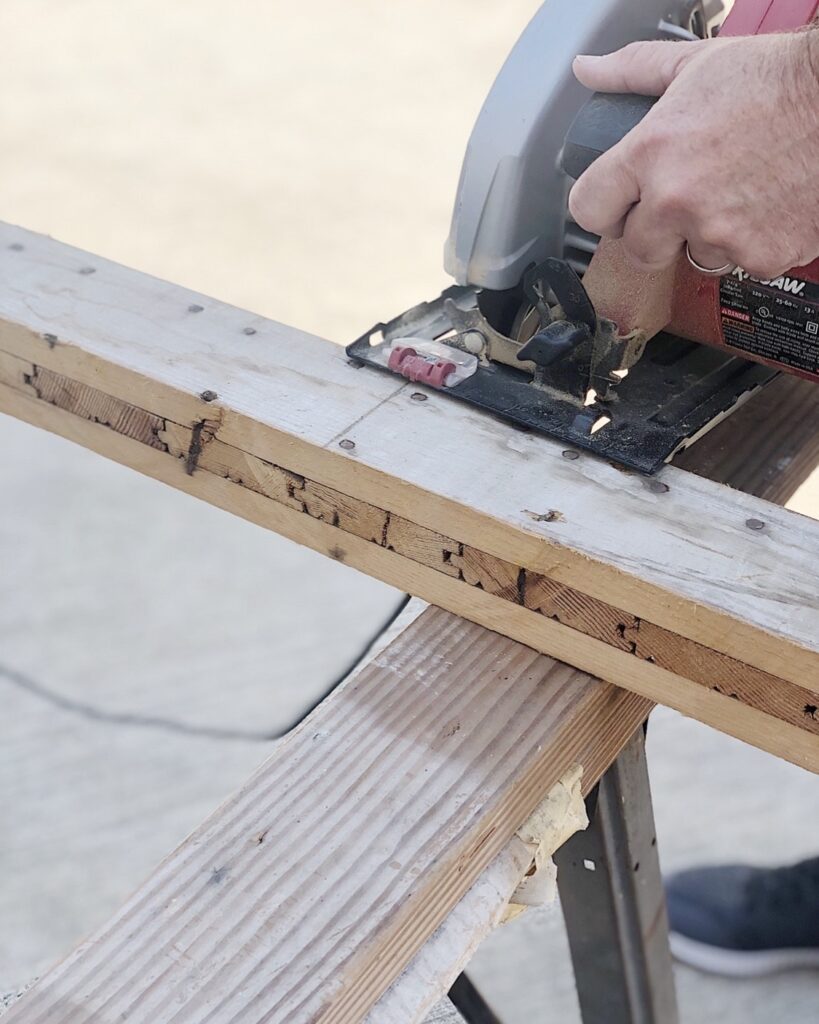
To make this reclaimed wood candleholder you will need a piece of wood, a drill with a 7/8″ drill bit and taper candles. The length and width of the wood just depends on your preference. I had this piece in the garage and it was already this width, so we just cut it the length that worked best for my table.
step 1
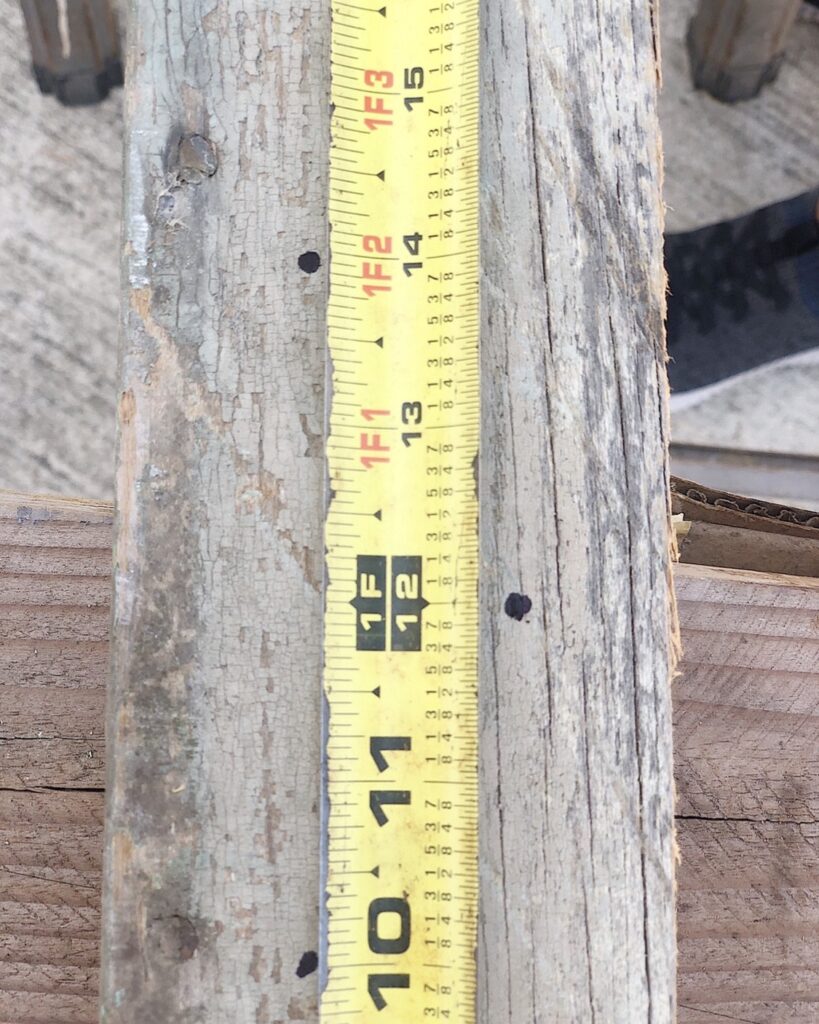
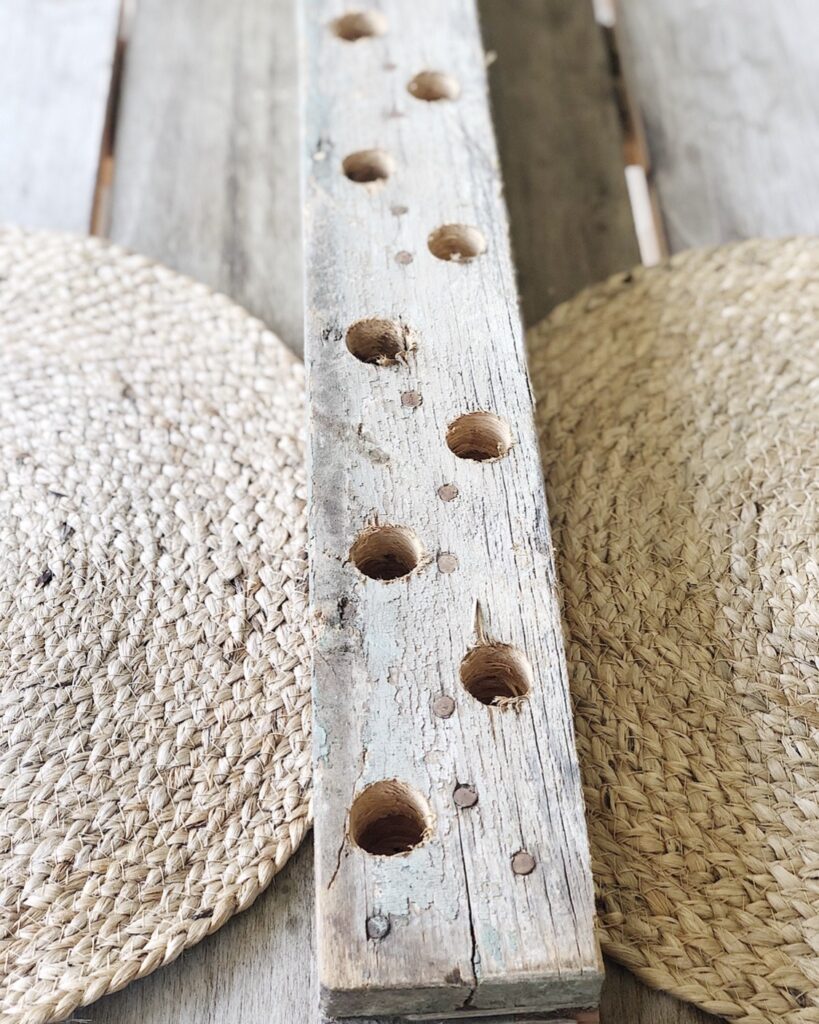
Next, you will want to measure where you want the holes. We measured about 2″ apart and staggered the holes from side to side.
For example, the first hole was drilled 2″ from the end of the board and the next hole was drilled 2″ from that, but on the opposite side of the board. Depending on the width of you board, you could even do a center row, if you wanted more candles. My board wasn’t wide enough, so we just did the staggered 2 rows.
We marked where the holes would go, with a sharpie marker, to make it easier.
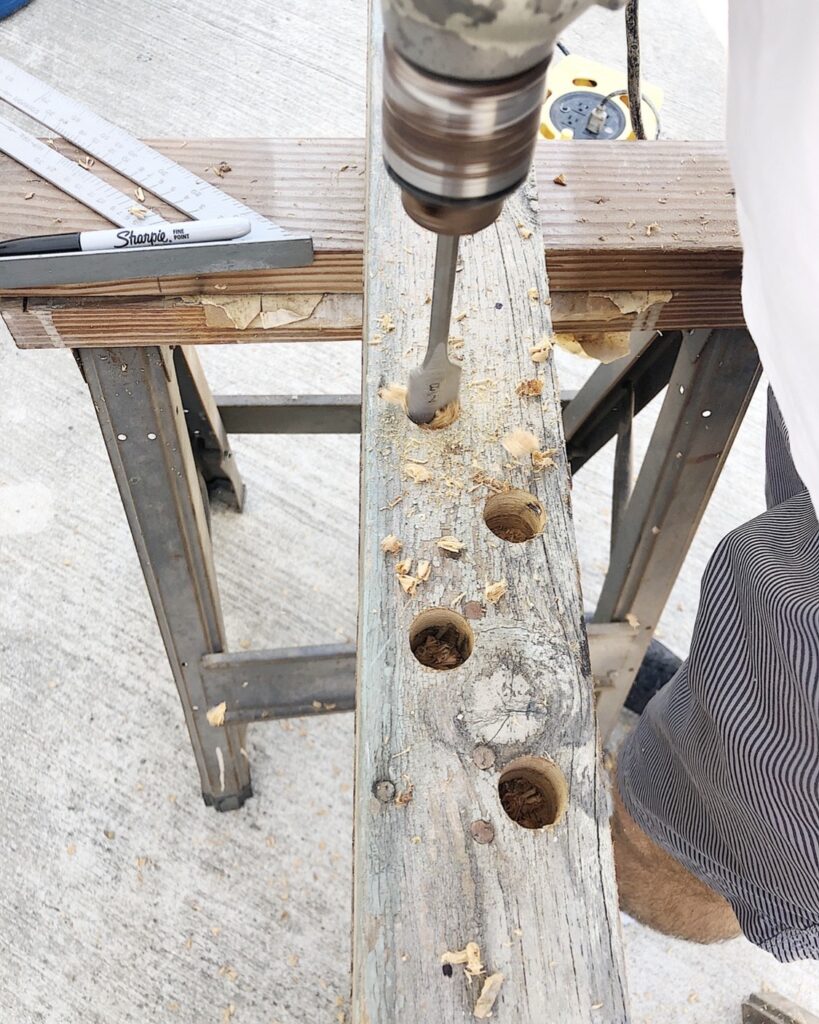
step 2
You will want to drill the holes about 1 1/2″ deep to support the candles. Although the diameter of taper candles vary, the 7/8″ hole seems to work for most.
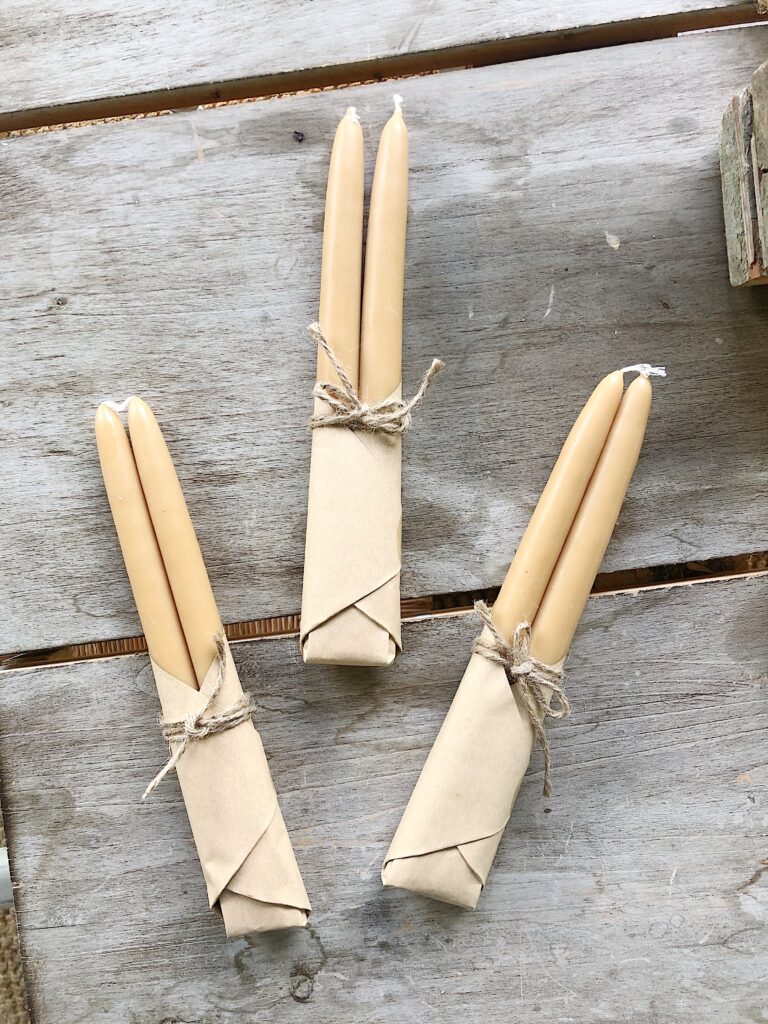
Obviously, the color of candles is up to you. You could use all one color or vary the colors, which is what I chose. I bought these gold color candles from the Magnolia Home collection at Target. They were $3.99 for a pack of 2. I thought this would be a good color going into fall.
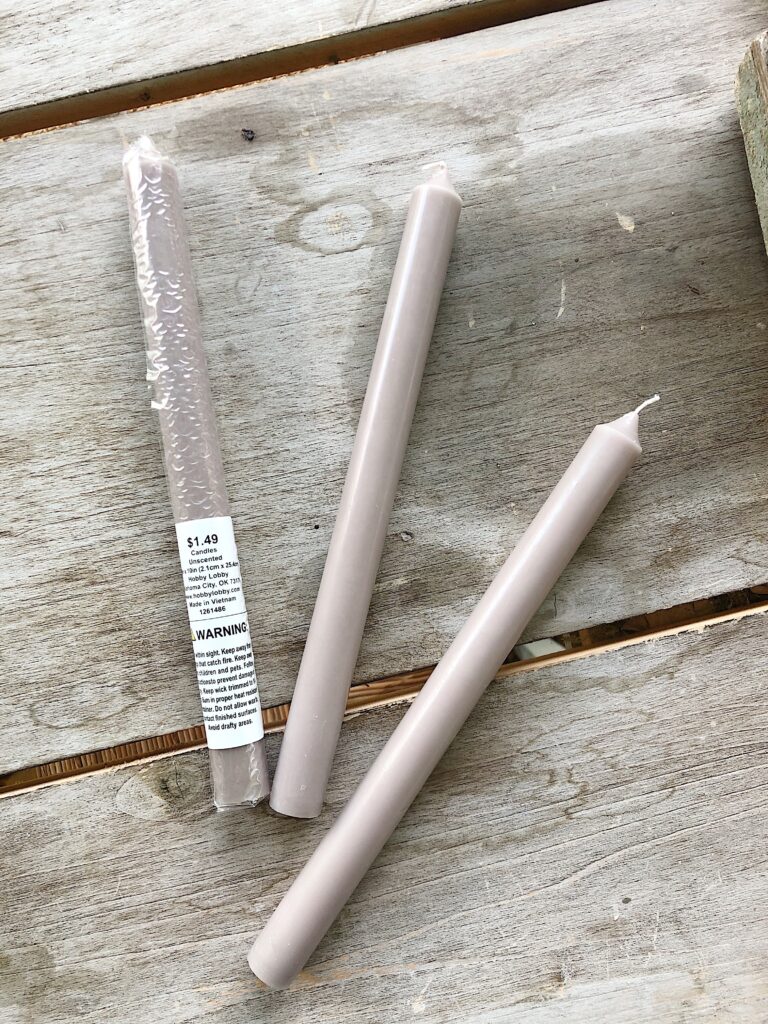
I also used these gray tapers from Hobby Lobby. They were $1.49 each.
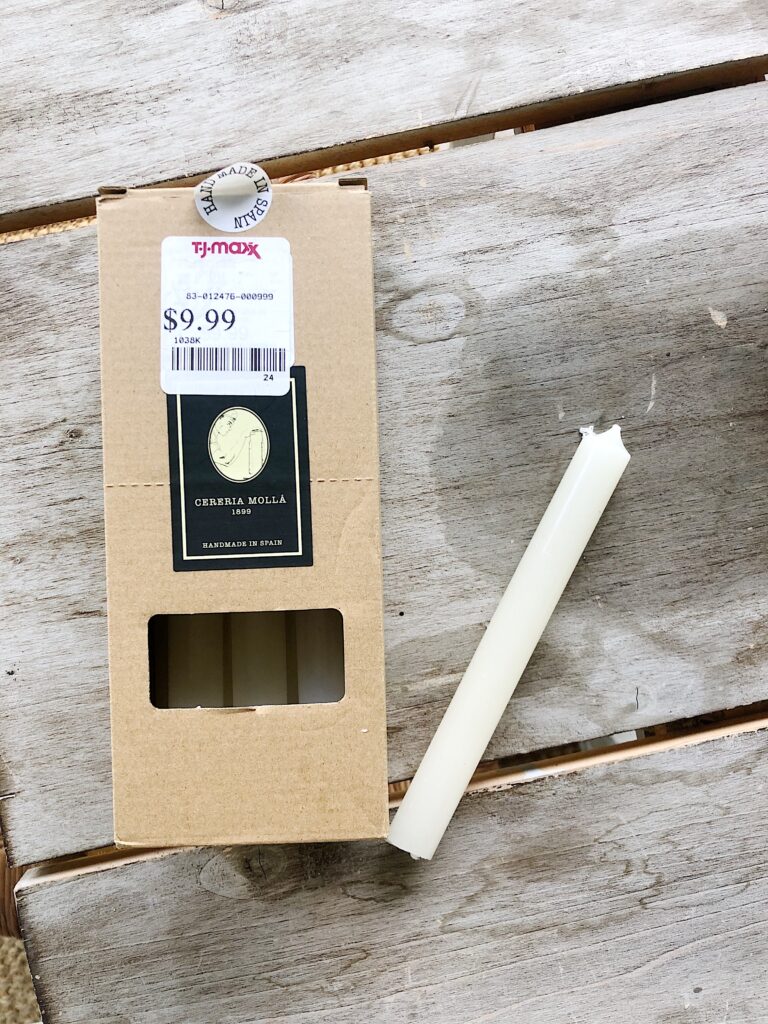
And I used the ivory color candles I found in a box of 12 at TJ Maxx for $9.99. There are similar ones here, at Michael’s.
I varied the heights, but that is strictly up to you. You could use all the same height and same color, or vary heights and colors.
and that’s all
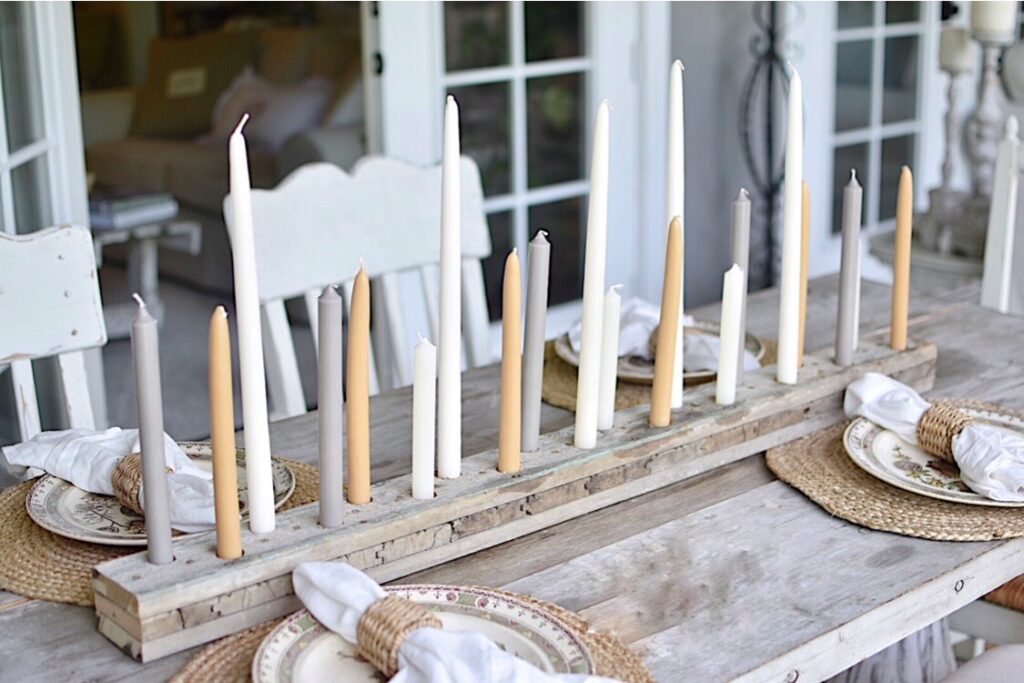
Here is the finished candleholder on my table. One issue we had with this piece was the nails that were in it, but I loved the character of the old nails, so Mr. VH tried to drill around them, and also pulled some out that were in the way.
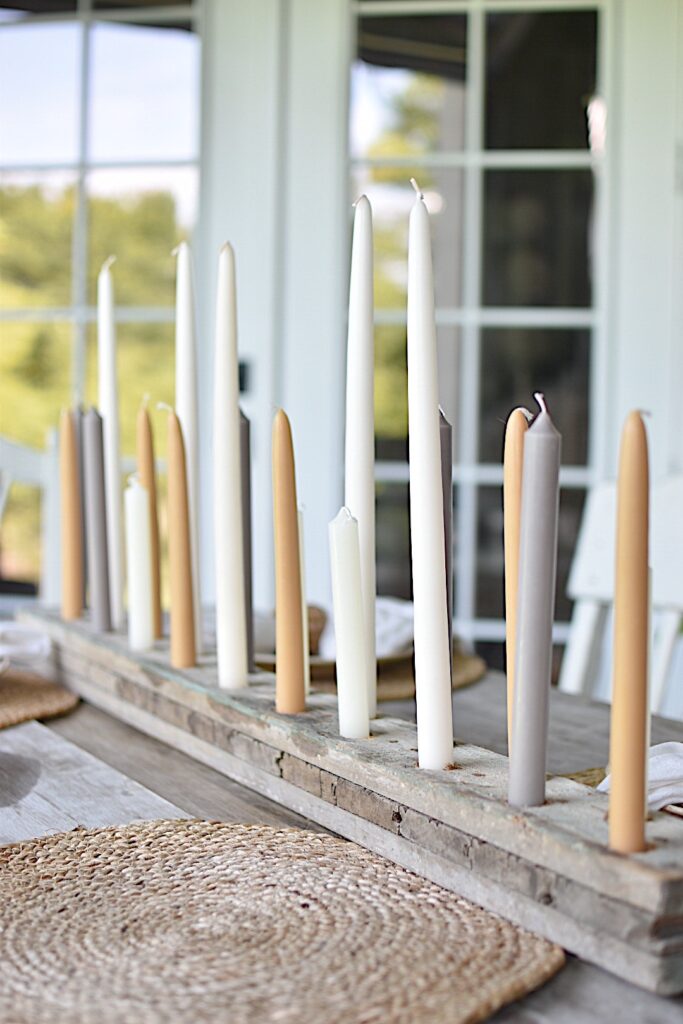
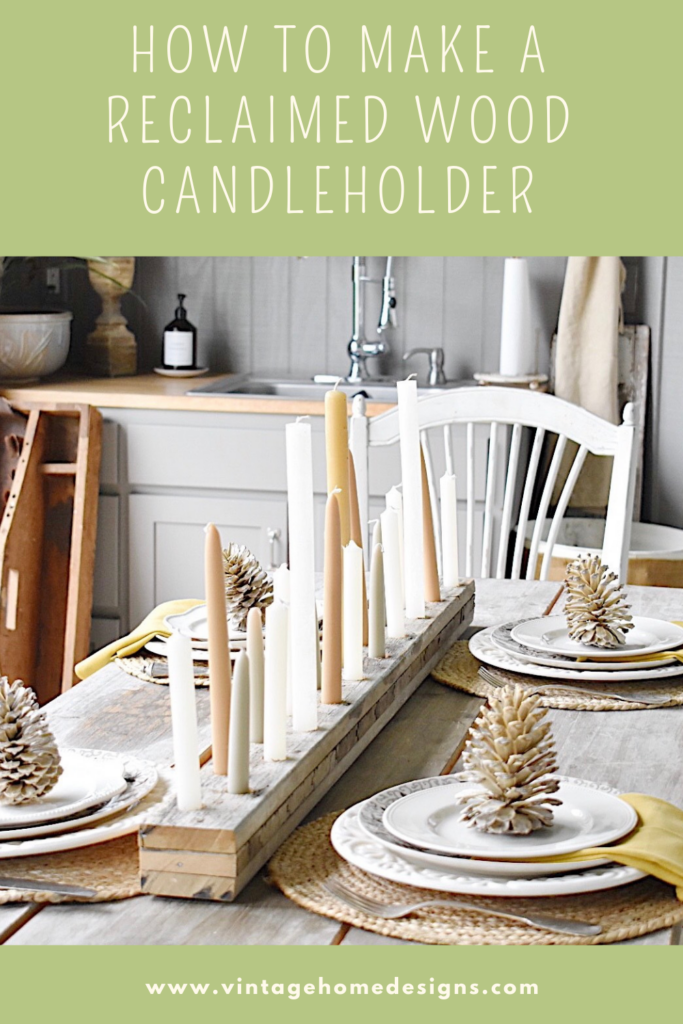
Up close view of the candleholder, now lets set the table and see how it looks all finished.
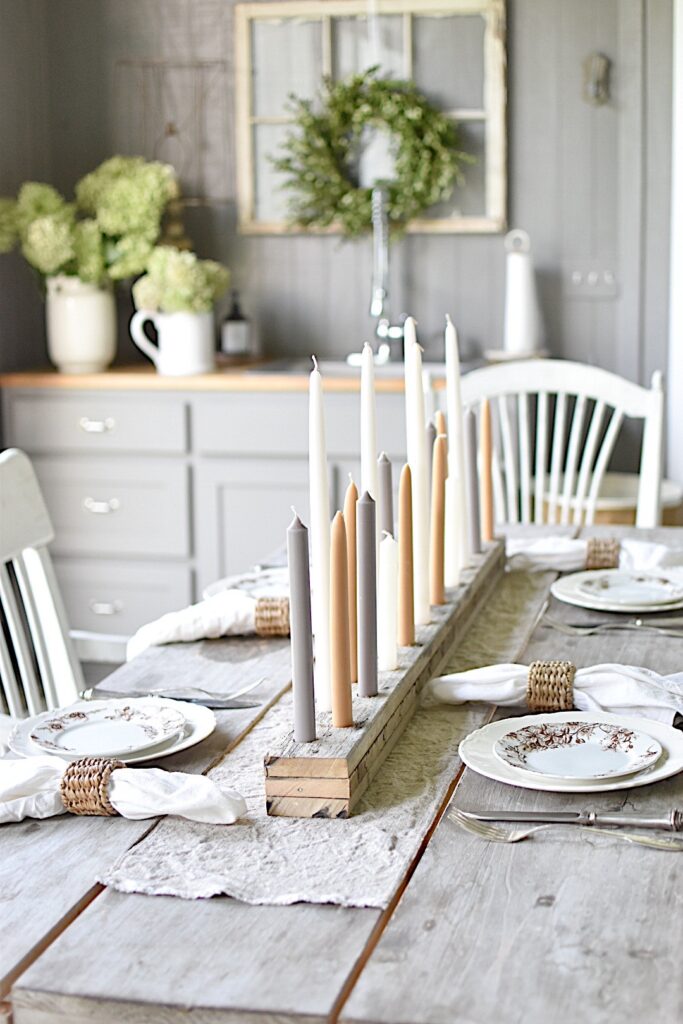
Here’s the finished reclaimed wood candleholder, and the table all set. Now, we just need some dinner and guests!!
This candleholder would be really fun to use for holidays, parties or a wedding. Think of bright colored candles for a birthday party, or red/pink/white for a Valentine’s Day dinner.
You could add fresh greens around the base for the holidays or fall leaves for a beautiful fall tablescape.
It would also be cute sitting on this book page table runner or with a linen table runner. These bleached pinecones are beautiful paired with it as well.
For Christmas time, you could add some of these pinecone trees or incorporate it into a beautiful fall tablescape.
I hope you find the DIY of this reclaimed wood candleholder helpful. Try your own and let me know how it turns out. I love to hear from you!
If you love this idea, but don’t want to make your own, here is a similar version you can order, ready made.
One final bit of advice….
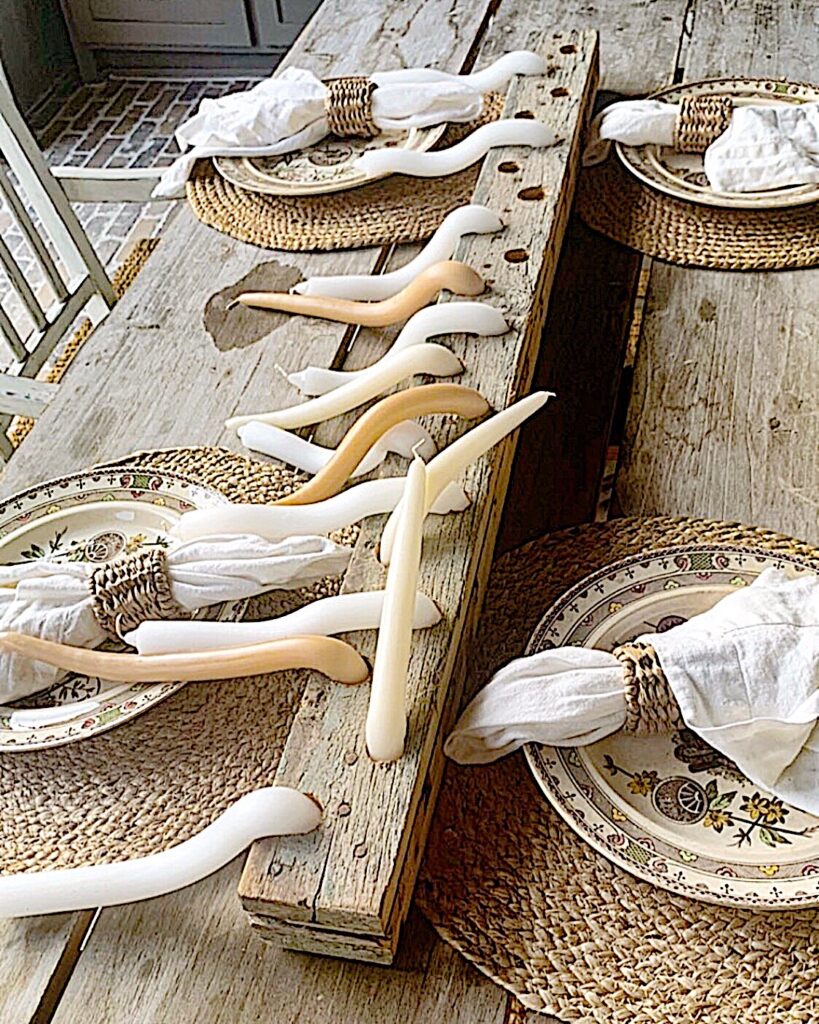
don’t leave it on the patio table in August in Texas!!!
If you love reclaimed items and thrifted finds, you might enjoy this home tour!!
blessings,
michele
Pin it to remember it……
Oh, Michele! I love this. I must do, must have. I’m afraid the Virgo in me would want every one of those candles standing perfectly straight and worry that I’d (read that Hubs) would be able to drill all thos holes super straight. But with the reclaimed wood, maybe it would loosen me and my crazy expectation up a bit.
And your final picture just made me laugh! And for a split second, “wow, that was one heck of a party!”. I’m pretty sure that your first reaction wasn’t laughter, but came very quickly to laughter. And you’re so sweet you saw the beauty in it, grabbed your camera and that picture is captivating in a strange sort of way.
Thanks Diane!! They don’t stand perfectly straight, but you can add a little drop of hot glue to the bottom, or a little melted candle wax if necessary.
And you’re right, I was so sad at first, then I just had to laugh. I figured I might as well share the “real life” stuff here too.
blessings,
michele
Being from South Texas I can see me doing the candles in summer and it made me feel good to know I wouldn’t be the only one to have melted candles. Then I would probably start trying to get them back to straight.
Oh my goodness, I did it so many times!
Hahahahahahahaha! If it weren’t for the shapes cracking me up, this would be so sad! A fortune in candles all gone wonky!!!! Oh my! Could you make new candles in containers??? I absolutely love this and as soon as I finish laughing, I’m gonna go make one! Super idea!
So glad you got a great laugh!! At first, I was so sad, and then I just had to laugh.
Some day, I will remember that I can’t leave candles on the patio when it’s 100 degrees!!
I hope you make one of your own. I would love to see it if you do!!
michele
Love this idea because it appears easy to do. I’m all about easy when it come to woodworking!. The picture of the melted candles is too funny! I wonder if you were able to reform them?
Unfortunately, I wasn’t able to salvage the candles.
It was a super easy DIY, and I love how it turned out. I think it will be fun to change the candles up for different events.
I hope you enjoy making one for yourself!
michele
Love this idea! Sorry that your pretty candles melted.
Ha!! I keep forgetting that I can’t leave candles outside right now.
So glad you enjoyed the post!
michele
Oh, thanks! So glad you enjoyed the post!
At first, I was so sad about the candles, but then I just had to laugh. I know better than to leave candles on my patio when it’s 100 degrees here right now. I decided I might as well share the real life stuff here too!!
michele
Thank you for sharing sweet friend!! You are the best!
blessings,
michele
This is too cute Michele! What a great idea!
Thank you Kim! It was a fun and super easy DIY project!
I am enjoying incorporating it into my patio fall decor.
blessings,
michele
Such a cute idea! It must really be hot there! I first thought, why did she make the candles do that? I thought you did it on purpose! LOL
Ha!! No, not on purpose, at all. It’s been about 100 degrees here for several weeks, and I completely forgot to bring it inside.
Glad you enjoyed the post!
michele
Thank you for sharing the last photo of the melted candles. Aside from it being a very funny picture, it shows that life is real, stuff happens and perfection isn’t necessary!!!
Great candle idea!!!
Thank you, and yep, life happens!! Actually, I did that a second time, since then!!!!
It has been so hot, those candles just can’t hold up in the heat, and I keep forgetting to bring it inside after I take photos.
blessings,
michele
I’m so thankful for this post! I’ve been wanting my husband to help me make one of these since I spent a small fortune on something similar for my sister’s 60th birthday. It was really a disappointment when they didn’t make it in time for her celebration!! It was at that point I thought, “I’m doing it myself next time.” This is so helpful! When I write about my experience, I’ll be sure to link to this post!!
Oh, thanks so much! So glad you found some inspiration here!
I look forward to seeing what you make.
michele
Such a great idea! The last picture told me you were for sure in Texas. It reminded me of the melted white PVC mailbox I saw one summer in Mesquite. The same with interior ceiling fans on the porch. “I’m melting!”
I know! It has been SO hot! So ready for cooler temps!
Thanks so much for following along and commenting!
Texas heat sucks! Sorry about the candles. All I can see is the investment now wasted because of our heat. Love love love this project though. Hope to get the hubby to make me one too! Pinned
We are making one today! I sent a very expensive one to my sister for her 60th birthday. The candles arrived late. All that money and it was a bust. I’m making my own from now on!!
Oh no!!! So sorry about that!
It’s a fun and fairly easy project. They look really pretty as a table centerpiece.
I hope yours turns out great!
Hi. Love love your project. My granddaughter lives in texas, she says…grandma im wilting, lol.
I hope you don’t mind my thoughts, i personally love others ideas. I make the pool noddles candles. So you know they have a round base, drill to fit (dollar store tall battery candles) i leave the base in, the candle i paint different colors, roll in glitter, glue mesh webbing, fun to experiment. Anyway when the candle is attached all you have to do is twist it to come on and a little to turn off.
And i learn the hard way, several i threw away, figured it was cause there cheap, than the dawn broke lol. The spring on base doesn’t always connect to the battery, i pull that sucker up, now no problem.
I love your project and I’m making several for presents, thank you very much. Diane 🤗
Oh, thanks so much for sharing!! Love the candle idea! So creative!
Thanks so much for stopping by and commenting.
michele
Thank you for sharing!!
Happy New Year!!
Those poor candles trying to withstand Texas heat!! Anyway, I love this project so much! I am definitely going to make one!
Oh good Cindy! So glad you like the project! I think you will enjoy having one.
If you didn’t throw out the melted candles yet- as children we melted left over candle pieces in a can sitting in water in the top of a double boiler along with crayon pieces for color. Just pour the melted wax into those disposable clear cups with a pencil tied with a string laying over the top for a wick. Then with remaining candle wax, after peeling the cup away from the solidified new candle, we whipped it with a fork as it was drying and applied the textured wax either all over or on the edges as a design and added glitter before it dried to give as handmade gifts to our aunts and uncles.
That’s an amazing idea! My granddaughters would love to do that.