How To Create a “Not Too Spooky” Halloween Tablescape
Do you like to decorate for Halloween?? To be honest, until the past 2 years, I hadn’t decorated for Halloween since my daughter was little. Last year, I thought it would be fun to create a tablescape for Halloween. I enjoyed getting creative with it, so I want to show you how to create a “not too spooky” Halloween tablescape.
I’m calling this “not too spooky”, because I wanted to avoid using really gory props. I just added a few glitter spiders, a skeleton hand, and some black crows.
“not too spooky” halloween table place settings
This post contains affiliate links, which means if you purchase something, I will make a small commission at no additional cost to you. Thank you for supporting my blog. You can read my full disclosure here.
My table is a weathered wood color, so I covered it with a white tablecloth so the black and white place settings would really show up.
Next, I added black felt spider web placemats.
I layered a large and medium size white plate from my collection of thrifted plates. Then, I topped it off with a white plate with a black striped edge. I have had these a long time, but you could easily use a decorative black and white paper plate.


On top of my plate, I used a large white linen napkin and I gathered it in the center and tied with a black and white striped ribbon.
I found these cute little brooms in a package of three at the Dollar Tree for $1 per package.
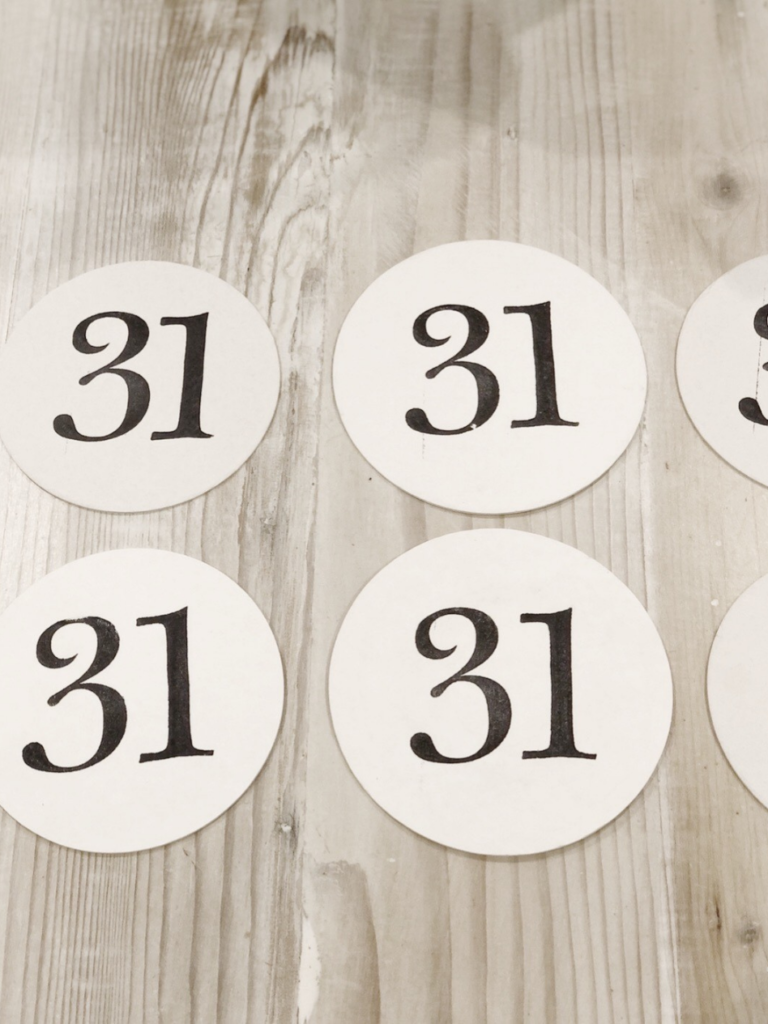
I tucked a broom into the ribbon on the napkin, then topped it off with these “31” tags I made.

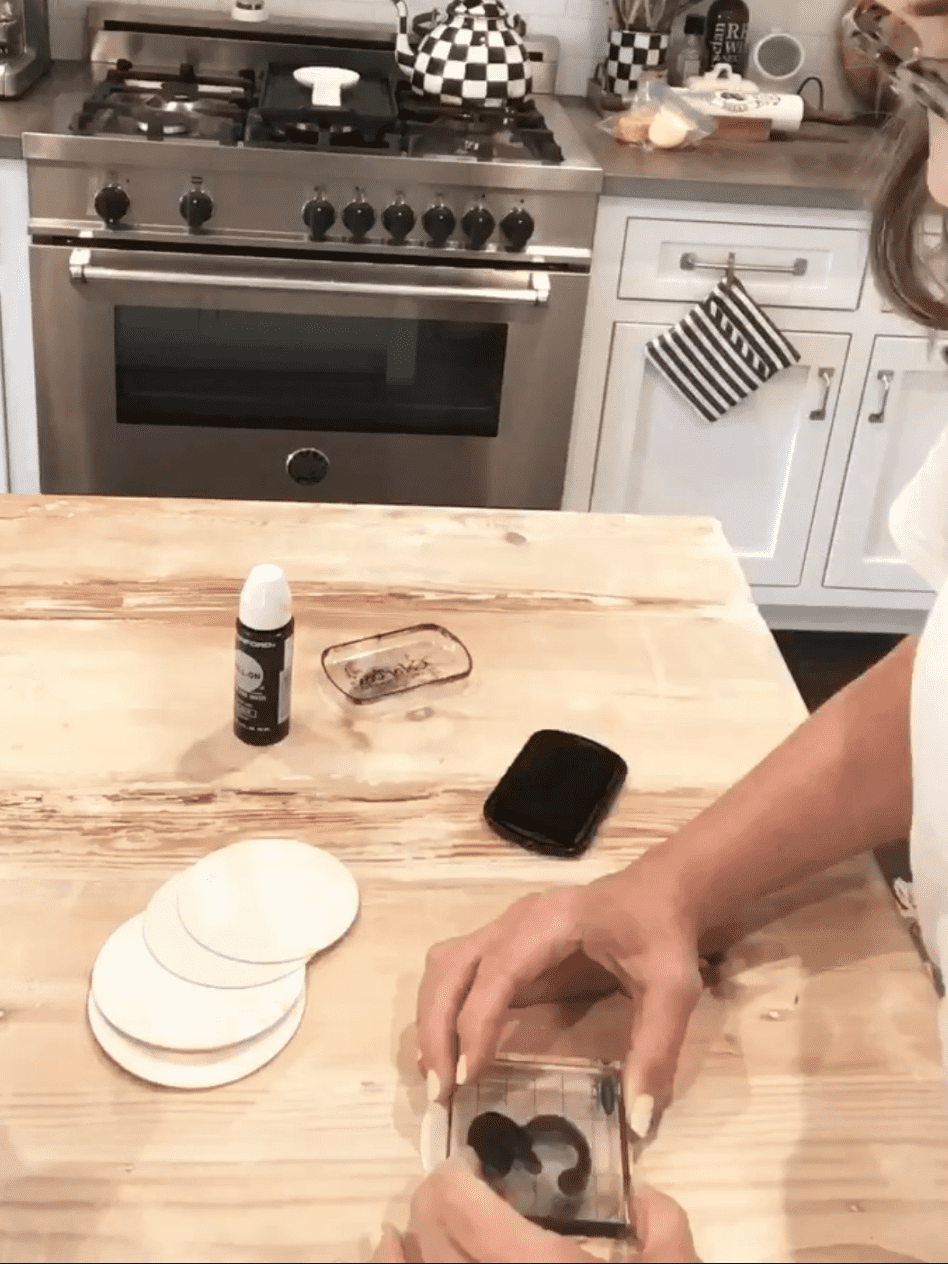


To make the tags, I used white paper coasters I’ve collected from restaurants over time. But, you could easily just use heavy white cardstock.
Using a set of large number rubber stamps, I stamped a 31 in black ink on each coaster.
halloween “not too spooky” table centerpiece

I used 2 pieces of black gauzy cheesecloth down the center of my table.
Most craft stores carry it during the Halloween season.
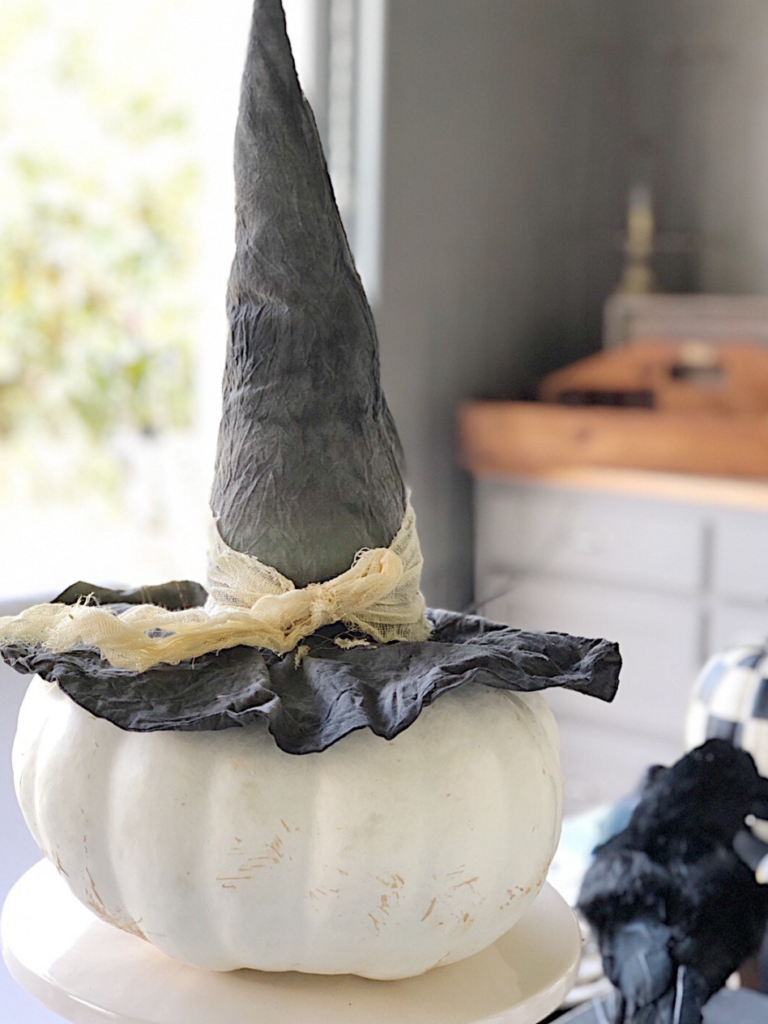
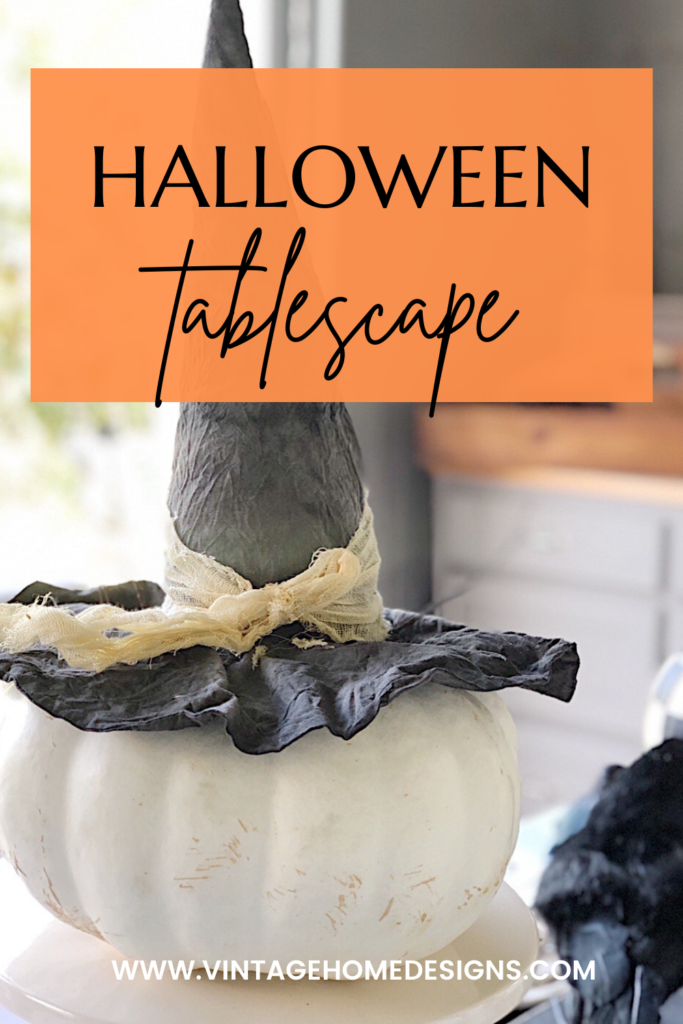
I used a white cake stand in the center of the table and put a white heirloom pumpkin on top of it.
I topped it off with a witches hat I found at a thrift store last year.

At the base of the cake stand, I propped number plaques that have a 3, and a 1, since Halloween is on the 31st.
These are number plaques from the Aidan Gray line, and I found them at a resale shop for $5 each. I have actually seen a few of them on Ebay too.

On one side of the cake stand, I placed stacks of vintage black books (thrifted). I added a black/white check pumpkin to the top of one stack and a black crow to the other.
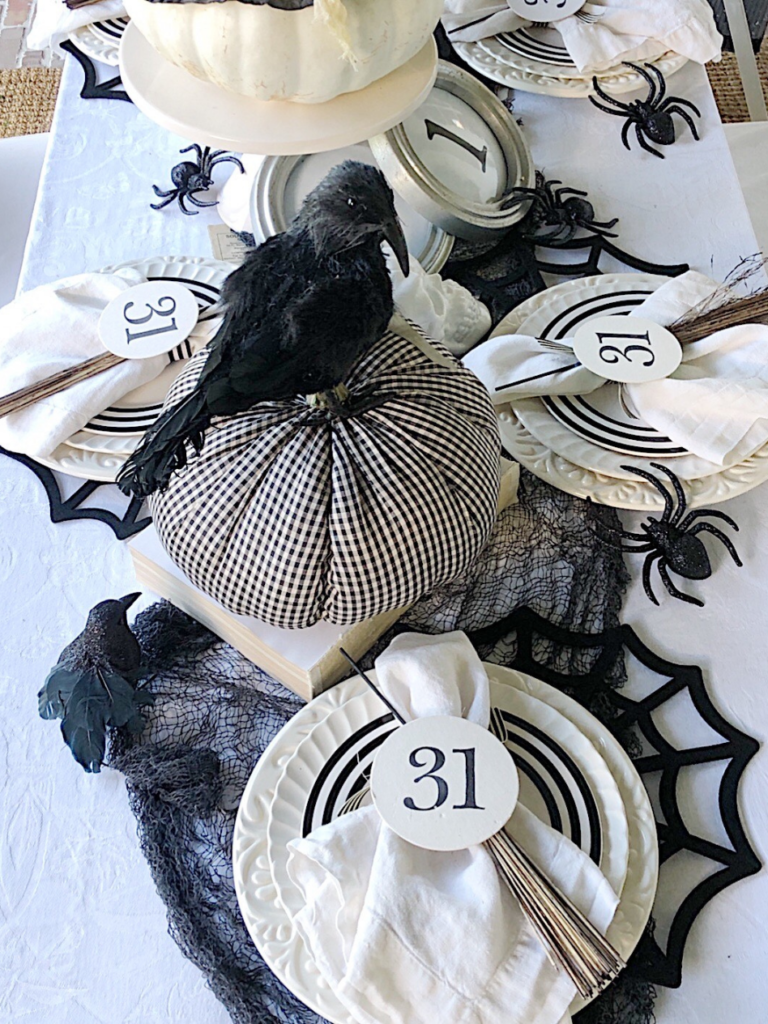
On the other side of my cake stand centerpiece, I used a vintage book and a black/white check fabric pumpkin I’ve had for years. I placed a crow on top of the pumpkin.
finishing touches to the “not too spooky” Halloween tablescape


To finish off my table, I sprinkled little black glittered spiders around the table.
I added a small skull and a few skeleton hands that I found at the dollar store. I didn’t like the color, so I spray painted all of them white. Somehow, they didn’t look quite as scary that way.
I found a black “potion” bottle in the dollar section at Target and added that to the table, as well.
witches brooms

Did you see the witches brooms I shared on Pinterest last week?


I cut some grasses, basically weeds, from my neighborhood. I also cut back a few of the large herbs from my garden.
Each bundle was tied with twine and hung upside down to dry.
I found some old wooden yard tool handles in a neighbor’s trash pile a while back, and cut the handles down to make 4 broomsticks out of them.
I tied the handle to each dried bundle using twine or raffia.
When I was finished, I used an “S” hook and hung them on the back of my dining chairs around my Halloween table.

I think they were the perfect finishing touch!!
I hope you found some inspiration about how to create a “not too spooky” Halloween tablescape yourself.
If you enjoyed this post, you might like last year’s Halloween tablescape.


If you have questions or comments, please leave them at the bottom of this post. I love hearing from you!!
And be sure and subscribe to the blog, so you don’t miss a thing!!
blessing and happy fall,
If you liked this post, be sure and Pin It to remember it….
shop this post

If you need a yummy snack for the Halloween season, you might also like this Fall Candy Mix…..

I love it! It turned out amazing!
Thank you! So glad you liked it!!
The cutest – not too spooky – tablescape! Love the brooms in the chairs! And the ‘31’ stamped on coasters! You are so creative!
Thank you my sweet friend!!!
Michele
I love your creativity! Those witches brooms are my favorite! So clever.
Thank you! They were so fun to make!
I’m not much for Halloween decorating but THIS! Just changed my mind! I’m saving this for inspiration. Who knew Halloween decor could be “not scary” – I love your tablescape!
Oh, thanks so much! So glad you found inspiration here, and thank you for the kind words!
Michele,
I’m sharing this on Sunday. So darn cute.
Oh, thank you my sweet friend!! Happy weekend!@
Love the witches brooms!! They really take your fabulous tablescape over the top. I’m delighted to feature your post at our Tuesday Turn About Link Party and hope you will come back to share more!
Oh, thanks so much!! I really appreciate that, and so glad you liked it!
I was going to link back to your post at my Saturday morning post, but I don’t see it.
I am loving this tablescape so much! The brooms are just about the cutest thing ever! I am going to steal some of your ideas for Halloween this year 🙂 I would love to have you come link up to my linky party going on right now. https://karinskottage.com/2022/08/karins-kottage-linky-party-summer-recipes.html
Thanks so much, and I’m so glad you found inspiration here! I will definitely go link up now.
Super cute! Everything that you do is amazing!
Thanks Renae! You are always so kind and I truly appreciate it!
This is a great table. First I loved the napkin rings. Then I saw the mason jar lids.
The brooms on the back of the chairs is perfection.
Pinned
Thanks so much Cindy! It was a really fun table to create, and I’m so glad you liked it!
Wow, I love your tablescape, it is beautiful! Those black and white striped plates… oh my, I think I will need to try to find a set, I fell in love with them! Thank you so much for linking up to Whimsy Home Wednesday and sharing your creativity.
Thanks so much for the kind words Cara, and I’m so glad you liked my tablescape.
There are so many great ideas in this tablescape! Thank you for sharing on Whimsy Home Wednesday Link Party!
Thanks so much Kristin!
Nice simple& budget friendly tablescape …
Thanks so much! So glad you like it.