DIY Painted Bunny Tutorial
I purchased this adorable bunny last year, but didn’t like it’s dark color, so I pulled out some paints I had on hand and gave it a makeover. Take a look at how I did it with this DIY painted bunny tutorial.

This is the way the bunny looked when I purchased it. I found it at my local Tuesday Morning store. It is made of a resin type material.

I painted a coat of soft linen color paint from Jeanne d’arc Living paints. It is basically a chalk type paint and dries very quickly. I didn’t completely cover the entire surface. It won’t matter that I missed areas, because I am going to be adding other layers of paint.
This is how it looked after it dried.
1st coat process
This video shows the first coat process.
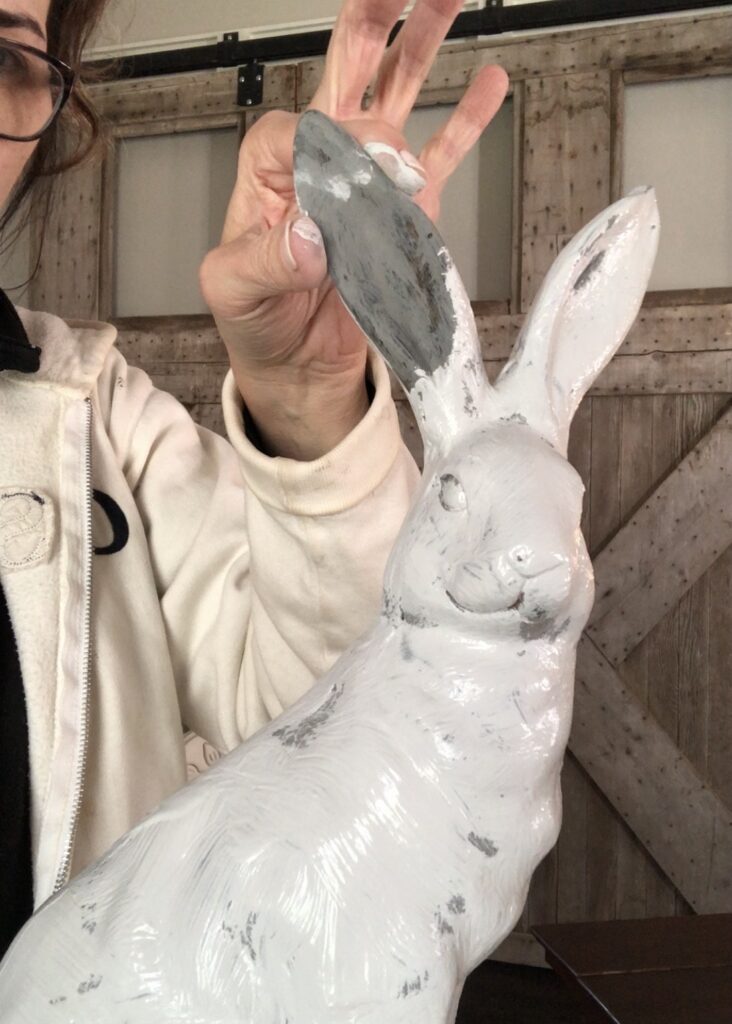
Next, I painted a coat of soft grey paint with Jeanne d’arc Living paints. Again, I didn’t cover every spot with the paint.
Also, I prefer a french style painting look, so for this layer, and layers to follow, I put the paint on fairly thick.
If there are cracks and crevices and any detail on a piece, I “puddle” the paint in those areas and apply it very thick so it will crack somewhat when it dries. I sometimes encourage the cracking by drying it quickly with a hairdryer.
You can see how thick the paint is in this picture.
second coat process
This video shows the second coat process.
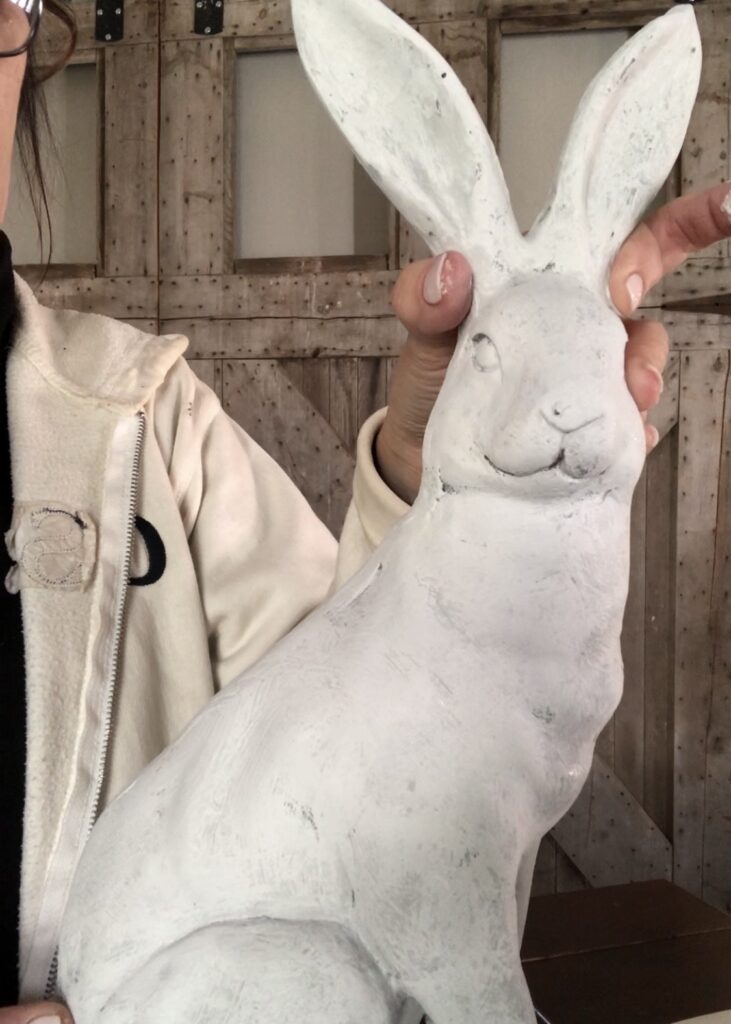
I added a final layer of paint in antique cream in the Jeanne d’arc Living paint. I covered most of the bunny, but again, wasn’t real particular about coverage.
final coat of paint process
This video explains the final coat of paint process.

To finish the bunny, I distressed it a little by sanding in places. I added a layer of clear wax then light brown wax. I added the brown wax before the clear wax dried. By applying a thin coat of clear wax first, it keeps the brown wax from going on too dark.
I was easily able to wipe some of the brown wax back off to achieve the color I was going for.
distressing and waxing process
This video will explain the waxing process.

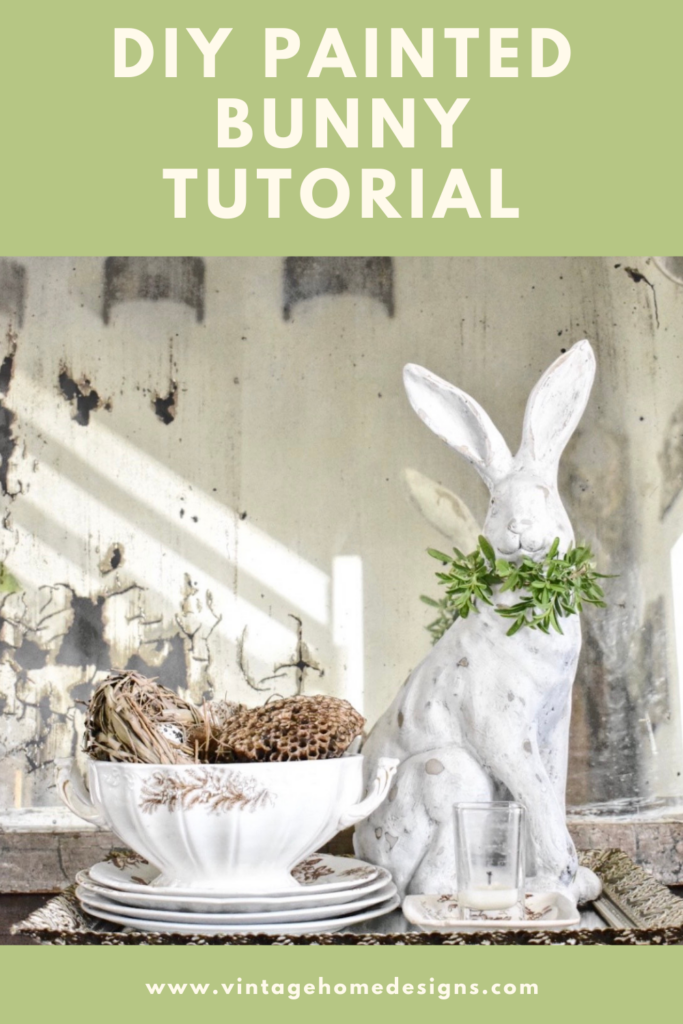
I added a wreath of fresh greenery around the neck of my bunny. It will dry in a few days, and I will need to replace it, but since I have lots of fresh rosemary and lavender growing, I can replace it occasionally.
You could easily purchase some faux greenery and have the same look. That way, you wouldn’t need to replace it.
I hope you enjoyed this DIY painted bunny tutorial, and found some inspiration.
It’s really fun to makeover thrifted pieces. When you’re out thrifting or garage sale shopping, keep in mind that you can give something a completely new look, with just a little paint and distressing.
You can see more of my tips about thrifting in my post about Estate Sale Shopping 101.
Also, see how I incorporate thrifted items in my home by coming along on this home tour or watch the video below for a tour of my favorite architectural, thrifted and vintage finds.
I would love for you to follow me on Instagram, Facebook and Pinterest. And be sure and subscribe to the blog, so you don’t miss a thing!
blessings,
michele
Pin it to remember it…..
Hi. What kind of wax did you use? And where can I purchase?🐰
I used the Maison Blanche wax. It is usually sold only in stores, and not online. You can go to their website and look for their store locator and see if you have a local store. It is my favorite one, but you could actually use any painting wax.
Much better!!!! I think bunnies should be white!!! 🐇
So glad you like it! Thanks
Thank you so much for sharing sweet friend!!!
Beeeuitful!! love the new look much better than when purchased. I tend to remake over items purchased too……….. 🙂
Thank you! It definitely fit my decor better after the makeover.
The bunny looks like he looking at you while you are painting. Adorable bunny!
Oh, that’s funny!! Thanks so much Connie!
Excellent job of changing this bunny’s look. I liked the browns you used too.
Oh, thank you so much! So glad you enjoyed the tutorial!
Wow, although I never see black rabbits in store, and it was very pretty black, the aged whitish/grayish rabbit is even fabulous. I loved not only your step by step tutorials, I loved the step by step video tutorials. I got to do this. Thanks for sharing
Hi, I love how this turned out! Also your step by step information. I have a ceramic, shinny bunny I’d like to paint. I don’t know what to do? I heard once that you can put modpodge on anything to take the shine off. I may start there, Or should I use a primer? Any help would be appreciated, thanks
I am so glad you enjoyed the post! I would probably try a primer. That is usually successful in taking the shine off and helping the paint stick. Hope that helps!