How to make the cutest macrame Christmas lights
I have to give credit, where credit is due! I saw this idea on a Free People ad recently, and fell in love. But, I didn’t love the $98 price tag!
I have done some basic macrame in the past, and thought I might could figure out how to make some of my own. It was fairly simple, once I got started. So, I want to share with you how to make the cutest macrame Christmas lights.
This post contains affiliate links, which means if you purchase something, I will make a small commission at no additional cost to you. Thank you for supporting my blog. You can read my full disclosure here.
supplies for macrame Christmas lights
3 mm macrame cording (you can go a bit thicker if you prefer a bulky look)
9 feet of white string lights
I used white lights and also lights that have a white base/bulb holder.
The lights shown in my inspiration piece were white lights in a green base/bulb holder. I prefer the all white because it blends in with the macrame.
directions for macrame lights
First, you need to find a place to hang your string lights, so it is easy to work on this project. Hanging them from a rod or even a hook/nail on the wall up high, works great.

I worked on my project in my laundry room, so I hung my lights over a hook I have hanging on the wall.
Once you get your lights hung, you will need to cut your macrame cord.

Typically, for a macrame project like this, you want to cut your cord 4 times the length of your project. So, for my 9 foot strand of lights, I needed 36 feet of macrame cord.
This project also needs 4 strands of cording. So, I had to cut 36 feet of cord, times 4 pieces.
When I started working on the project, I quickly realized that pulling 36 feet of cording through at one time wasn’t going to be an easy task.
Everytime I made a stitch and tried to pull the 36 feet of cording through, it got tangled up with the lights.
So, I aborted that plan, and cut my cording into 4ths. Meaning, I cut all 4 pieces of the 36 foot strands into 9 foot lengths.
So, I ended up with 16 strands of 9 foot lengths.
You will only use 4 of these at a time.
To begin, you will tie 4 of the 9 foot pieces into a knot at the end.

Then tie those around the strand of lights, at one end and knot.

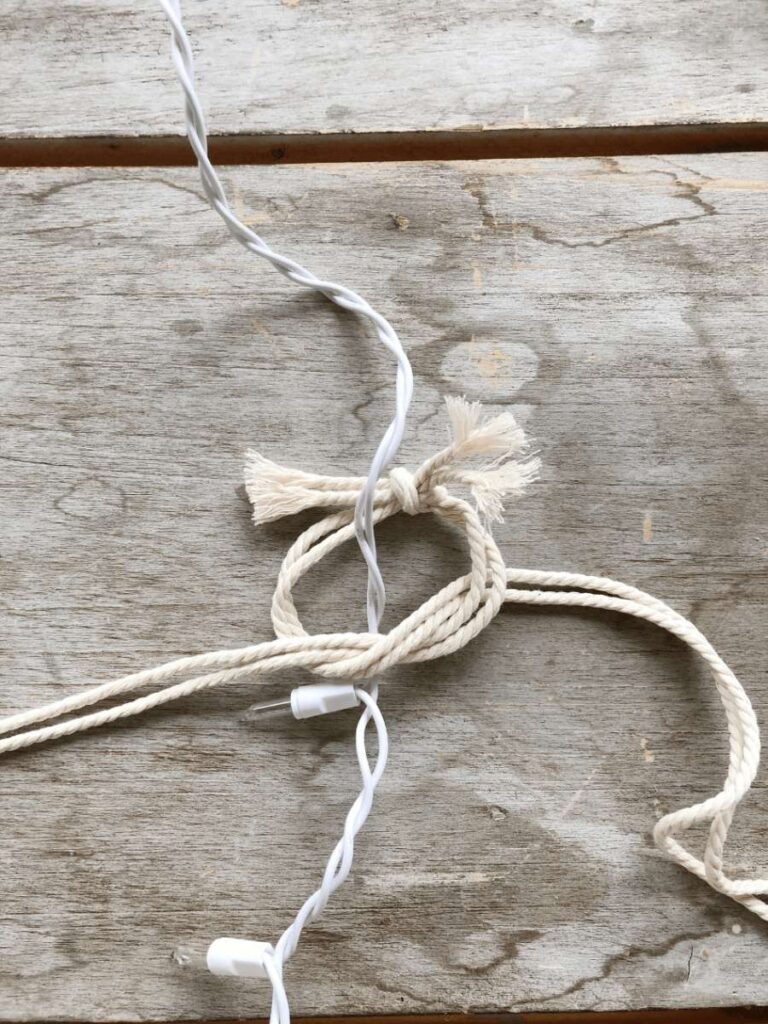

Once you have the cords tied to your lights, you start tying a half knot. It will look like this…..


And you keep tying the same knot over and over again. If you want your strand to stay straight, and not twist, you would alternate the knot each time. Start from the left side one time, then the right the next time.
I wanted my lights to twist, so if you tie the half knot from the same direction each time, your project will automatically twist.
Since I shortened my cords to 9 foot lengths, I had to tie on more cords as I ran out of rope.
This is when you will grab 4 more 9 foot pieces, tie them around your lights and start again.
When you get to the end of those 9 foot pieces, the middle 2 ropes will be much longer. That is because those are called the “filler ropes” and they don’t do any of the work. They just hang in the center, and the outer 2 ropes do all of the work tying around the center 2 pieces.


When you get to the end of the outer 2 ropes (photo 1), cut all 4 strands off, leaving about 3 inches
(photo 2) and tie the outer 2 cords in a secure knot (photo 3).
Fray the ends of all of the ropes (photo 4). This doesn’t serve a purpose, it’s just adds a bit of character. And, it camouflages where you end a set of ropes and begin again.

Now, you will grab another 4 strands of rope, tie in a knot, and begin again.
Keep doing this until you reach the end of your lights. Then tie all of the ropes in a secure knot at the very end.
After you have tied off securely, cut your ropes off leaving about a 3 inch tail.
Unravel the cords to make a fringe look, just like we did each time you cut the ropes off and started with 4 new ropes throughout the project.


I was so excited to figure out how to make these! I tried them on a garland on my mantel with a strand of white bells and love it.
They would be so cute on a Christmas tree! Oh, or what about on a staircase garland ?
SO many possibilities!!!

I love how they turned out and I would love to know if you make some of your own.
I hope you have enjoyed this DIY about how to make the cutest macrame Christmas lights. If you have questions about the project or need instructions clarified, leave a comment at the bottom of the post.
blessings,
Be sure and Pin It to remember it… “How To Make The Cutest Macrame Christmas Lights”

shop the post

If you liked this post, you might also enjoy these unique Christmas Ball Ornaments….

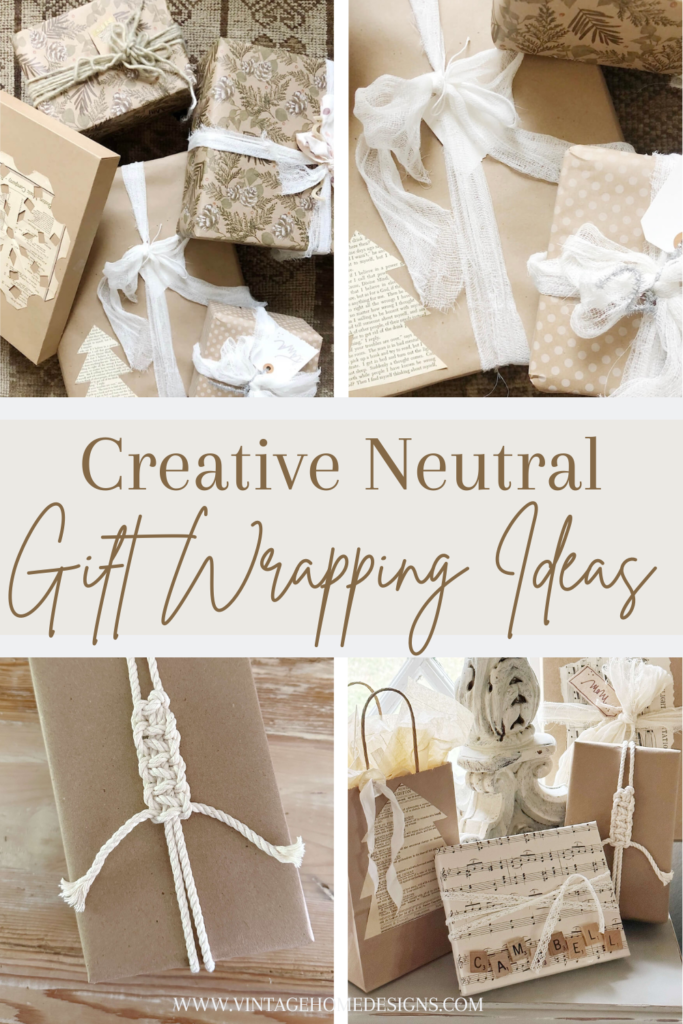
Or these gift wrapping ideas….
Or this pinecone Christmas tree DIY...

This is such a great idea. You are amazing!
Oh, thank you sweet friend! It was a fun project and I really love how they turned out!
Loved this idea and the great instructions! My favorite thus far!🎄
Oh, good!! So glad you liked it. Thanks so much for following along and commenting!
Michele,
Such a cute idea. It really dresses up a simple set of lights.
Thanks Rachel! I had so much fun making these. Happy Sunday!
Love this project Michele! You make it look so doable 😊 Pinned!
Thanks so much Cindy! I was really happy with how they turned out.
I totally love this cute idea. You are so creative and write such easy to follow directions with great picture examples!!
Thank you for sharing!🎄
Oh, I’m so glad you liked it, and thanks so much for the kind words!! I really appreciate you following along and commenting.
I have to try these!! They turned out so cute!
Thanks! I thought they were pretty cute too. Now I want more strands!
This is the cutest! Thank you for sharing it with us on Farmhouse Friday. We are going to feature it on Friday. Hope you link up again soon! Thanks so much. pinned
Oh, thanks SO much Cindy!! I really appreciate that!
Such a pretty and unique decor craft for Christmas! Love how you used macrame to create a garland! Thanks for sharing at Tuesday Turn About. I’ll be featuring you at tomorrow’s party!
Oh, thanks so much Julie! So glad you liked it and I really appreciate the share!
What a great idea! Your lights came out so cute. Great Job!-Meagan
Thanks so much! So glad you like them.
Hey Michele! I know I shared this last year but I love it so much that I’m featuring it again this year! Thanks so much for linking up. I always appreciate each of you. Merry Christmas!
Michele these are so pretty!!!! I love them!