How to make Sheet Music Flowers
After some experimenting I figured out how to make sheet music flowers several years ago when I opened my first store. I used them for decoration around my shop sign over my check out counter. So many people asked to buy them, I started making them available for purchase.
They are so easy to make, and I created this step by step tutorial so you can make your own.
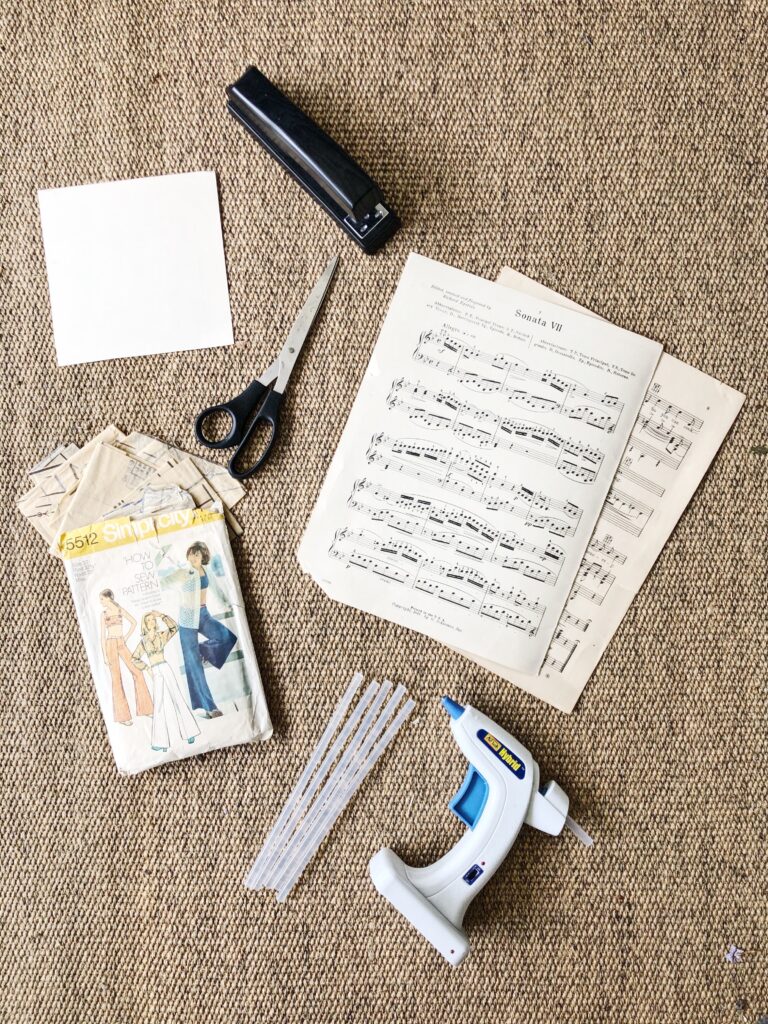
You will need sheet music, pattern paper, a glue gun, extra glue sticks, a stapler, scissors and something to embellish the center of your flower. You will also need a piece of cardboard, poster board or some thick piece of paper to use for the back of the flower. I just used a piece of the cover of the sheet music and cut it into a large square.
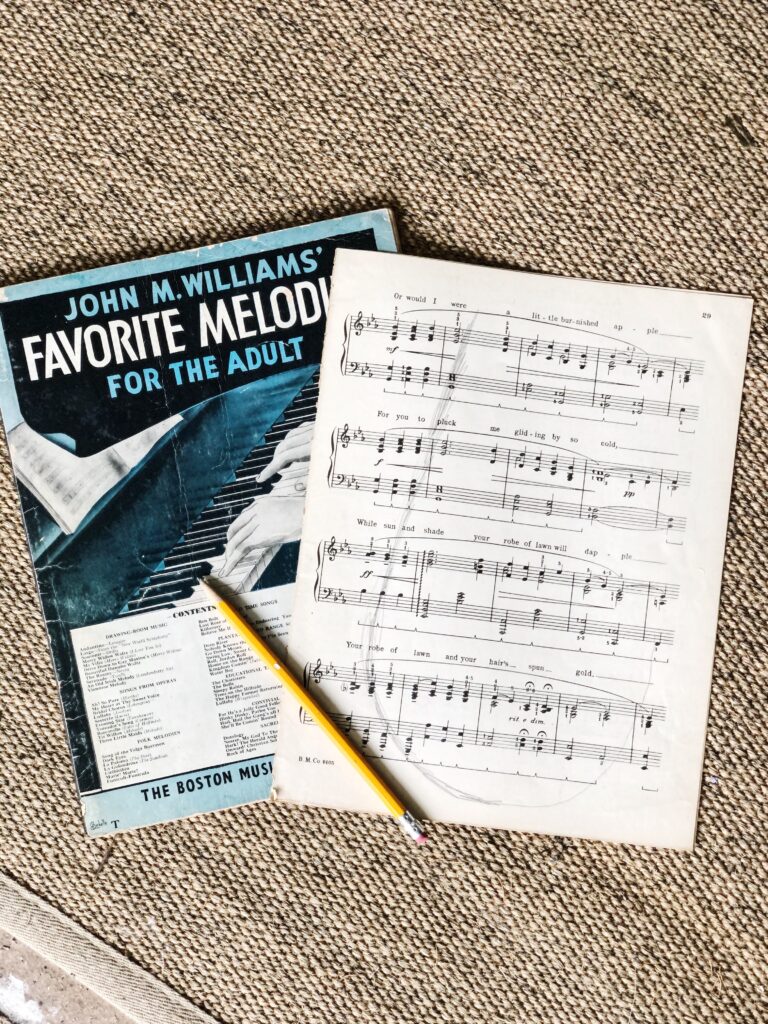
You can sometimes find books of old sheet music at thrift stores, garage sales, estate sales or antique stores. I recently found some listed on Etsy and the links are here and here. You could also use brown kraft paper, or decorative scrapbook paper for the bottom layer of petals if you can’t find sheet music or prefer some color to your flowers.
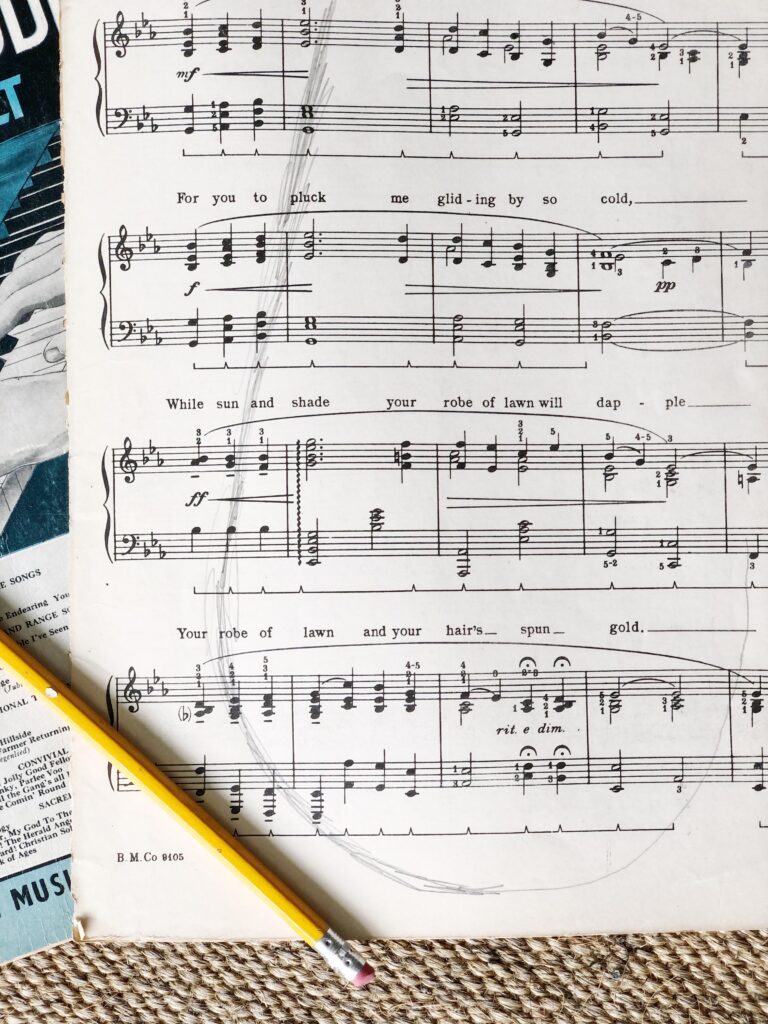
I just drew out a shape for half of the flower petal onto the book page, then folded it in half to cut, making sure not to crease the paper.
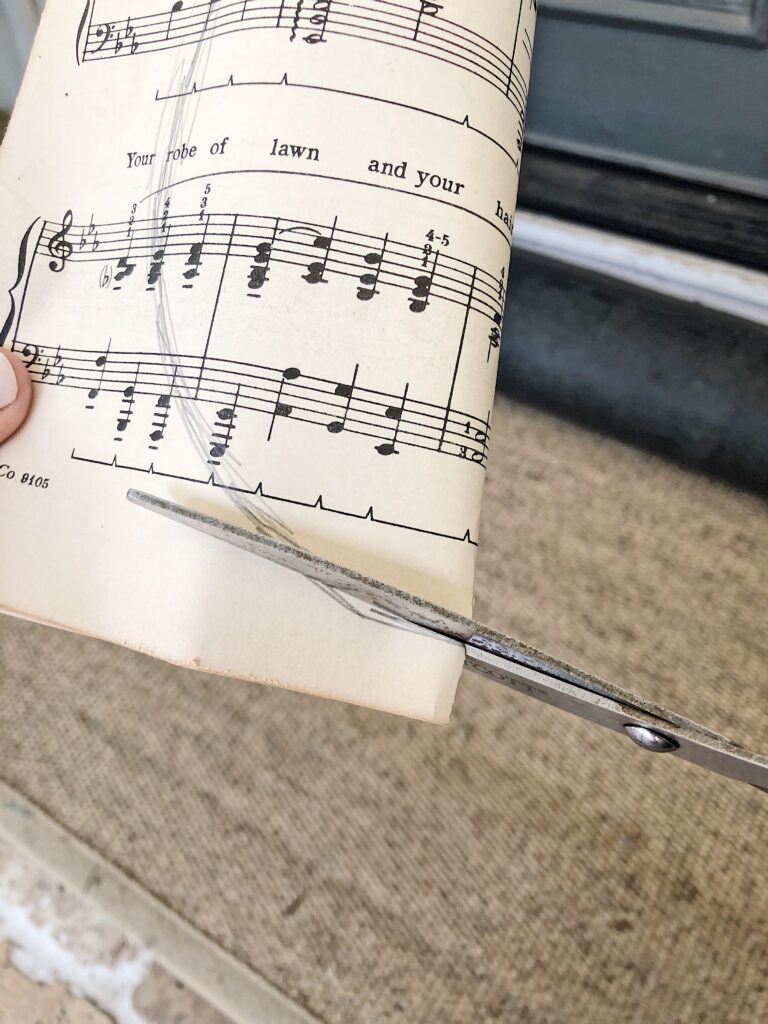
This way the petal is even all the way around. I cut 12-14 petals for a large flower, depending on how wide you make your petals. You can stack several pages on top of each other and cut several at one time.
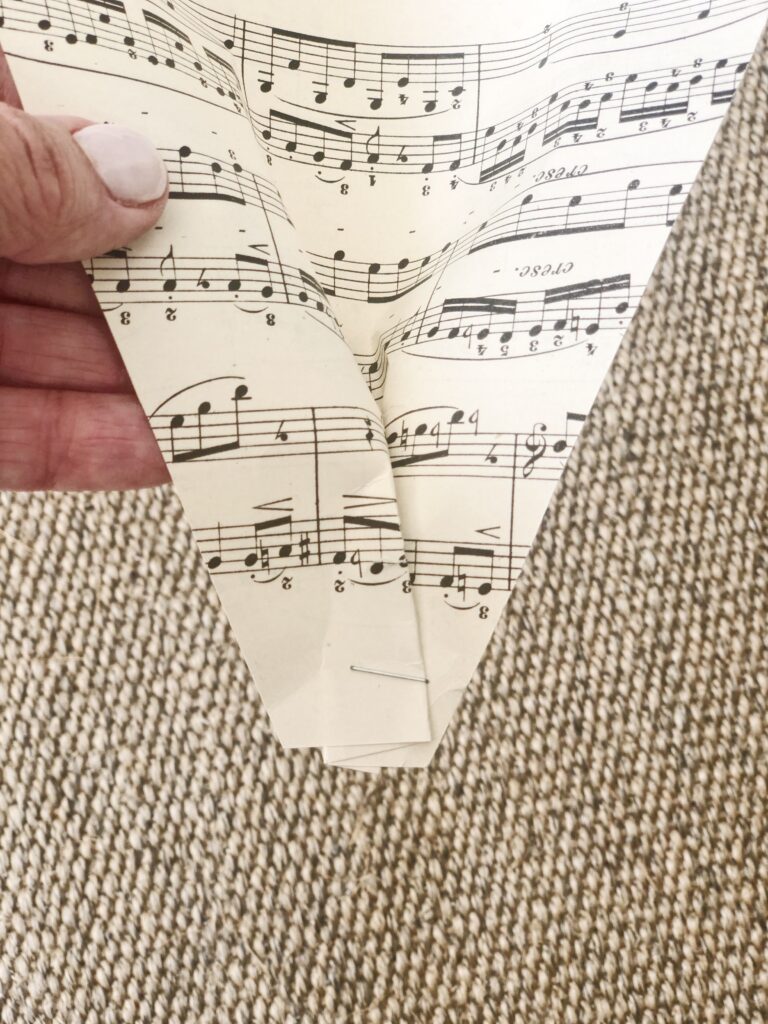
Next you will want to pinch the small end of the petal together and staple it.
Continue doing this on all the petals. When they are all stapled you will start hot gluing them to your base piece overlapping a bit, as you go.
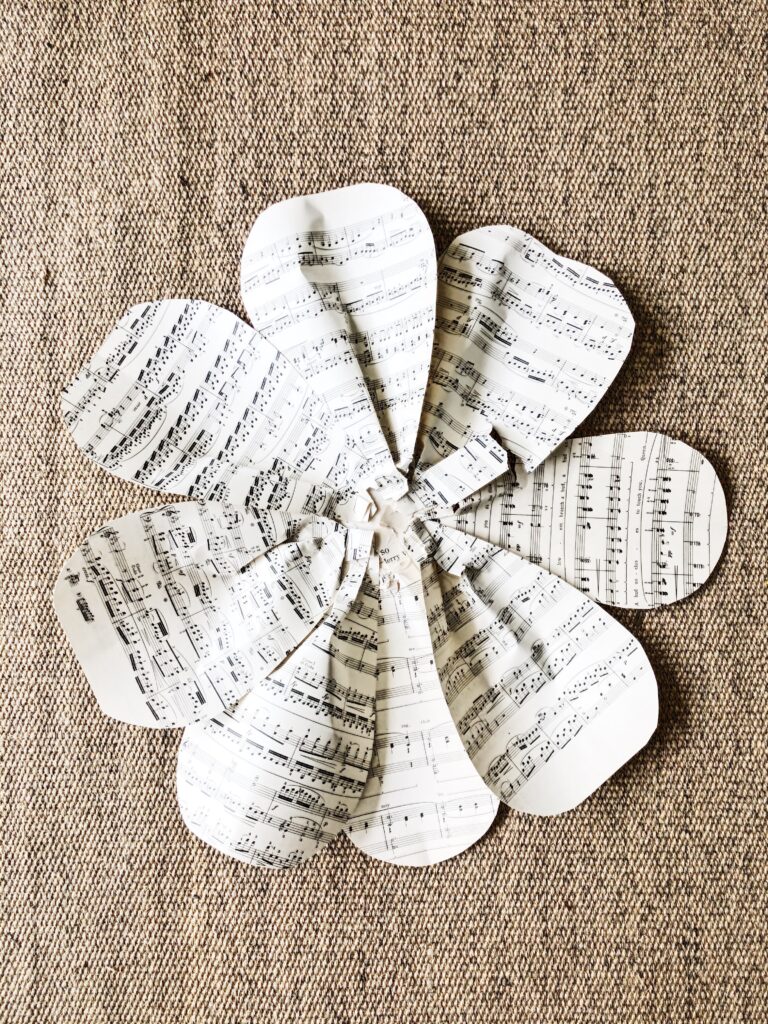

This is what the center will look like when they are glued down. There will be another layer on top of this, so it doesn’t really matter what it looks like.
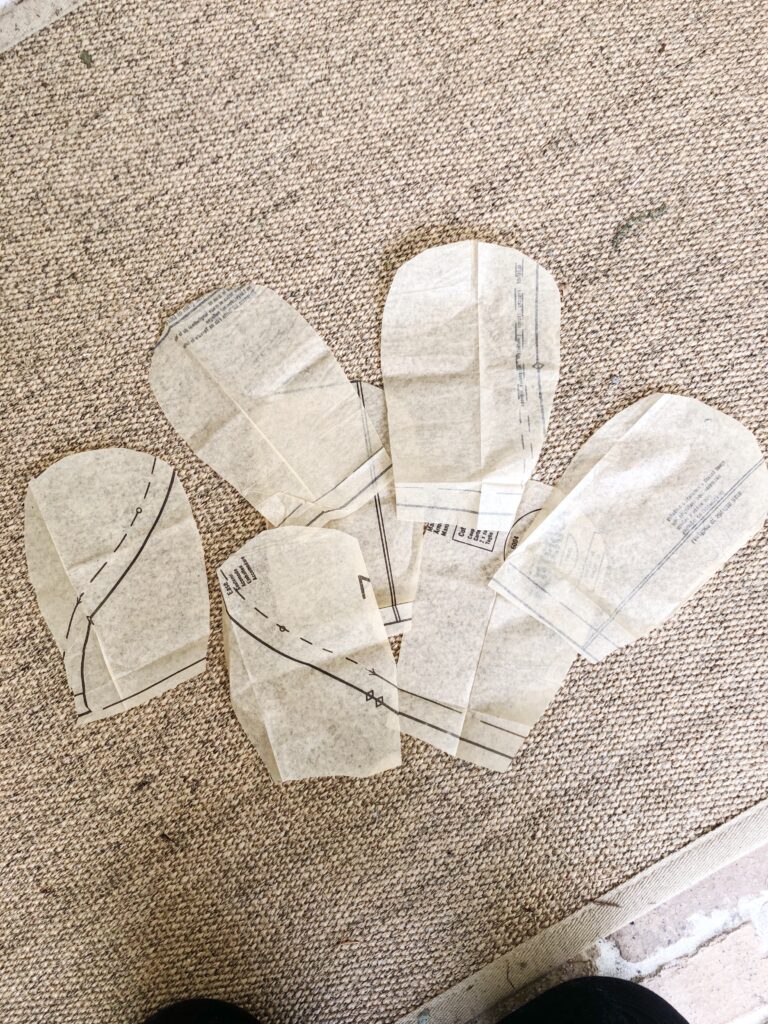
For the next step you will cut petals from the pattern paper. Draw a pattern like we did for the sheet music but slightly smaller. This will be your top layer and you don’t want them to hide your larger petals. You can staple these the same way as the book pages or just pinch them together and hold down onto a dot of hot glue. You will overlap these a bit, just like the bottom layer of petals.
A substitute for the pattern paper would be neutral or colored tissue paper, if you prefer or don’t have access to patterns. I have found old patterns at thrift stores on many occasions, but here are a couple of links to some vintage patterns I found recently on Etsy.
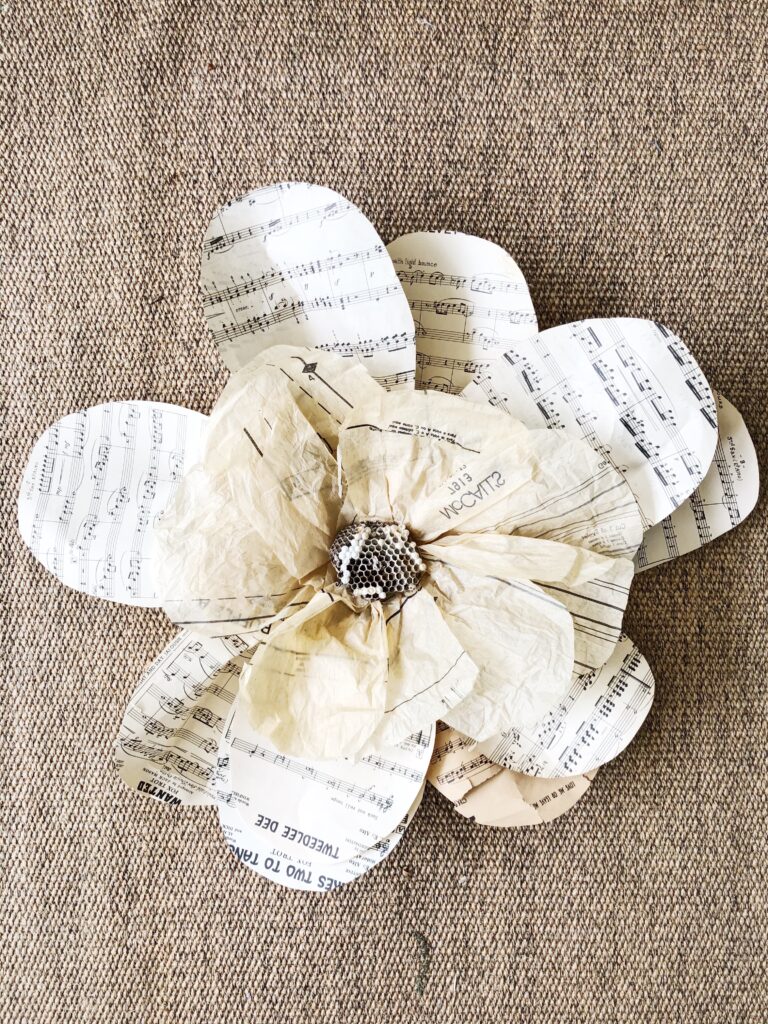
Lastly, you will need to add something to the center of your flower to finish it off. I have used wasps nests, birds nests, dried hydrangeas, and clusters of white buttons. You could also use an artificial flower. A white or cream flower if you like neutral or a color if you prefer. Just use your hot glue gun to attach it to the center. And use your imagination for your centerpiece!!
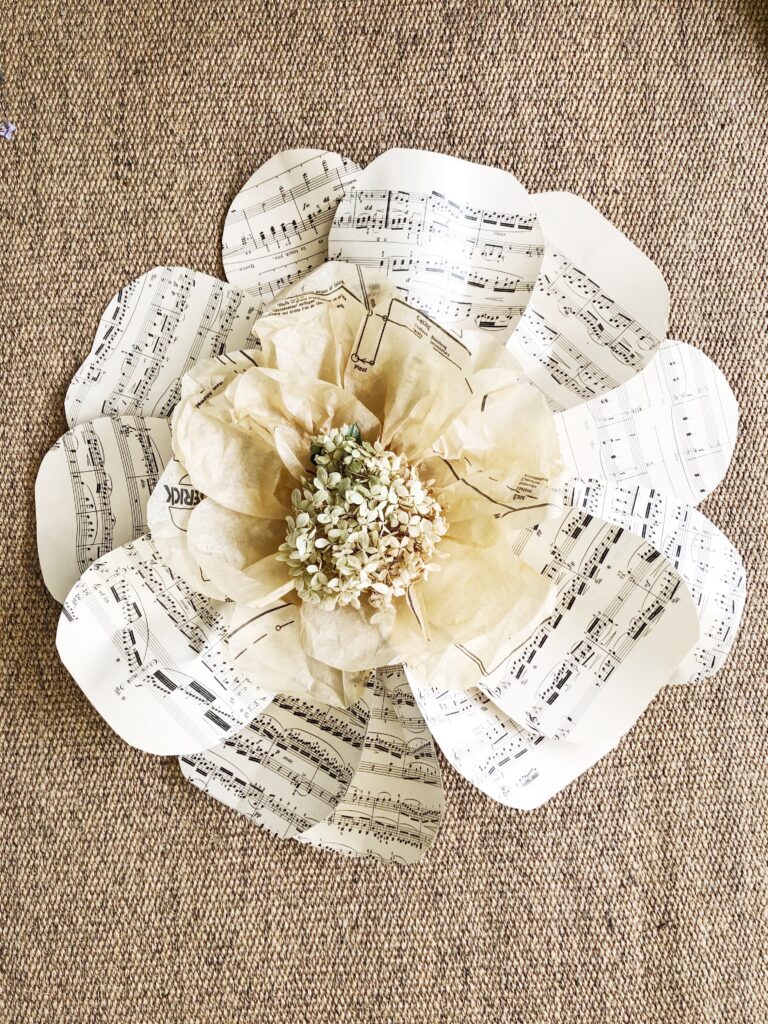
To hang your flowers, you can thumbtack a back petal to the wall so the tack is not exposed, or you can use a command strip if you prefer not to put a hole in the wall.
If you make a smaller version of this paper flower, they are a very unique embellishment to a gift package. And the sky is the limit for paper options and flower centers.
This is such a fun and easy project, and I hope you will try out your own. I would to see them, if you do.
blessings,
michele
If you enjoyed this post, you may like this….
https://vintagehomedesigns.com/book-page-table-runner-diy/

Great idea, lovely presentation and easy to follow instructions!
Oh, good! Thanks for recommending that I post about them.
Oh good! Thanks for recommending that I post about them!