How To Make an Easy No Sew Heart Pillow
This was such a fun and quick DIY! Let me show you how to make an easy no sew heart pillow, just in time for your Valentine’s Day decor.
Since I started with a store bought pillow cover, this Valentine craft was so simple. It was an easy way to add some Valentine decor to my home.

This post contains affiliate links which means if you purchase something, I make a small commission at no additional cost to you. Thank you for supporting my blog. You can read my full disclose here.
I actually made 2 of these pillows at one time because I wanted a pair of them on my sofa.
It only took about 30 minutes to make 2 of them. So let’s get started making a cute heart pillow.
what you will need for a no sew heart-shaped pillow


For your no sew heart pillow, you will need a pillow cover and a few basic supplies.
Some craft paint, a paint brush, piece of paper, a pair of scissors and a piece of cardboard to fit inside the pillow cover is all you need.
I purchased my pillow cover at the craft store for only $3.99. I bought 2 of them, since I wanted a pair of heart pillows for my living room sofa.
The pillow covers came in lots of different colors. I chose a linen color to go with the neutral decor in my home.
If you like to sew, you might want to pull out the sewing machine and stitch one up. You may already have pieces of fabric that would work.
The best part is they would be completely homemade heart pillows and be a great way to save money on this Valentine’s Day pillow.
One thing to keep in mind when choosing your pillow cover is you need a fabric that is smooth enough to paint on.
Choosing a rough fabric, fleece fabric or fur type fabric wouldn’t work for this craft. A linen or cotton fabric is much easier to paint on.
I chose an ivory color paint for the heart design on my pillow. These small bottles of paint are usually only about $1.00-$2.00 and are available at any craft store and even Walmart.
directions for making diy heart no sew pillows
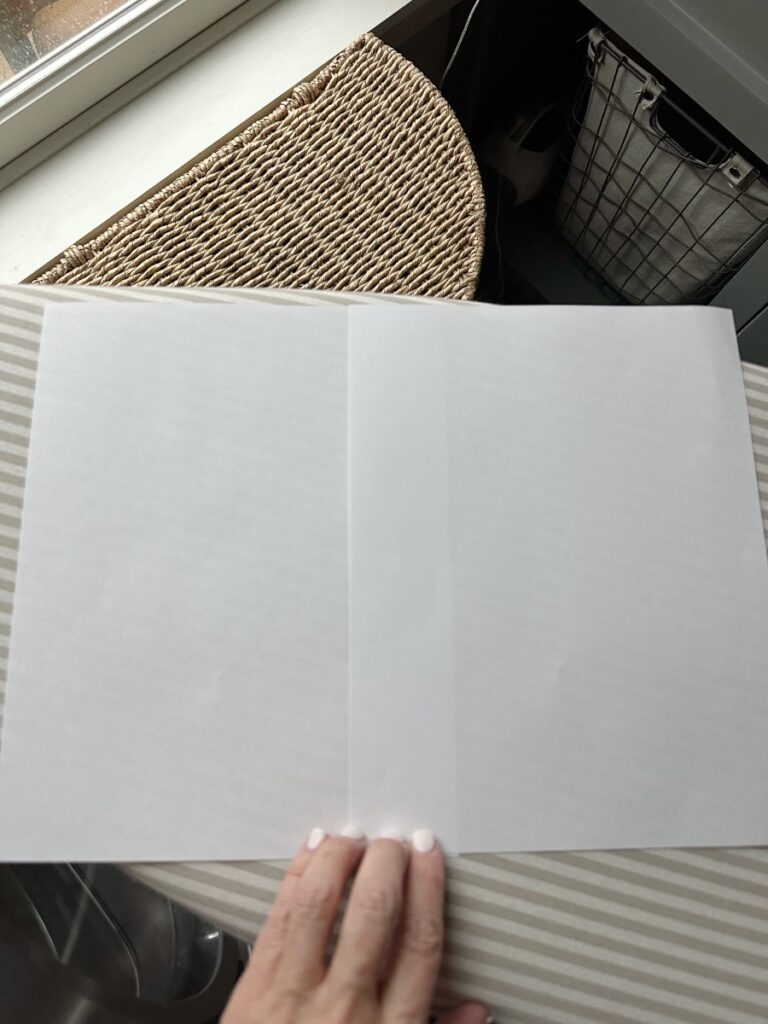


First, you will need to make a pattern for your heart shape.
I just used a piece of white paper from my printer. Since I wanted a larger heart on my pillow, I had to tape 2 pieces of paper together to make the pattern large enough. Obviously, if you want a smaller heart, 1 piece of paper will work.
Next, I folded my paper in half long ways, and using the fold line I drew a half heart shape.
Cut the paper heart shape out, then open up to see the size and shape your heart will be. You can edit the shape if it isn’t quite what you want.
Just fold it back in half and keep trimming it up until you get the desired shape. I trimmed the curves of the heart several times before I got the shape I wanted.


I ironed my pillow cover before I started working on it just to make sure I had a flat surface to paint on.
Now, you need to cut a piece of cardboard to fit inside your pillow cover. This will give you a firm surface to paint on and keep the paint from seeping through to the back side of your pillow.

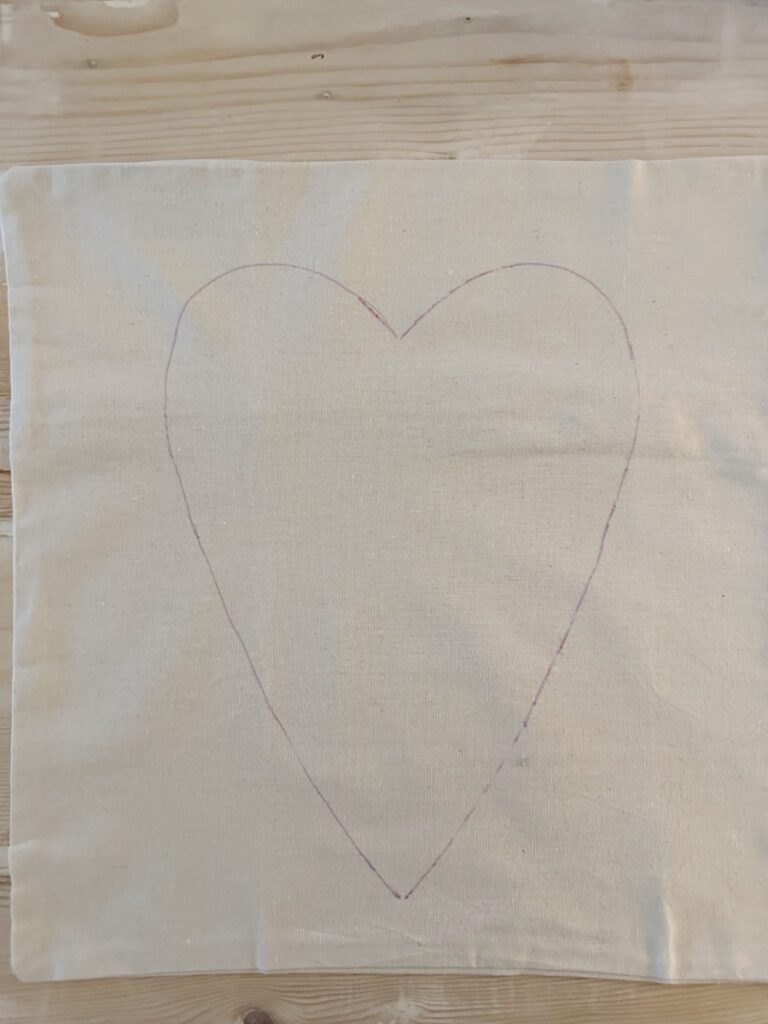
Next step is to open your heart template up, and place on top of the front side of the pillow.
You will want to place the center of the heart pattern in the center of the pillow cover.
Trace around the heart shape so you have a pattern to paint your heart onto the pillow. I used a quilters pen that is disappearing ink for this part, but you can use a pencil if you don’t have that.
The quilters pen ink will disappear in about 24 hours, so it’s great in case you make a mistake in drawing your pattern.
If you use a pen or pencil, just draw as lightly as possible so your paint will cover it.
Now it’s time to paint your heart.


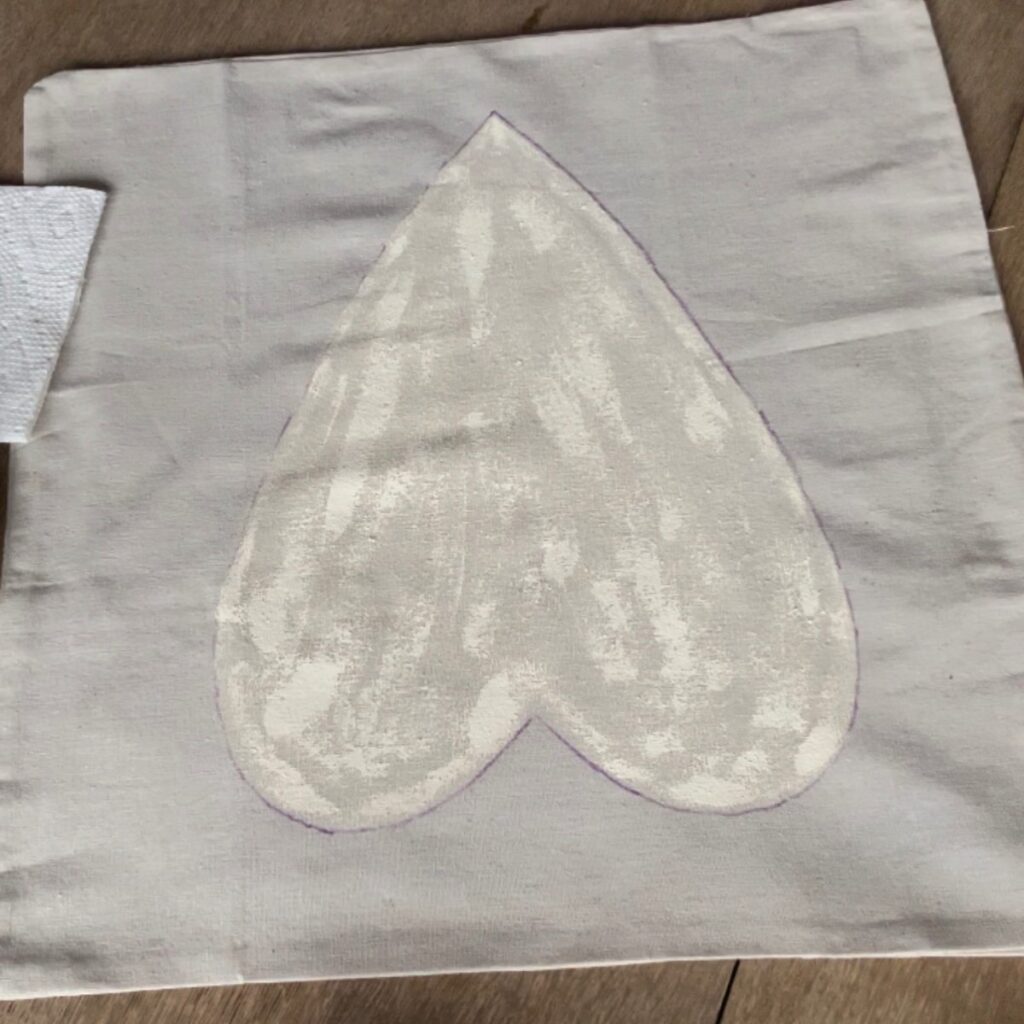

I like to use a paper plate and squeeze a bit of paint onto the plate. Next, I added a tiny bit of water and mixed with the paint to make it a little thinner and easier to move around on the fabric.
Dip your paintbrush into the paint, then wipe a lot of it off on a napkin. You want to do more of a dry brush effect and not a solid coverage.
I started around the edge of my heart shape to establish a boundary, then I filled in the center of the heart.
When I was completely done, I let the heart dry so I could see what the coverage looked like.
I ended up going back over it with a very thin layer of paint, filling in where there were some bare spots.
You can see the difference on the last photo above. The left side is filled in a little more than the right side.
When the pillow is completely dry, you will want to iron the back of the heart design, so it will set the paint. This will ensure your design won’t rub off or wash off.
Finally, place a pillow insert into your pillow cover and enjoy!
A great tip for filling your pillow covers is to use a pillow form that is 2″ larger than your pillow cover.
It will make your pillow much more full and give a higher end look.

These make such a fun throw pillow for Valentine’s Day! But since I made my heart pillow in a neutral color I’m planning on keeping it out for a while.
This homemade heart pillow is one of those Valentine’s Day crafts that would be a fun project to do with older kids.
I hope you enjoyed this DIY for how to make an easy no sew heart pillow.
I would love to hear if you make your own!
blessings,
Be sure and Pin It to remember it…

shop the post
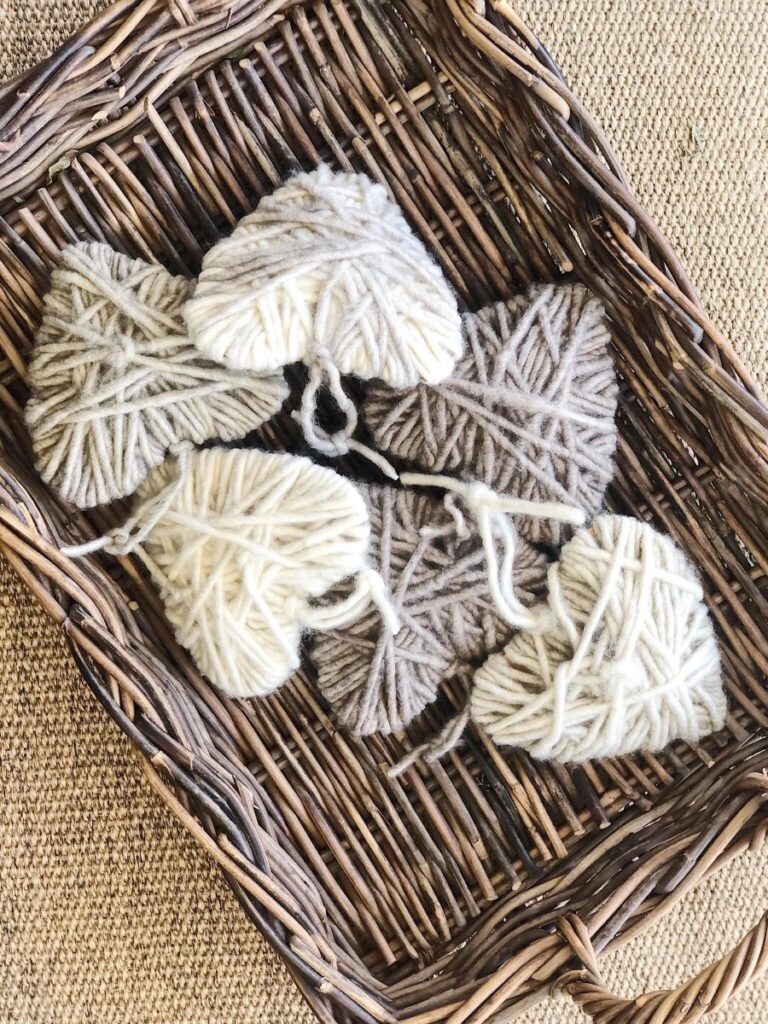
If you’re looking for more Valentine craft ideas or DIY projects, you might like these yarn hearts….
Or this heart shaped baby’s breath wreath….


This is super
Cute. I would love to share this on my newsletter.
Thanks so much Renae! I’m so glad you like it and I would love for you to share it.
This is adorable! I love no sew projects and this one is so easy! They look beautiful in your home. Pinned!
Thank you! It was so fun and easy to make.
Love this! so sweet and simple.
Thanks Wendy! It was such a fun and easy DIY.
Michele
This is a cute idea. Love it.
Thank you Rachel! It was a fun and easy pillow to make.
Love!!!! No pun intended 🙂
Oh, good! Thanks so much and I’m so glad you liked it.
So pretty…clear instructions. Thank you
Thanks so much for the kind words. I am so glad to hear that. I always wonder if I am explaining things clearly. Have a wonderful week!
Bless your heart Michelle, and thank you so much for sharing this beautiful idea!❤️
I’m so glad you like it!!
These ideas are all precious!!! I’m going to do these!!!!! Thanks so much !!!
I’m so glad you like them and I hope you enjoy making some of your own! And thanks so much for commenting and the kind words.
Have a wonderful weekend!