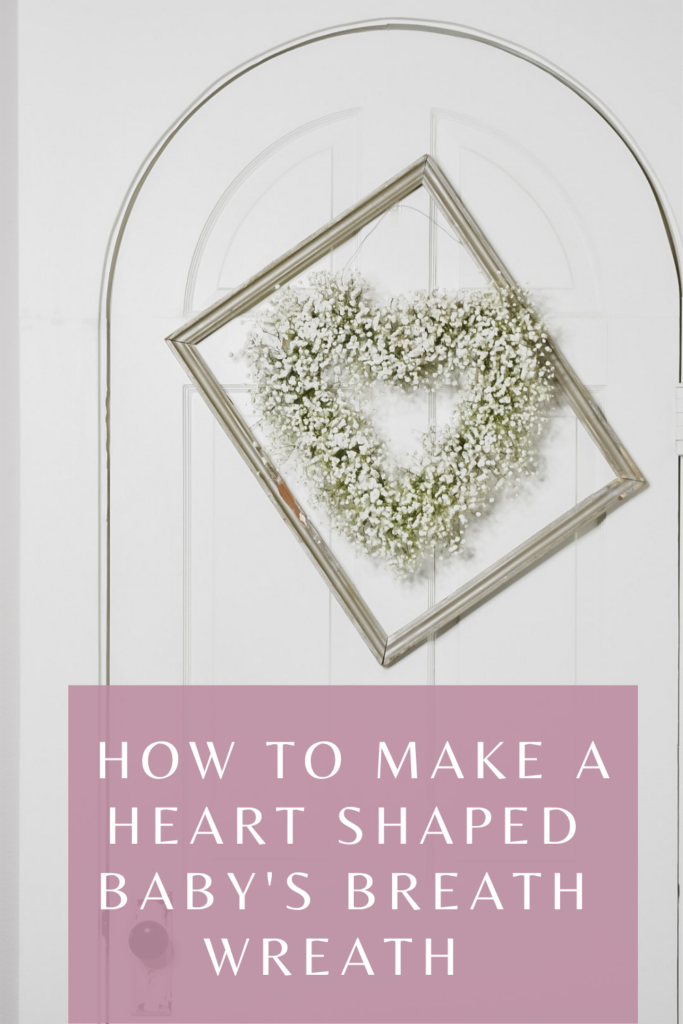
Heart Shaped Wreath with Baby’s Breath
I’ve been wanting a new wreath since I took the Christmas decor down. It is a bit of a transitional time between winter and spring and sometimes hard to know what to do in between these seasons.
I started thinking that maybe I could bring a little fresh flower look combined with something for Valentine’s Day, and I came up with this heart shaped wreath with baby’s breath.
It was super easy to make and fairly inexpensive. I think the baby’s breath will dry nicely and should last quite a while.
Since the baby’s breath is white, even though it is a heart shape, it doesn’t necessarily scream Valentine’s Day. This way I can keep it up for quite a while, until I am ready to change to a spring wreath.
Here is what you will need to make this wreath…

supplies
Cardboard large enough for the size wreath you want
Floral Foam
Baby’s Breath (I purchased mine in the floral department of my local grocery store)
Hot glue gun
directions

You will need a heart shape pattern the size you want your wreath to be. I used a large piece of white paper, folded it in half and drew half of a heart shape using the fold as the center.
When you open, it will be a perfect heart shape.

Next, you will draw your heart on the cardboard using the pattern as your template. Then cut it out.
Now, draw a smaller heart in the center of the larger heart, leaving about a 3″ width between them. Cut the center out. This will now be the base for your wreath.

Cut pieces of floral foam to fit around the heart and glue them down. This doesn’t have to cover it perfectly. Just cover the best you can.
Now, you will begin sticking small bundles of the baby’s breath into the heart. I started at the top and worked my way around. When it was fairly covered, I went back and filled any gaps. I also added some around the edges where the cardboard or floral foam might still be showing.

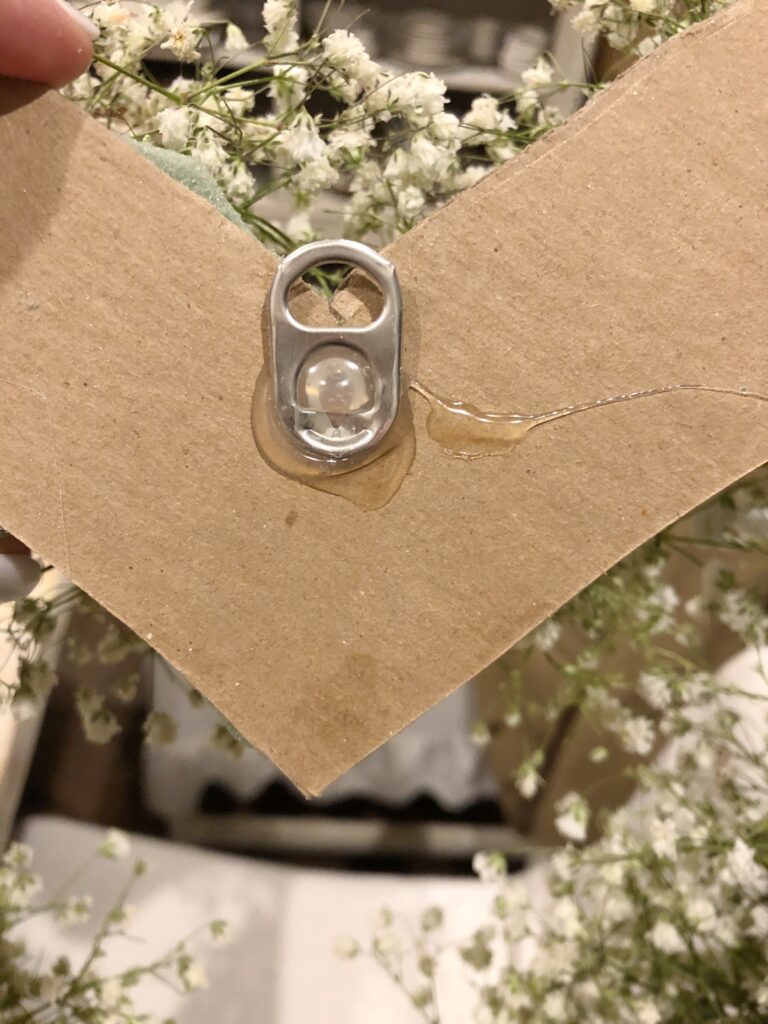
I hot glued the pop top of a soda can to the back and hung my wreath from that.

And just like that, I have a neutral color fresh flower wreath. As I mentioned, the baby’s breath should dry and I will be able to keep it up for quite a while.

I hope you enjoyed this heart shaped baby’s breath wreath tutorial. If you make one I would love to hear about it!!
As always, thank you so much for stopping by!
blessings,
michele
Pin it to remember it…..

If you enjoyed this post, you might like…https://vintagehomedesigns.com/diy-yarn-wrapped-hearts/
Follow along on Facebook and Instagram. Also, don’t forget to subscribe to the blog so you don’t miss a post.

Michele,
This is so adorable. I’m sharing on my Dirt Road adventures this weekend.
Rachel
Thank you so much for sharing sweet friend! So glad you liked it!
Your wreath is beautiful! I will be making one this week. Thank you for the great idea. I don’t use red anywhere in my house, so this will be a sweet Valentine’s day addition,
Oh good! So glad you liked it!!
Thank you for following and commenting!
This DIY is 100% adorable. I love everything you did here in this post. however, I do have a question. Is the gorgeous frame, just hanging separately from the beautiful baby’s breath heart wreath?
Yes, it was just a thrifted frame I’ve had a long time. I hung it on the door frame with a command hook and hung the wreath inside of it.
I love this! Did you use hot glue to stick on the baby’s breath or just poke it into the foam?
I just poked it into the foam. The only places I used hot glue is if I needed to fill in an empty space with a small piece of baby’s breath.