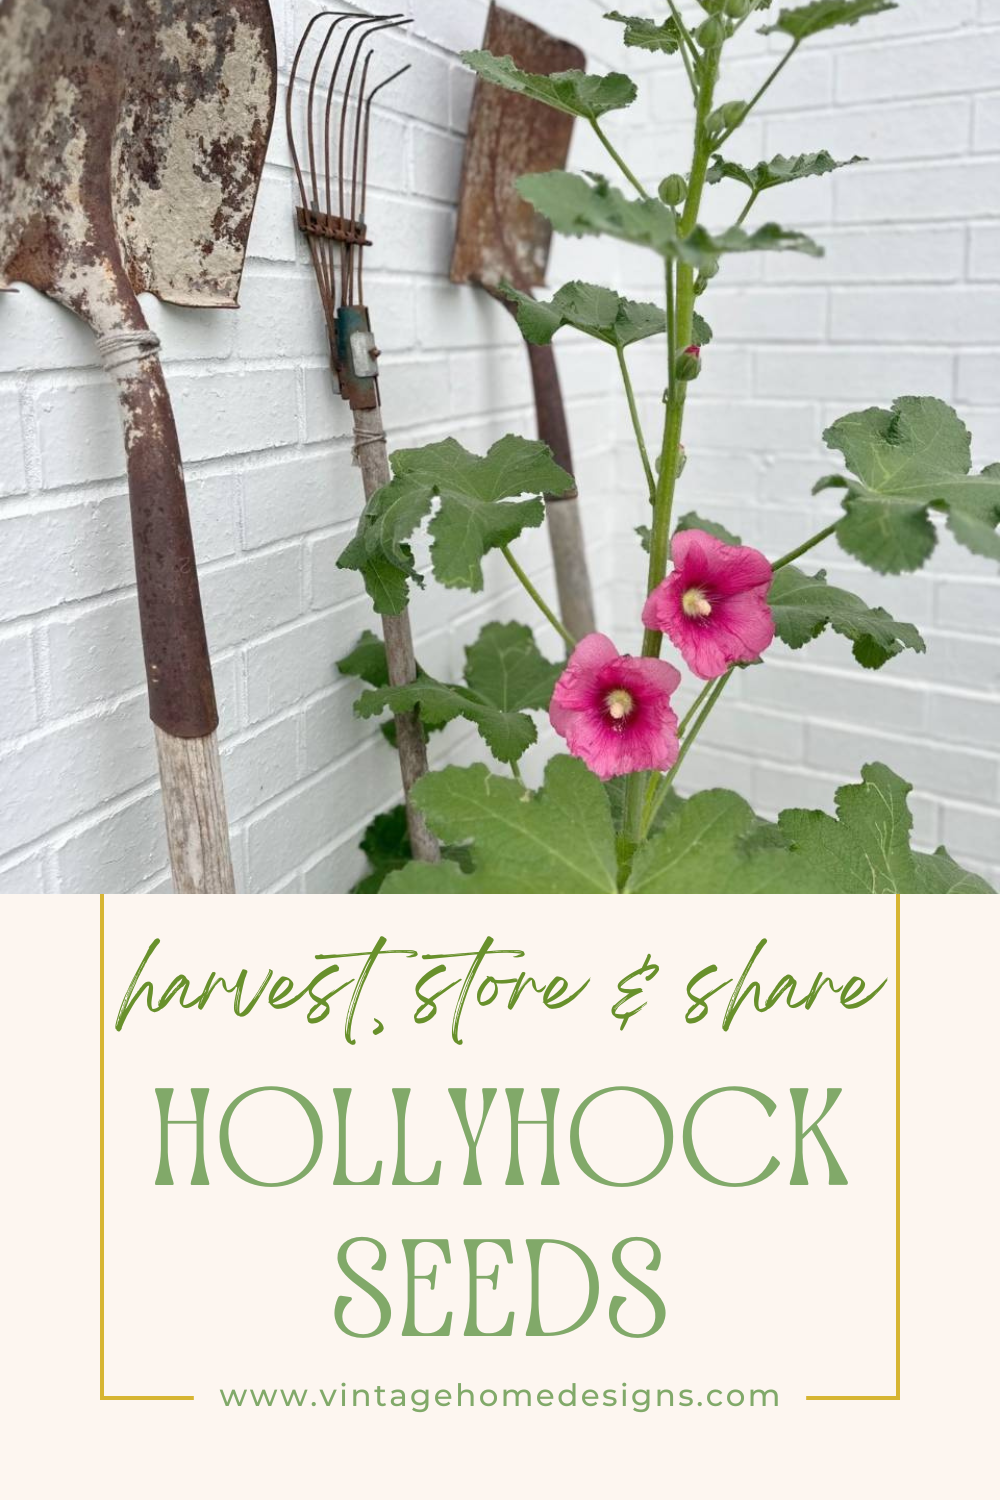
Simple Steps to Harvest, Store and Share Hollyhock Seeds
I have been gardening and growing flowers for 35+ years. One of my favorites is hollyhocks. Today, I’m sharing simple steps to harvest, store and share hollyhock seeds.
For some reason, I never harvested seeds from my flowers all the years I was growing them.
About 2 years ago, it dawned on me that I could save so much money by collecting seeds from my own flowers at the end of every season.
This post contains affiliate links which means if you purchase something, I make a small commission at no additional cost to you. Thank you for supporting my blog. You can read my full disclosure here.
I have had so much pleasure harvesting and storing my seeds the past couple of years.
I love being able to share seeds with my gardening friends and also have seeds already on hand for my gardens as soon as planting season arrives.
Two of my favorite flowers to grow are hollyhocks and zinnias.
Both of these flowers offer tons of seeds at the end of the season.
Both flowers are so easy to gather seeds from, most especially hollyhocks.
Let me share the simple steps to harvest, store and share your hollyhock seeds.
what are hollyhocks
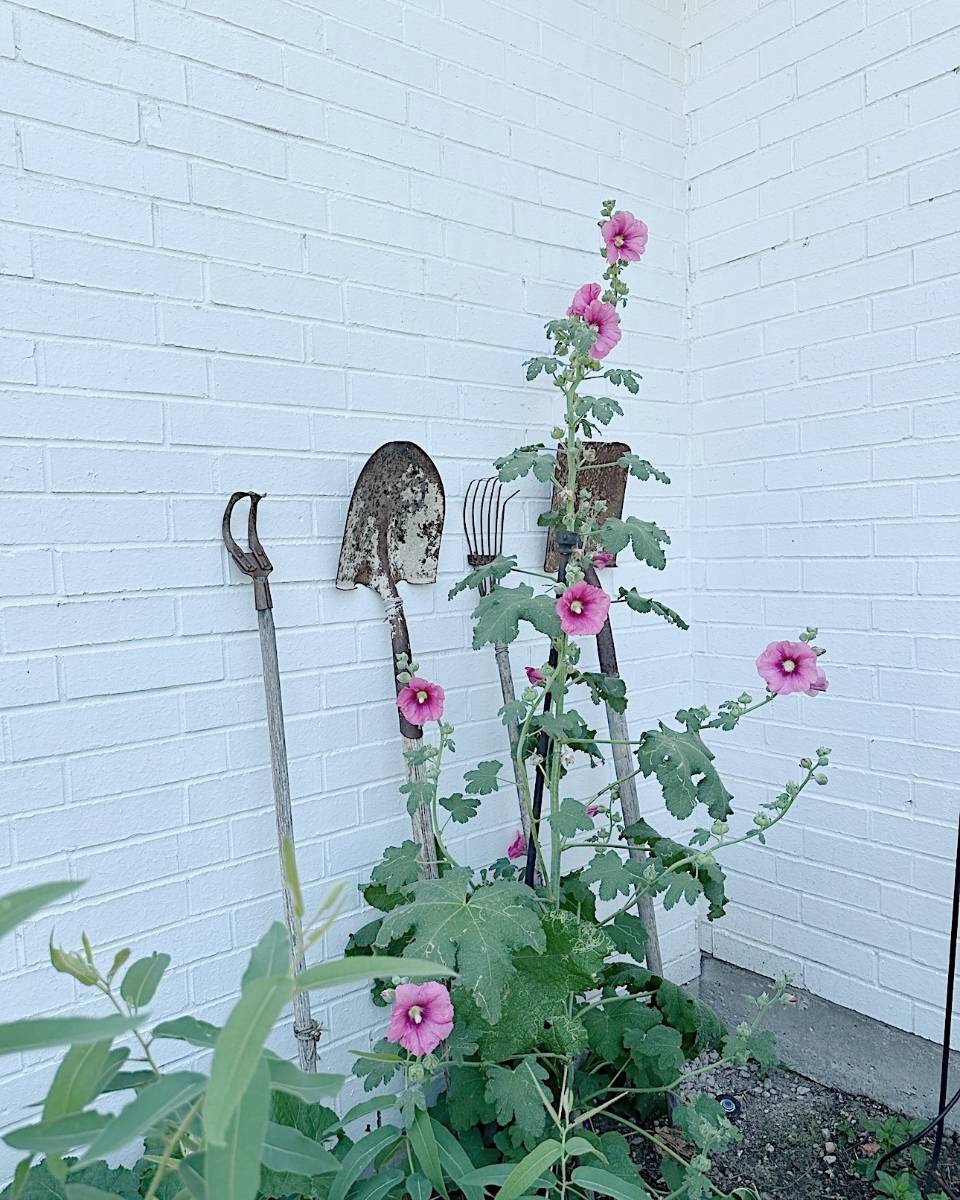
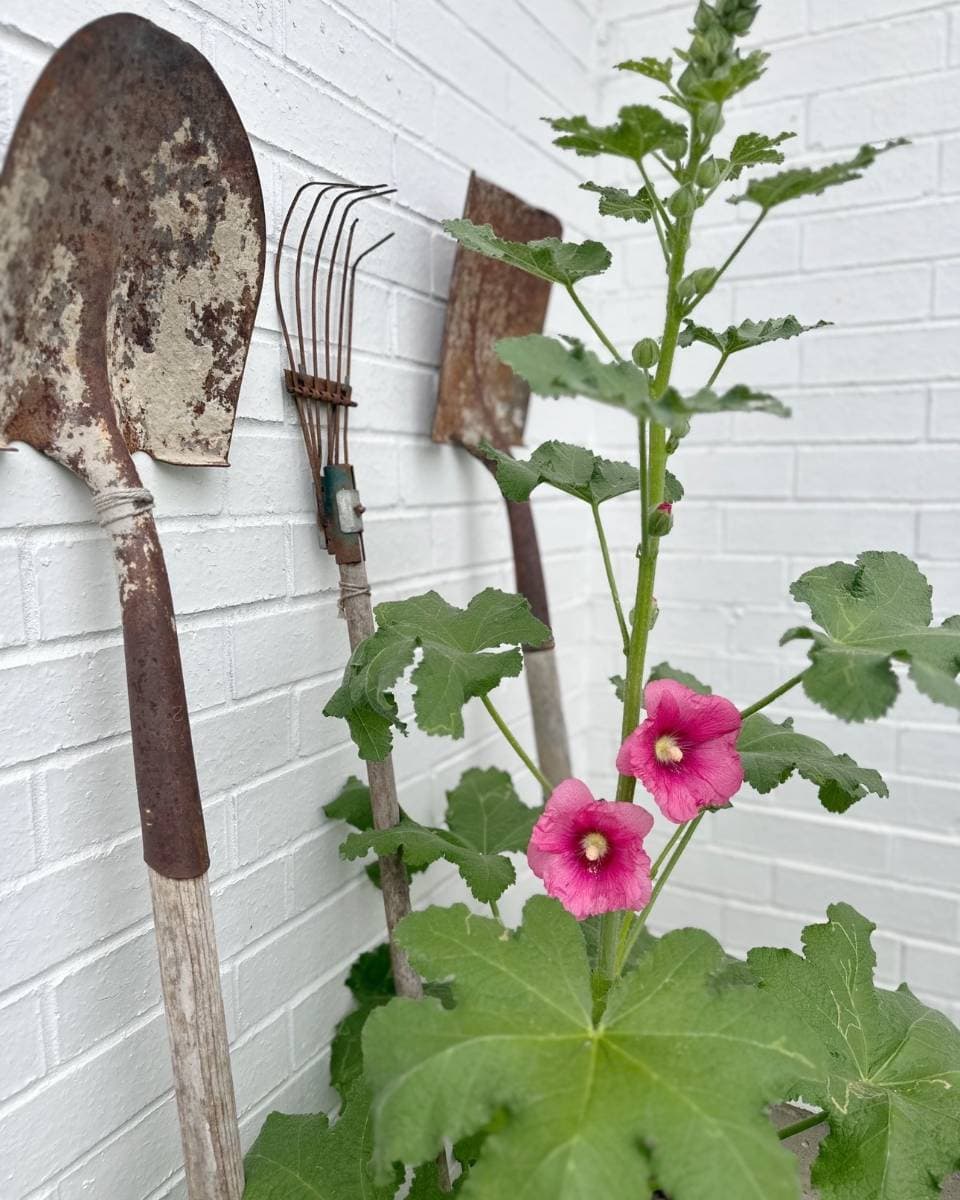
Hollyhocks are an old fashioned cottage garden style flower.
There are numerous flowers that bloom along tall stalks and come in a variety of colors.
They bloom from early summer into the fall.
Hollyhocks are considered a biennial. Some people consider them a perennial because they can come back every year.
However, after they flower and set seed, the new plants/flowers actually come up in a different place.
So, it is not the same plant that comes up year after year.
Hollyhocks prefer full sun and well-draining soil, but need at least six hours of sun per day.
When grown from seed, they don’t typically bloom the first season.
Since they are considered biennial, they establish roots the first year and blooms the second year.
hollyhocks through the years


As I mentioned, hollyhocks have been one of my favorite flowers to grow in the garden.
I think my first time to grow hollyhock plants was in 1996, so pardon the poor quality of photos.
I had a 4′ x 8′ raised flower bed filled with them.
Honestly, I didn’t really know anything about them and this was long before doing a Google search or a search on Pinterest was even possible.
I had seen them in the gardens at a bed & breakfast my mom and I stayed at and was immediately smitten.
I knew I wanted to try them in my own garden, which became a lot of trial and error.
The first year growing hollyhocks, I learned quickly they are prone to rust disease.
what is hollyhock rust?
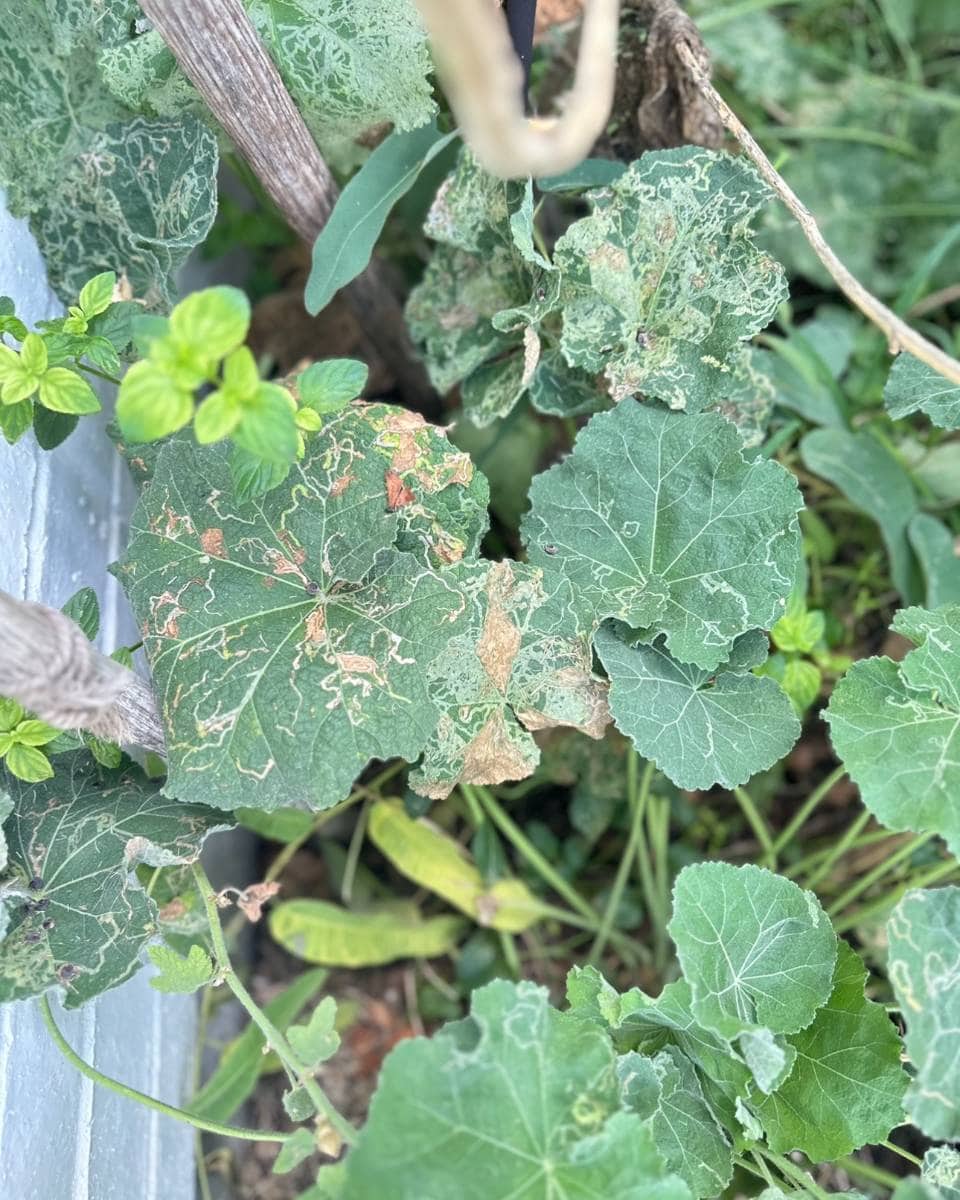
Rust disease is a fungal leaf disease and the most common problem with hollyhocks.
Most likely it won’t kill the plant, but it can spread quickly and turn your leaves brown and affect the overall appearance of you plant.
Check your plants often during the growing season and cut away any leaves that have signs of rust as soon as you see any.
Be sure and dispose of any of the affected leaves or stems.
Don’t leave them laying in your garden since rust disease can spread easily if you leave behind any infected parts.
You will also want to disinfect your garden clippers, to make sure you don’t spread the rust disease.
drying hollyhock seeds
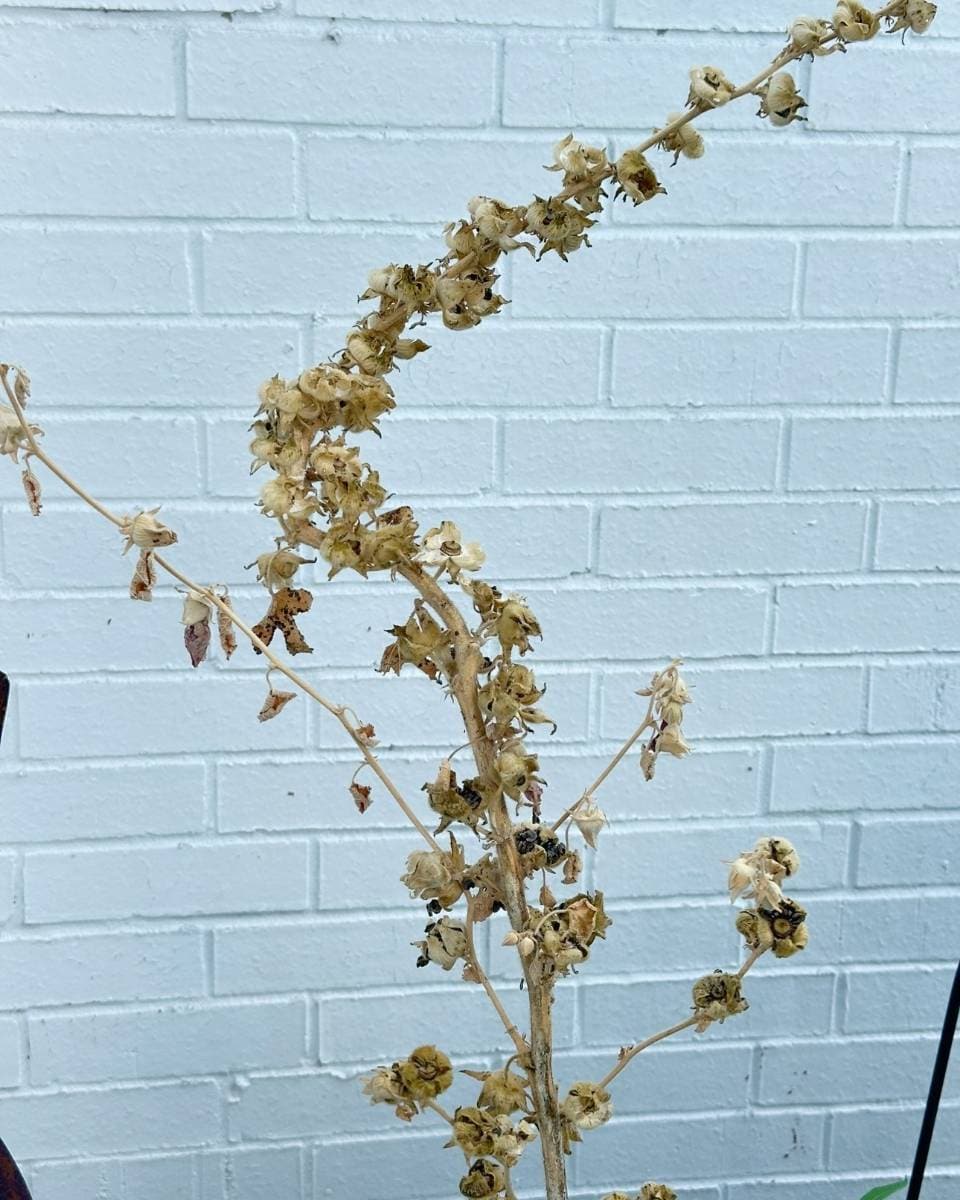
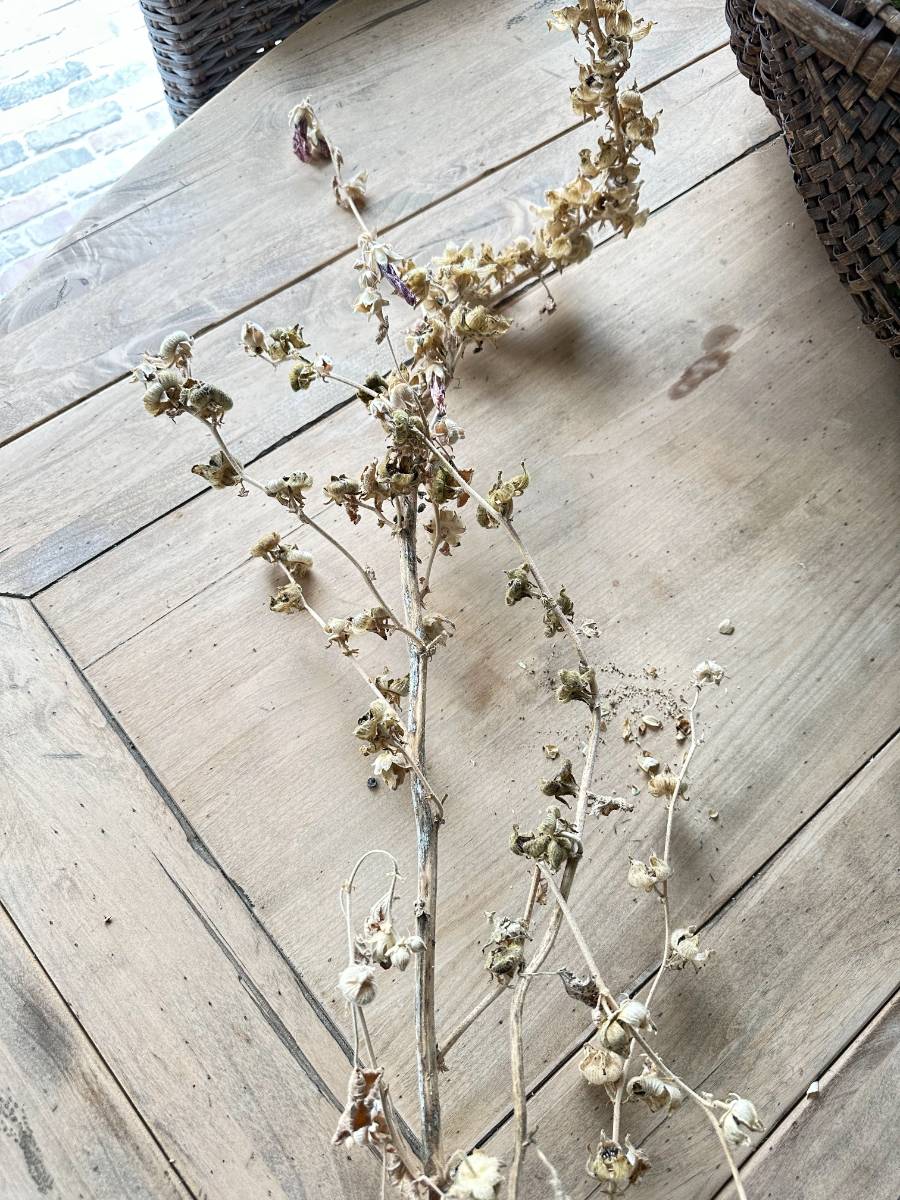
The easiest way to dry the hollyhock seeds is to let the seed heads dry right on the flower stalk.
Wait for the seed pods to turn light brown then you can easily pull the seed pods off.
harvesting hollyhock seeds
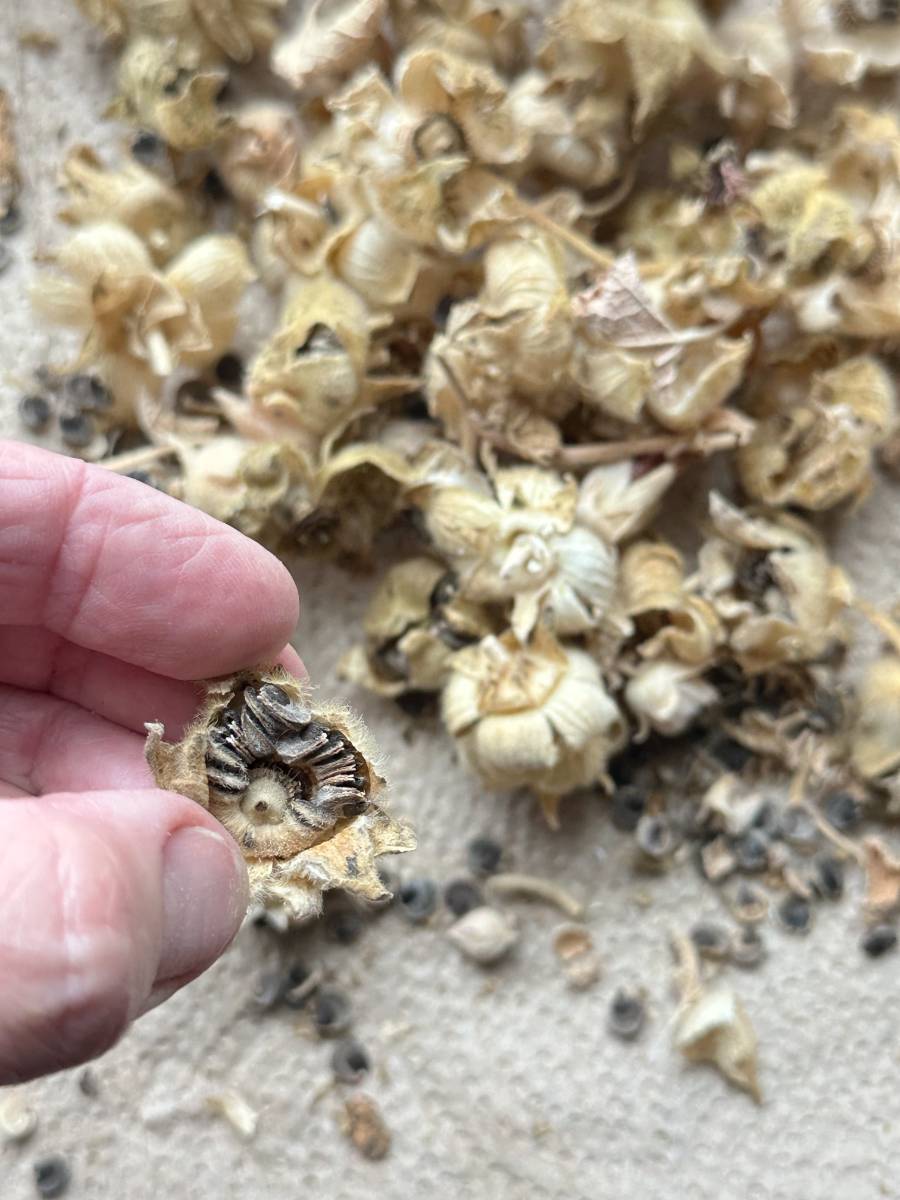
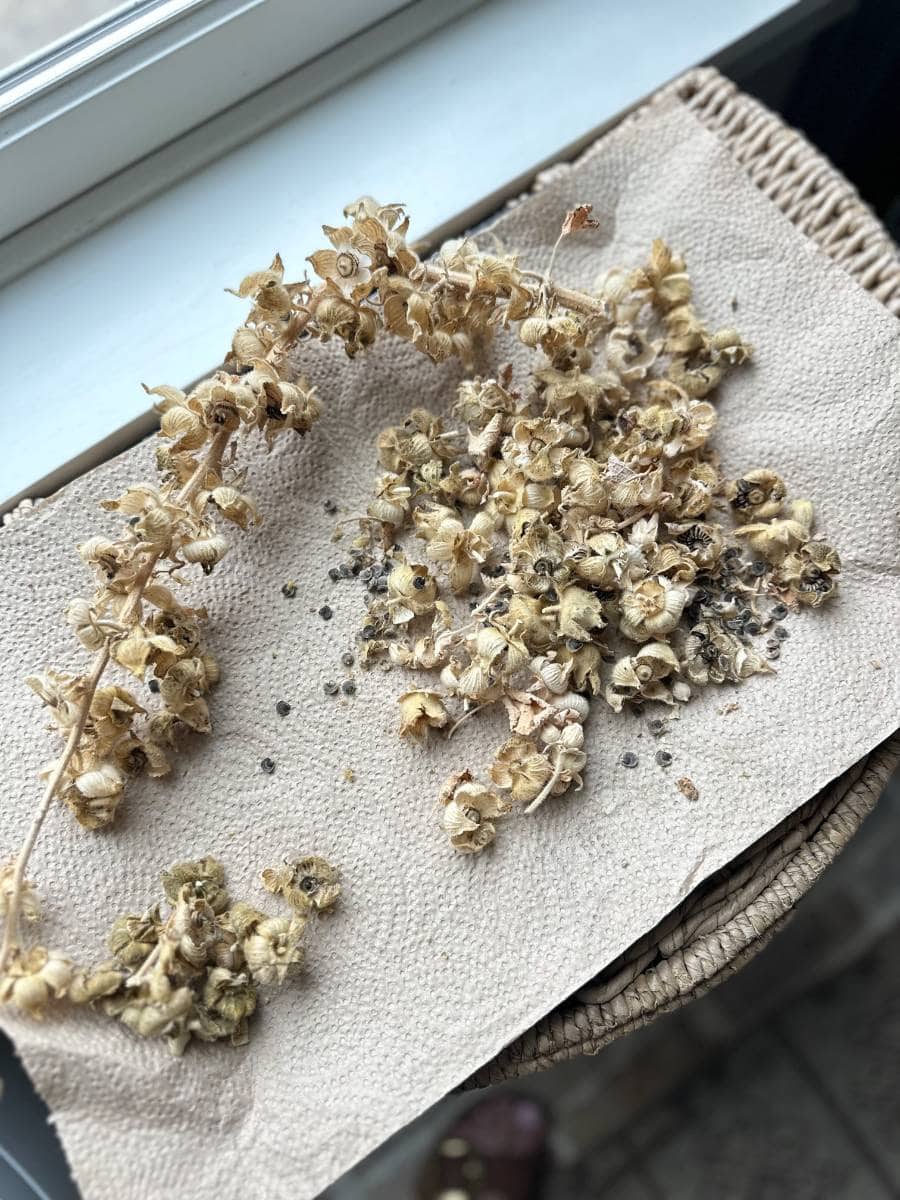
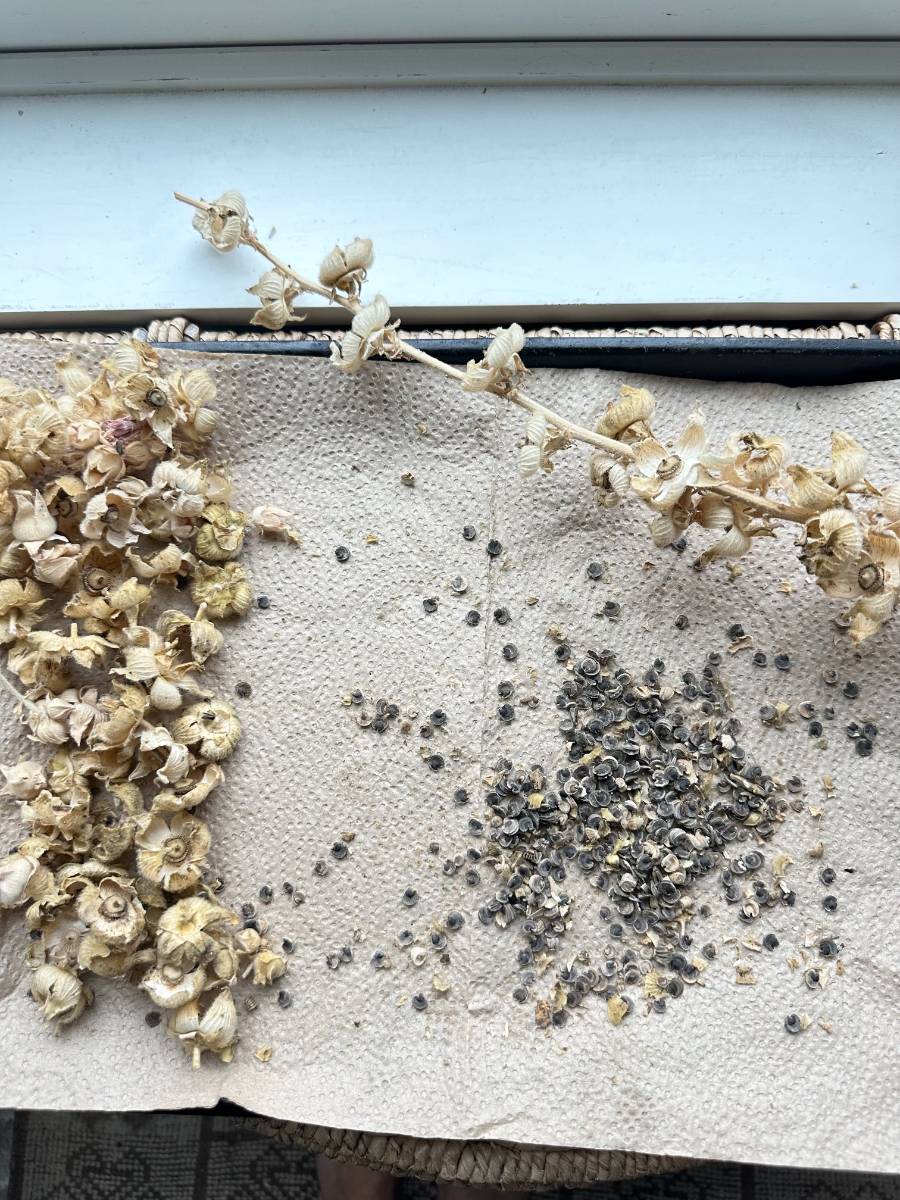
When the hollyhock seed pods have dried and turned brown, you can remove the pods from the hollyhock stem.
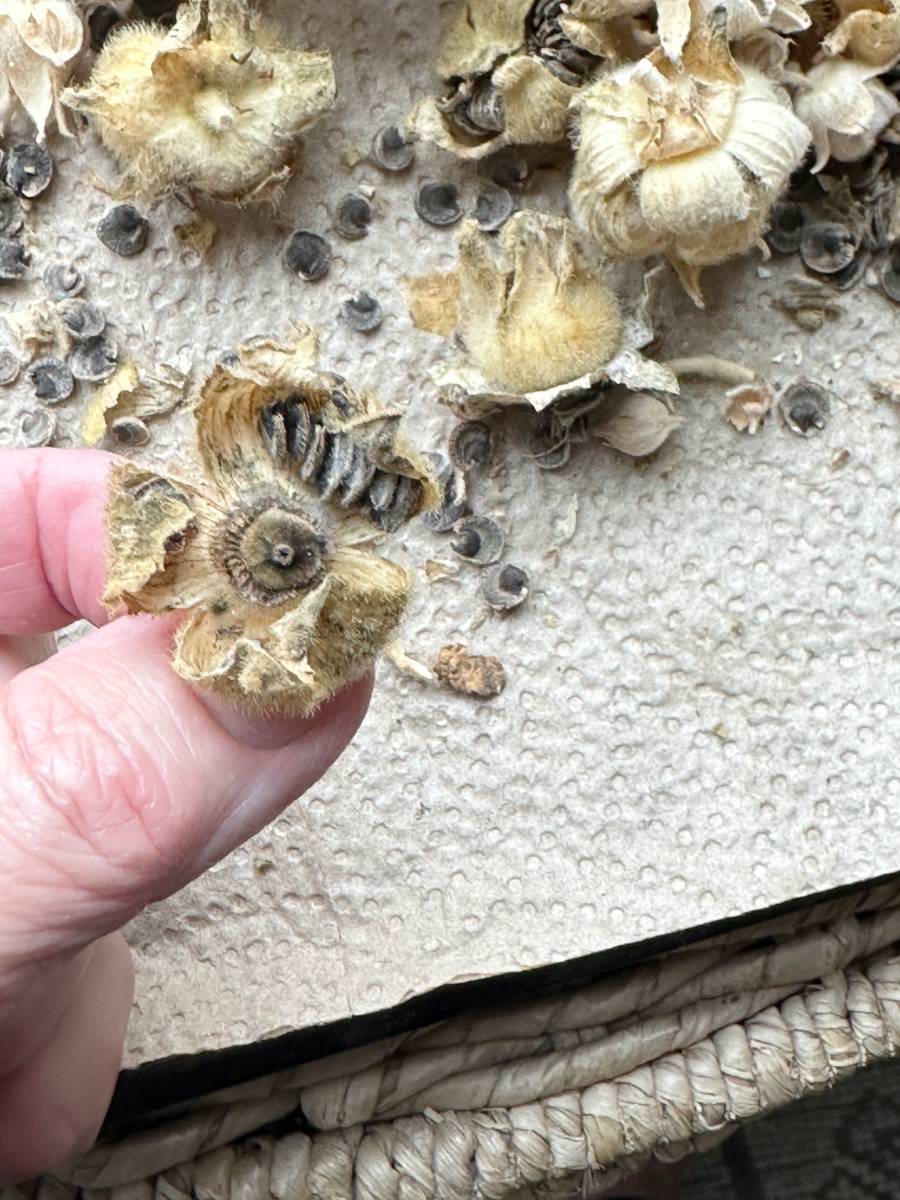
Then you want to break the seed pod open to reveal the seeds.
There are lots of seeds within each seed pod. The seeds are the small dark brown or black pieces within the pod.
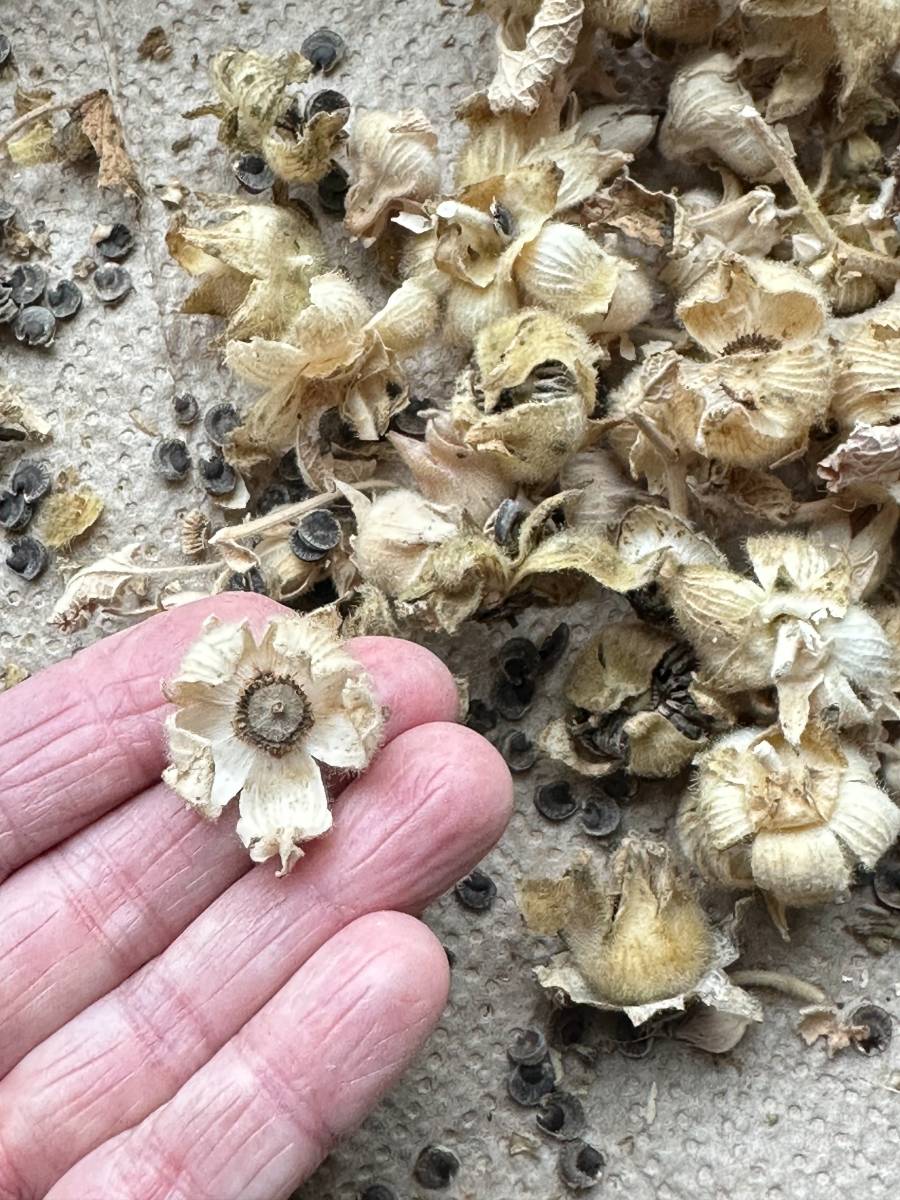
The pods are very easy to open up and the seeds will fall right out.
When collecting hollyhock seeds, be sure and have something on your table or work surface to catch the seeds.
I typically put down a piece of parchment paper or paper towel.

saving and storing and hollyhock seeds
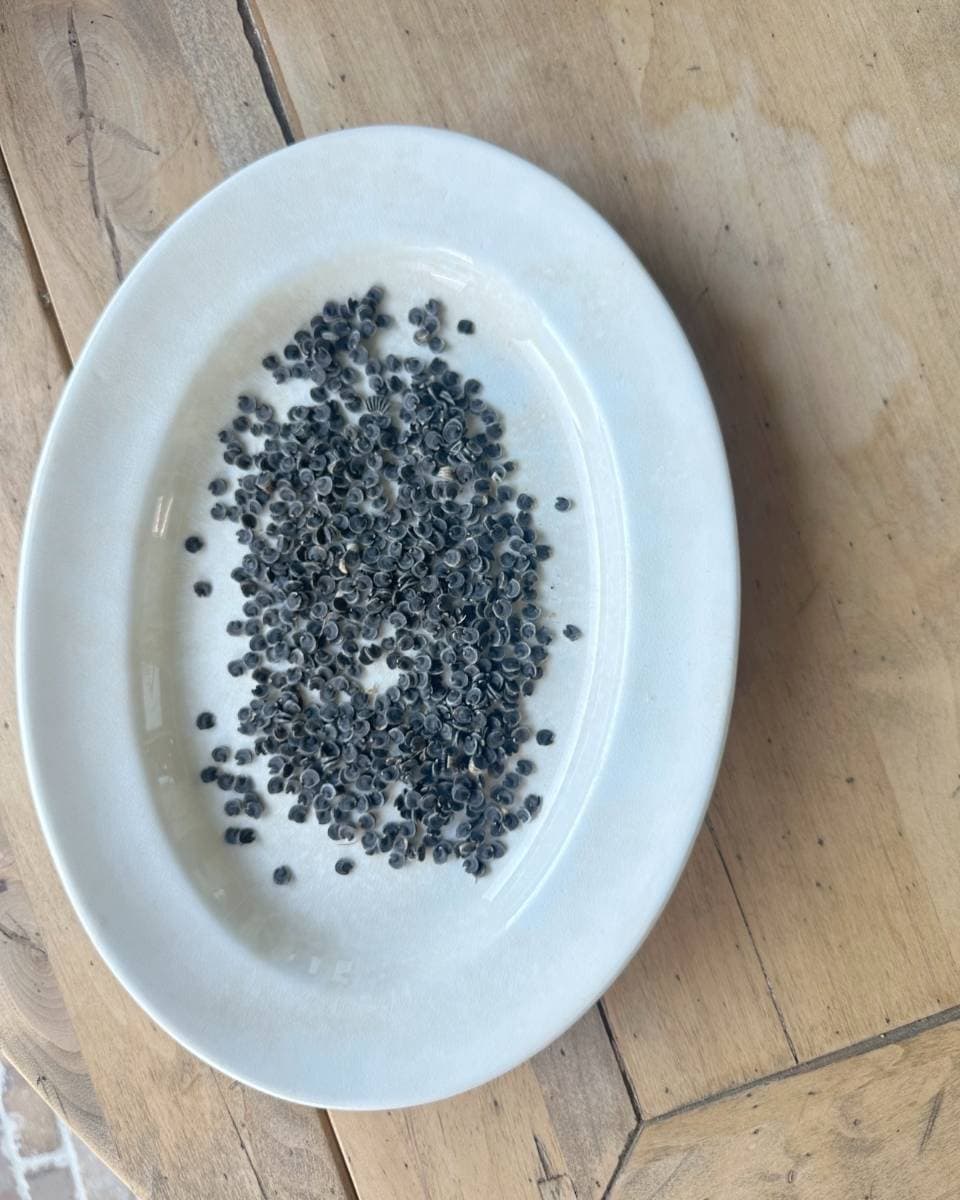
After you remove the seeds from the pods, it is best to let them air out for a couple of days to make sure any moisture is removed.
This is the best way to prevent any chance of mold.
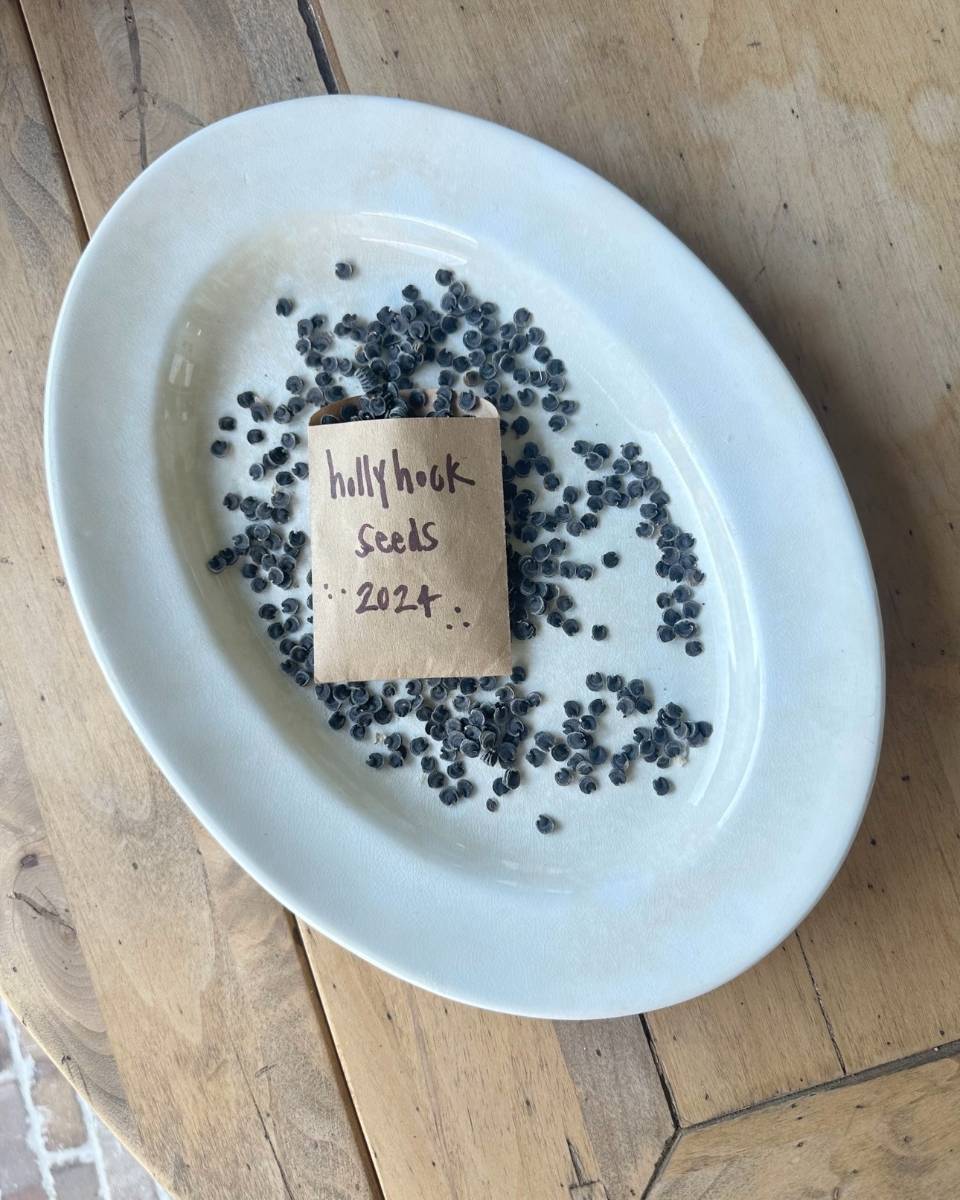
To save hollyhock seeds, you can place them in an airtight container in a cool dry place or even in the refrigerator.
Be sure and write the name of the seeds, color of the flower the seeds came from and the date.
This way, you can easily identify them when it’s time to plant.
sharing your seeds
Sharing flower seeds has become something I look forward after each harvest.
I not only save my hollyhock seeds, I also love collecting and sharing zinnia seeds.
This year, for the first time, I am also collecting sunflower seeds to share next year.
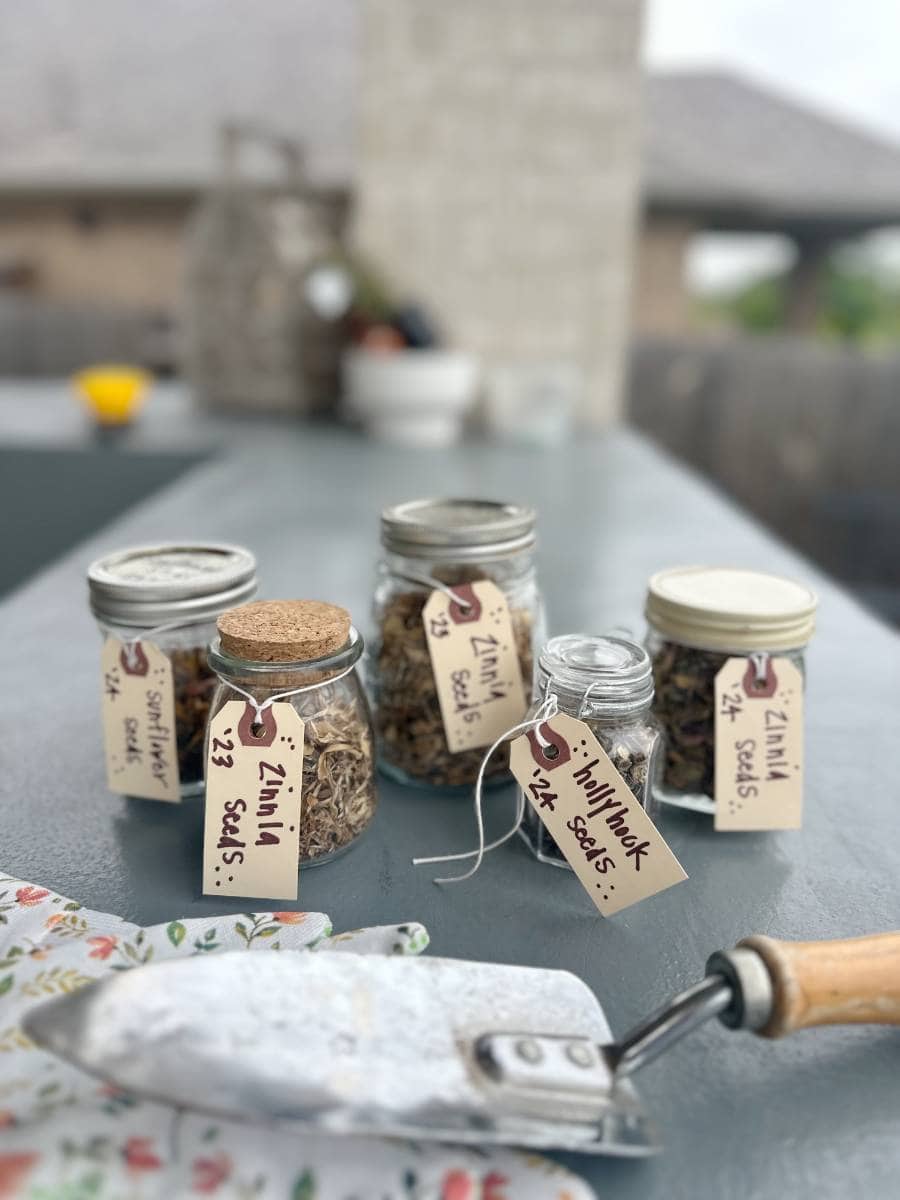
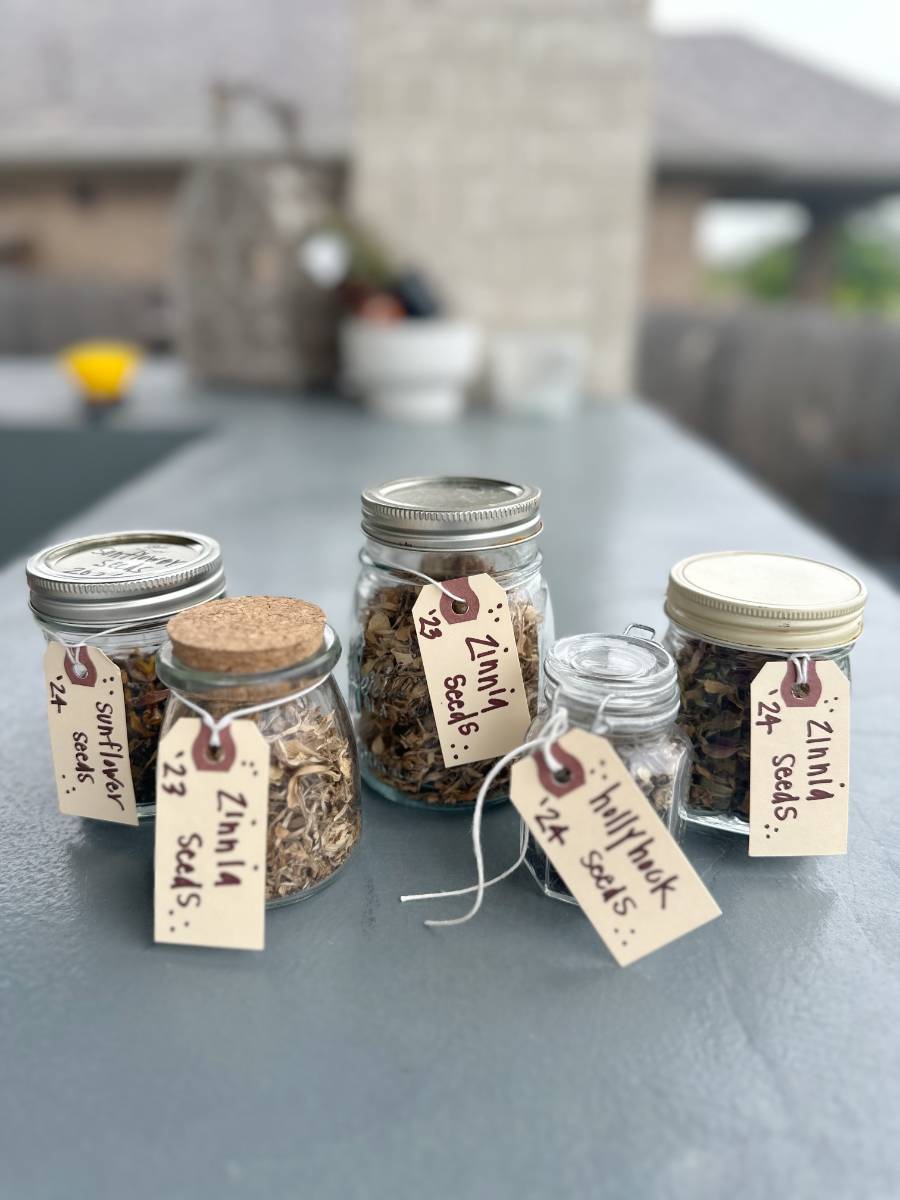
A couple of different ways to package and share seeds with your gardening friends is small glass containers or small envelopes.
Small mason jars are a great size for sharing seeds if you want to use a jar instead of an envelope.
You can write on the lid with a permanent marker or tie a cute tag onto the jar with ribbon.
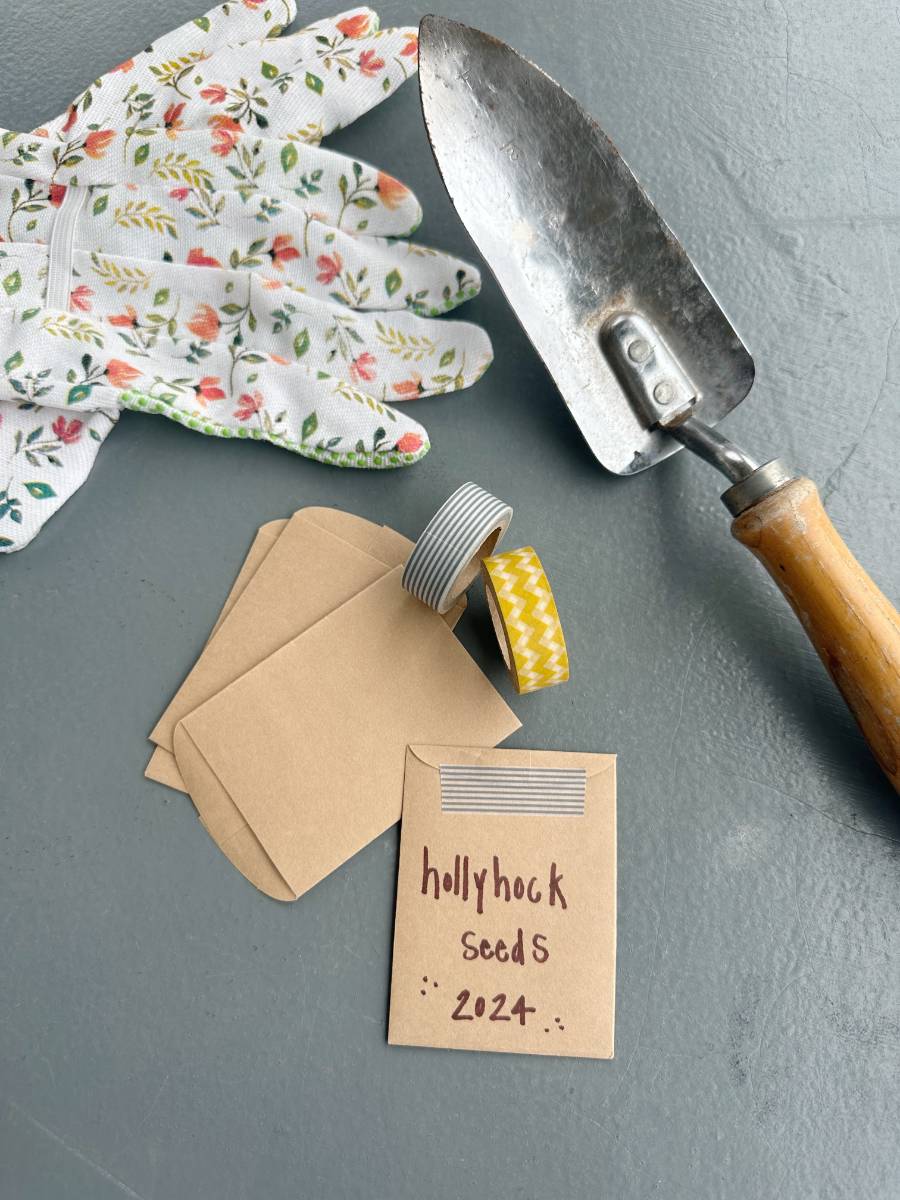
If I am using small seed envelopes, I like to secure them closed with a piece of washi tape, just to add a decorative touch and write the name of the seeds on the envelope.
Small seed envelopes come in a variety of colors and sizes.
White, brown or even glassine envelopes are some different options.
The different sizes options are handy depending on the size of the seed you are sharing and also the quantity you want to share with each person.
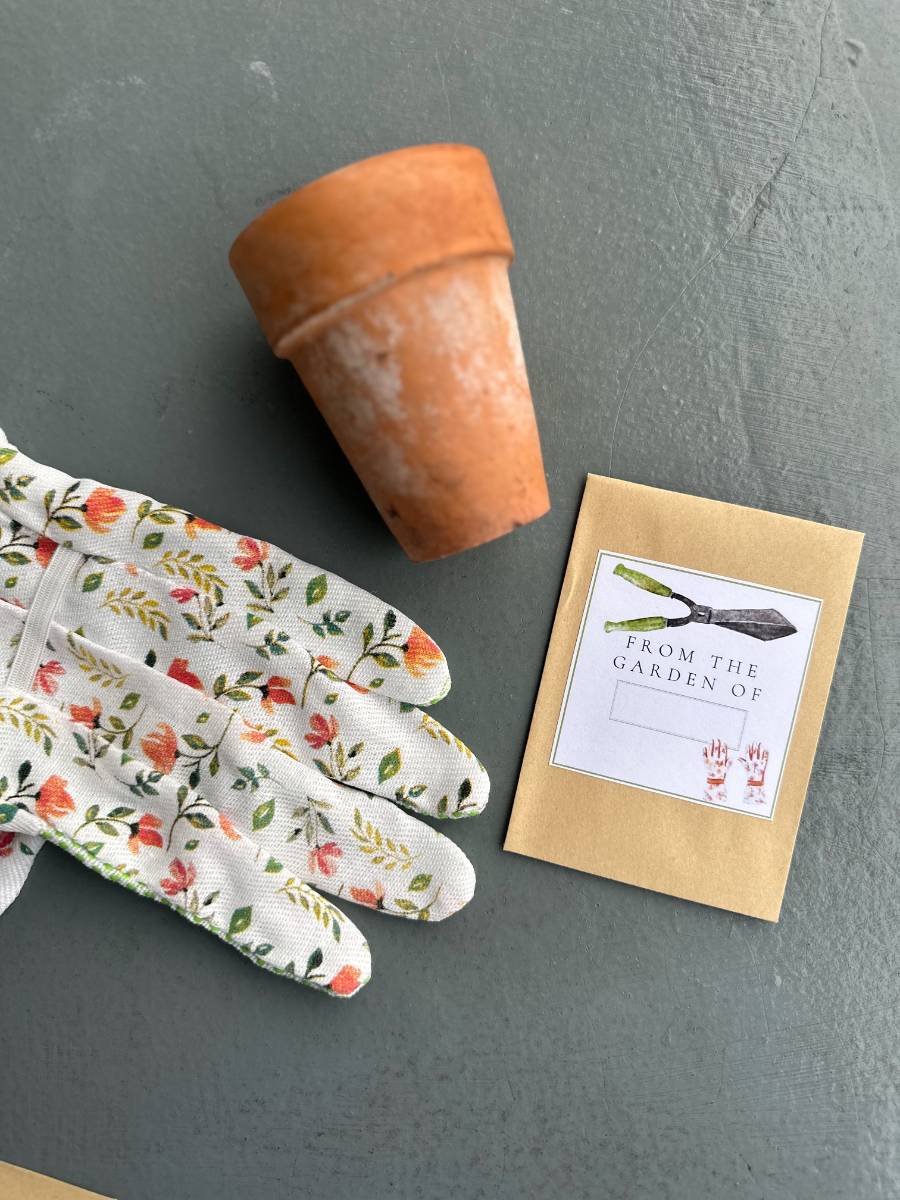
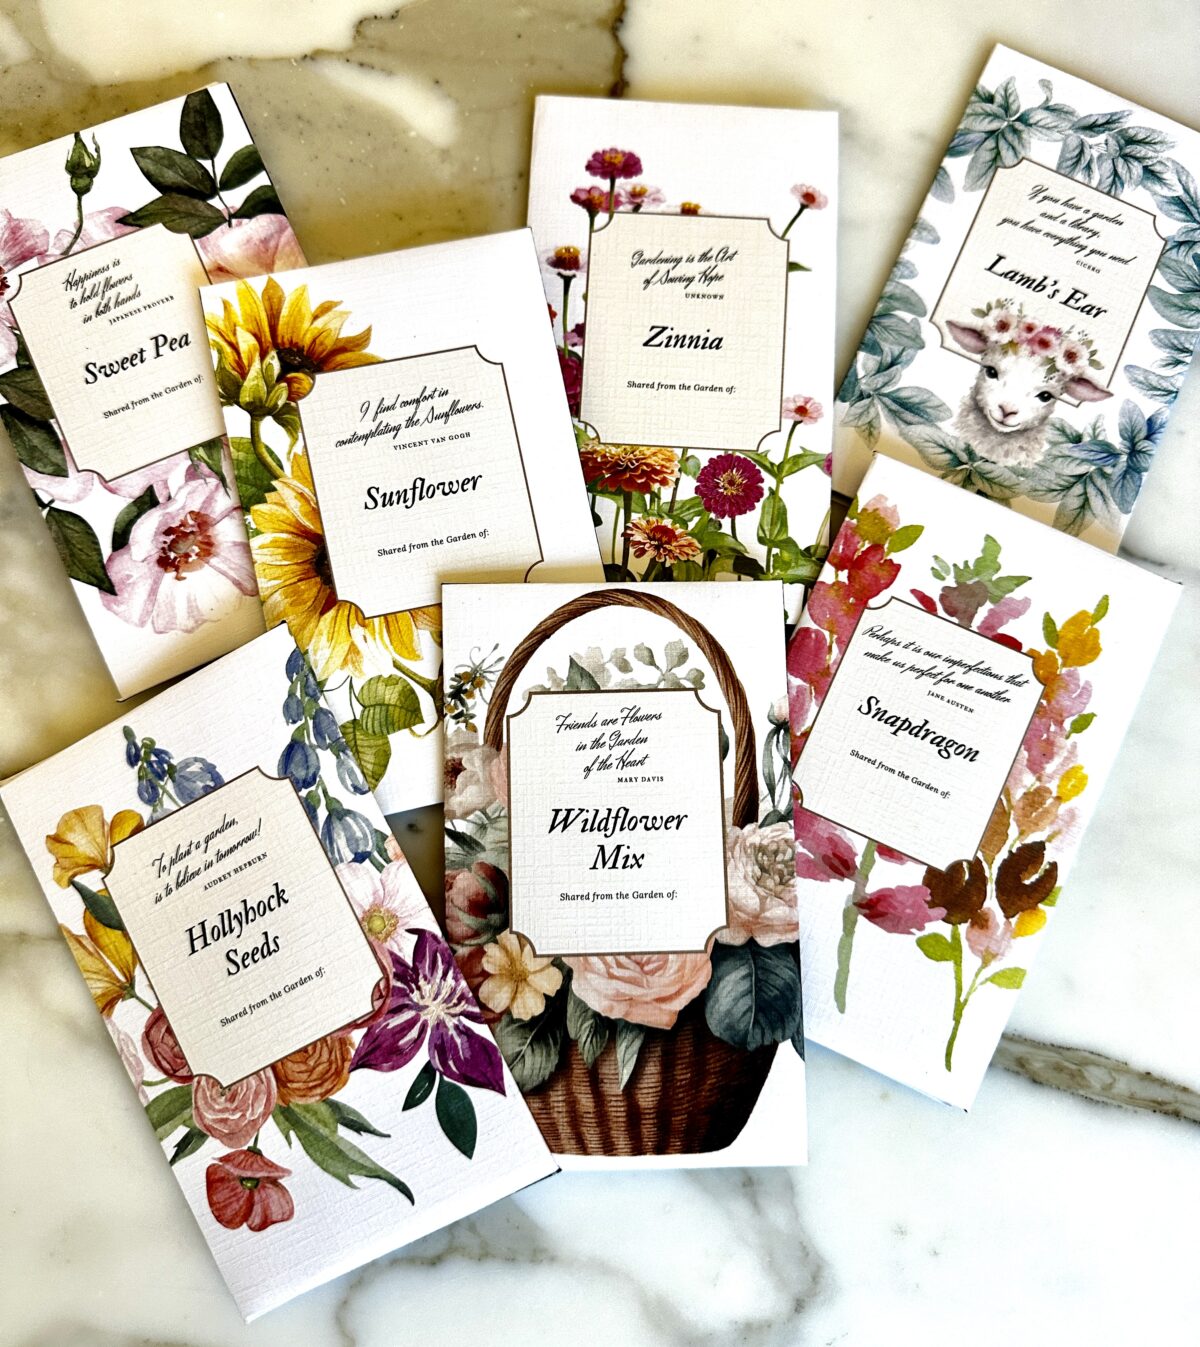
You can write the seed variety and color of the flower directly on the envelope or create a custom sticker to use for your seed sharing.
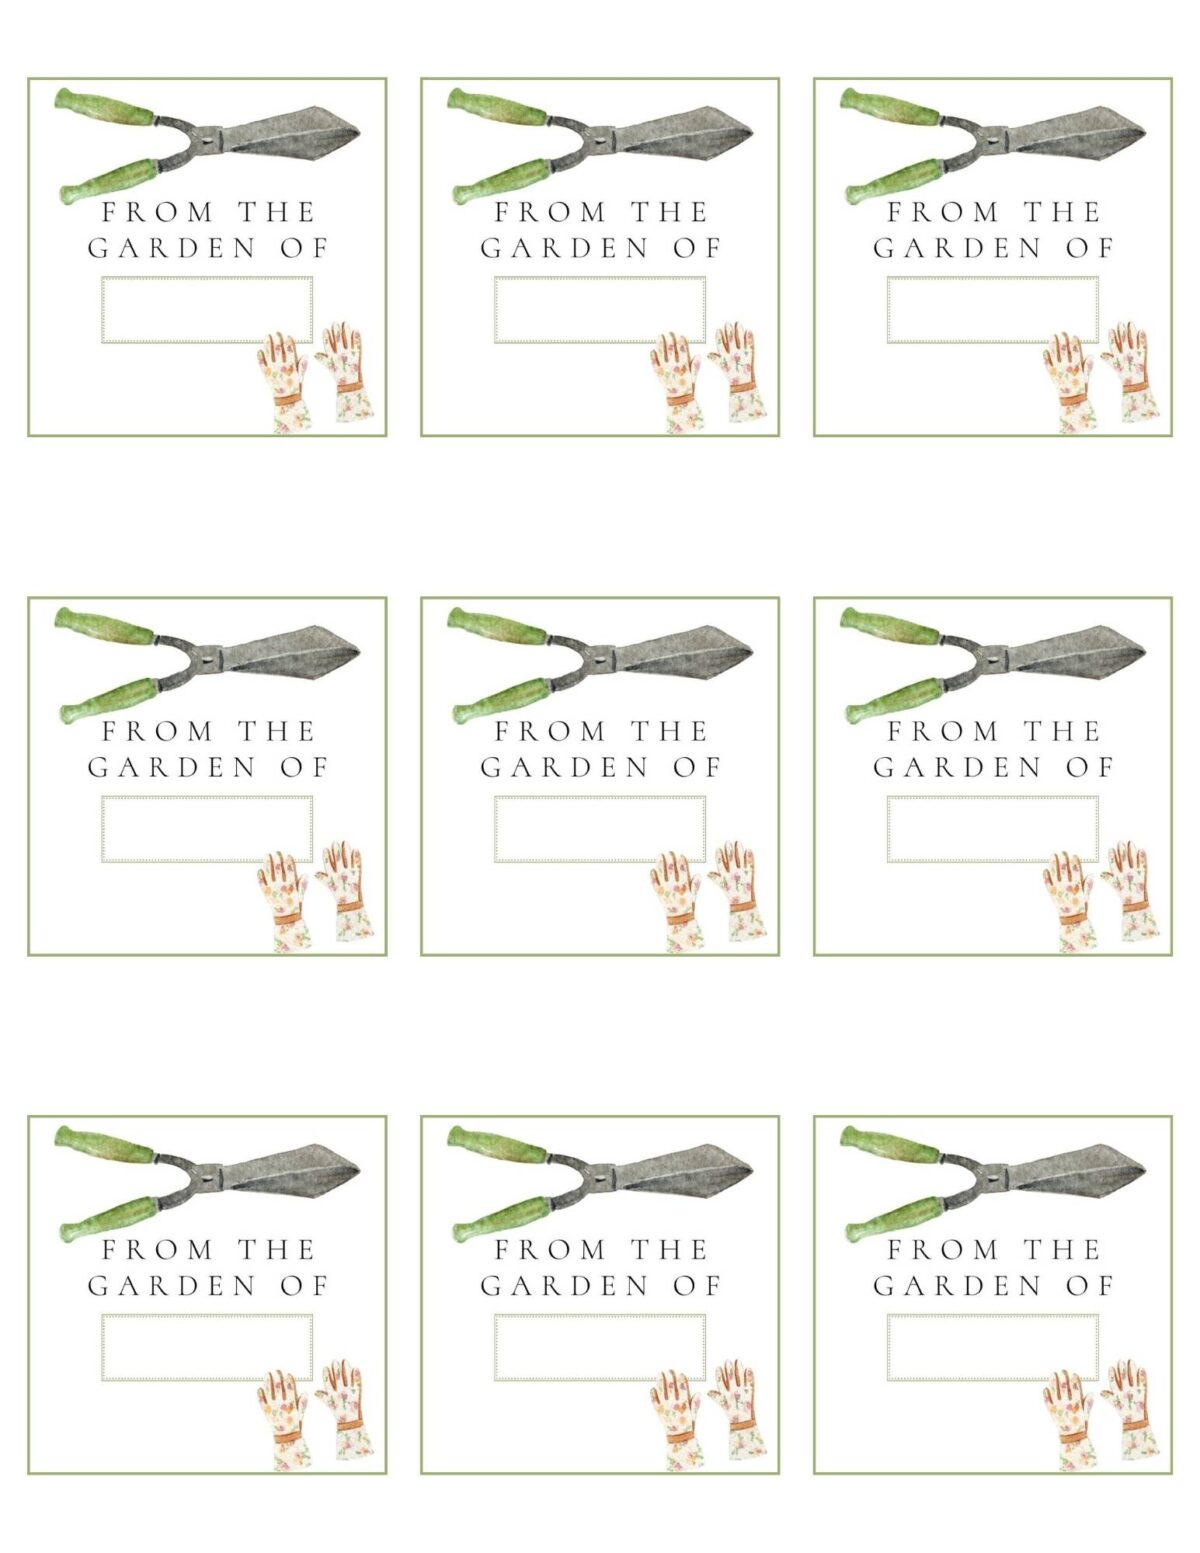
I have created a free printable for subscribers to the blog that is perfect for seed sharing.
You can print the “from the garden of” graphic to sticker paper or card stock to use for your seed sharing.
The sticker could be used on a glass jar or a seed envelope or the card could be tied to a jar with cute twine or ribbon.
The link and the password to the free printable is in my weekly newsletter that goes out on Saturday to Vintage Home subscribers.
If you aren’t already subscribed and would like to join the VH group and receive access to my printables library, be sure and subscribe now.
I hope you enjoyed seeing how to harvest, store and share hollyhock seeds.
I would love to hear if you grow hollyhocks!
Today some of my gardening friends are sharing how to grow, harvest and share other seed varieties and one friend also shares a printable for sharing seeds from your garden.
Just click on the link at the bottom of any photo below to see all of the details.
blessings and happy gardening,


Reinvented Delaware
Living Large in a Small House
WM Design House
South House Designs
Amy Sadler Designs
If you enjoyed this post, be sure and Pin It to remember it….
shop the post

Your password is not working. Please address and let me know! Thank you, Michele
Okay, I just got in! No need to address! Thanks, Sandra
I hope you enjoy the garden printables!!
I love Hollyhocks, too! I’m kicking myself because I never thought to gather seeds from them. How silly.
Thanks for clear instructions.
You are so welcome Diane and I’m so glad it gave you inspiration to save them. I am excited to share some of mine with you!
Thank you so much. What a wonderful gift idea.
Oh, I am so glad you liked the idea!
Love this quick and easy way to save your hollyhock seeds, Thanks for sharing Michele and your free printable is adorable. I am looking forward to sending you so me seeds.
Thank you Wendy! So glad you like the printable and I can’t wait for our group seed sharing!
Love the free printable labels! Thank you! I am a long time gardener as well. I love to save seeds from flowers and vegetables. Now I need to get Hollyhock seeds! Great idea!
I would love to gift you some hollyhock seeds from your garden. I have never saved veggie seeds, but would like to start that too.
Omgoodness, Michele you have inspired me to start hollyhocks in my garden next year! Love your seed packet printables – sooo adorable!
Thanks so much Cindy! I think you would love having them in your garden with your new adorable green house!
What a nice subject to share with your readers. I have been saving seeds for many years, both flower and vegetables. When we find a new veggie at the grocery store, we often save seeds hoping it will come back true. One tip from an avid gardener is to save those return envelopes that come with junk mail and use them for seeds instead of throwing them away.. I usually have a sufficient supply by harvest time. Happy harvest Michele. Orange cosmos are the easiest seeds to save. Other colors take a little more effort but so worth it.
Thank you so much for sharing these idea. Although I have been gardening for many years, I am fairly new to seed saving. I have never saved any vegetable seeds, but that is a great idea. And I love the idea of saving the envelopes from junk mail!! Genius!