DIY cordless table lamp
Have you ever really needed a lamp in a place there is no outlet nearby?
Yeah, me too! Sometimes, you just need a cordless table lamp.
A couple of years ago, we decided to rearrange some furniture and living spaces in our home. Our dining area became our sitting area, and vice versa. It just fit our lifestyle a lot better to have a large sitting area attached to our kitchen instead of a huge 8′ round table that is rarely used.
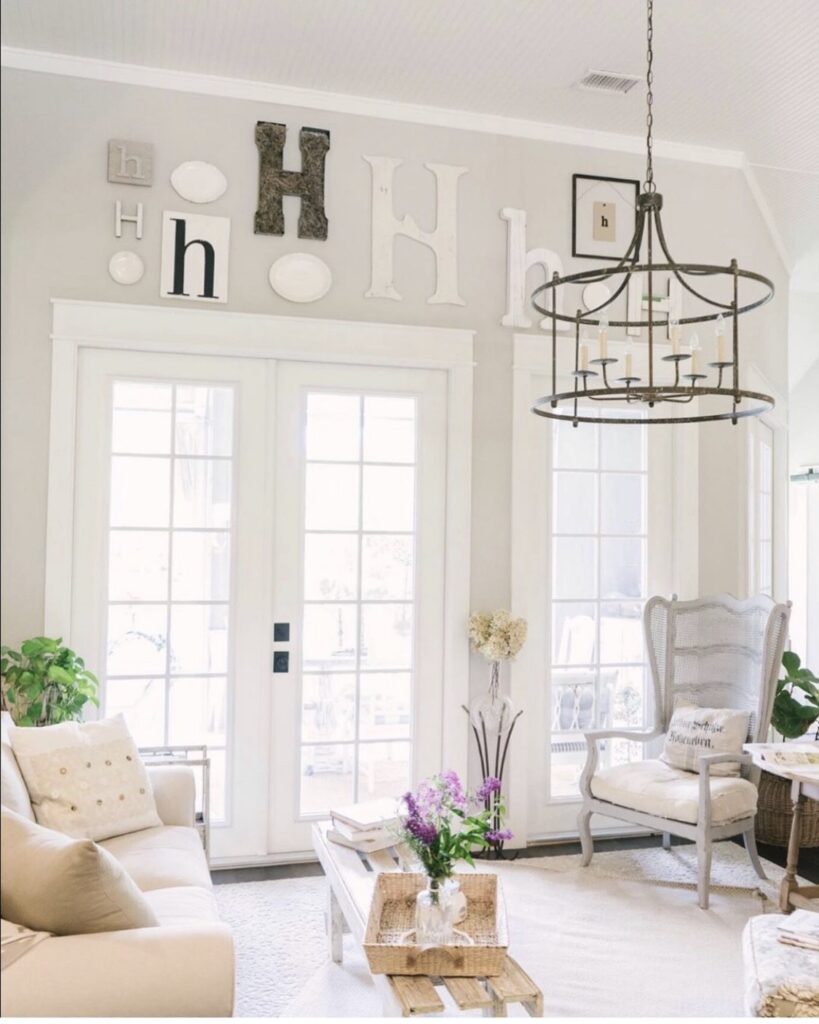
I love the way it turned out and we use it so much more, but there was one problem.
The sitting area is where my favorite chair is. It’s where I sit in the mornings to have coffee and do my devotional. It’s where I sit late at night when I can’t sleep and I want to read, so I need a lamp. Since this is where the dining area originally was, we didn’t add a floor plug. Also, the nearest wall is a wall of french doors, which means no outlets.
In order to plug in a lamp it would have to stretch across the floor into the next room, and obviously, that won’t work. I desperately needed a cordless table lamp.
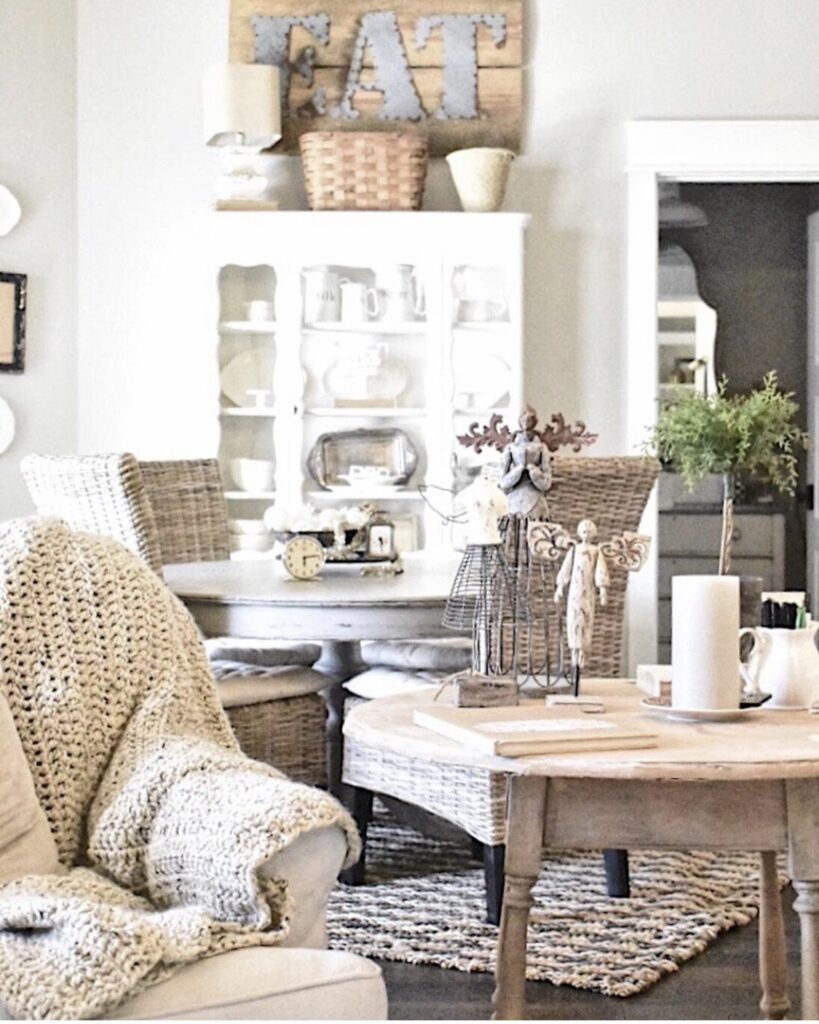
So, for 2 years, I have grieved that I don’t have a lamp beside my chair.
I even researched battery operated lamps, and no such luck. The only ones I found were very small and awful looking.
A few months ago, my sweet friend Jessica, aka Itty Bitty Farmhouse posted a DIY project for “simple DIY lighting”. She needed wall lights for her office and didn’t want to have to wire the lighting so she came up with this brilliant idea!!
I knew it was a bit different than what I was needing, but I thought maybe I could adjust it just a bit and see if I could make a cordless table lamp.
So, here’s what I did…….
supplies

I purchased the supplies that Jessica had suggested. A handy outlet and puck lights with a remote. I found both of them on amazon.
Also, I purchased a lamp that I wanted to use in this space.
step 1

You want to screw the handy outlet into your lamp socket. This provides place for the puck light to attach to.
step 2
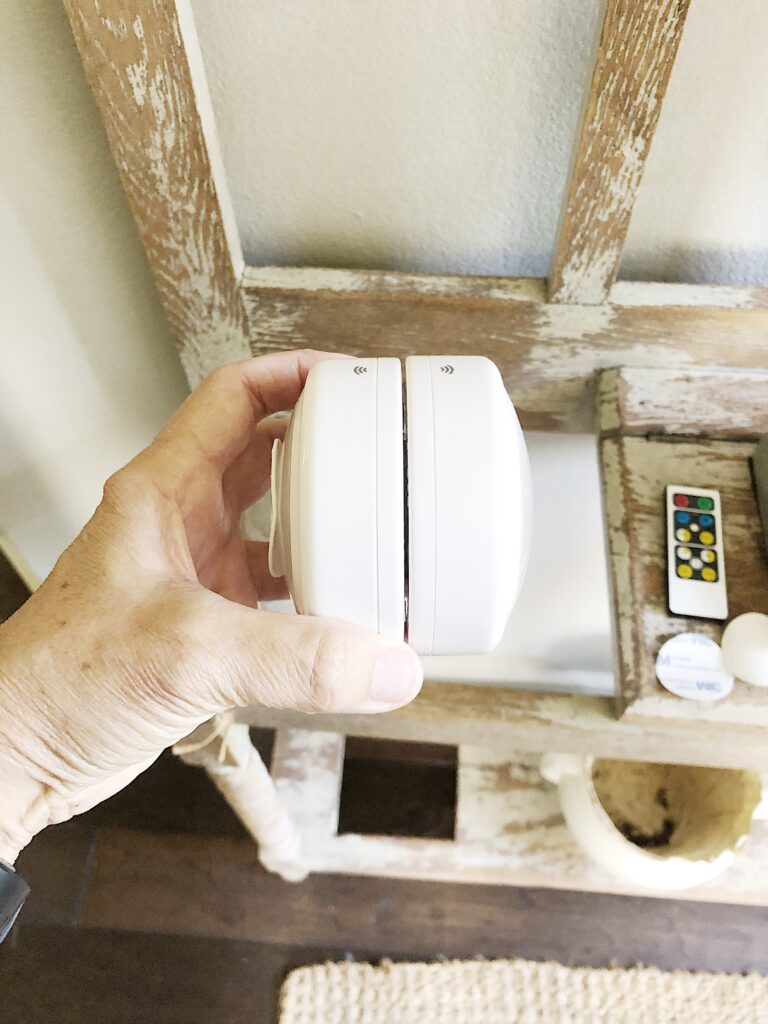
For my project I had to use 2 puck lights attached togther. The reason for this, is if I just use 1 light attached to the handy outlet, the puck light would be facing up toward the ceiling and it wouldn’t produce enough light. I needed a puck light facing downward, so I attached 2 together. 1 faces upward and the other downward.
The puck lights come with an adhesive circle, so I used 1 of those to attach the lights together.
step 3
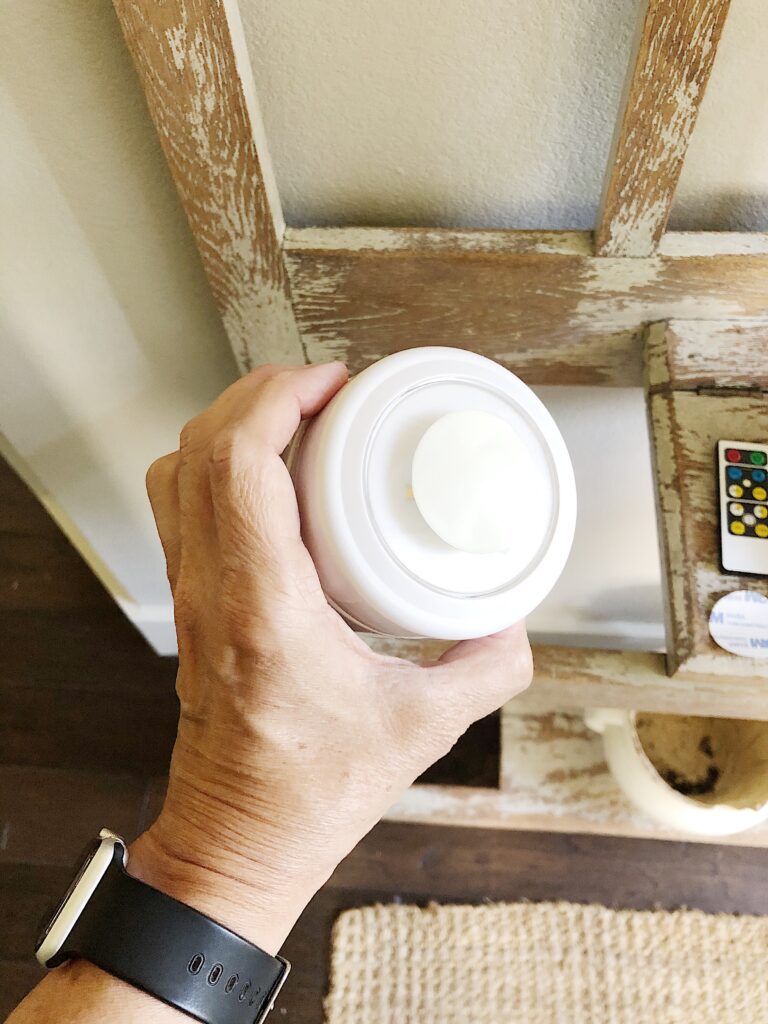
Then I attached the other adhesive circle to the top of one of the lights. Yes, it will cover some of the light, but that was the only way to make this work and have a light facing downward.
step 4
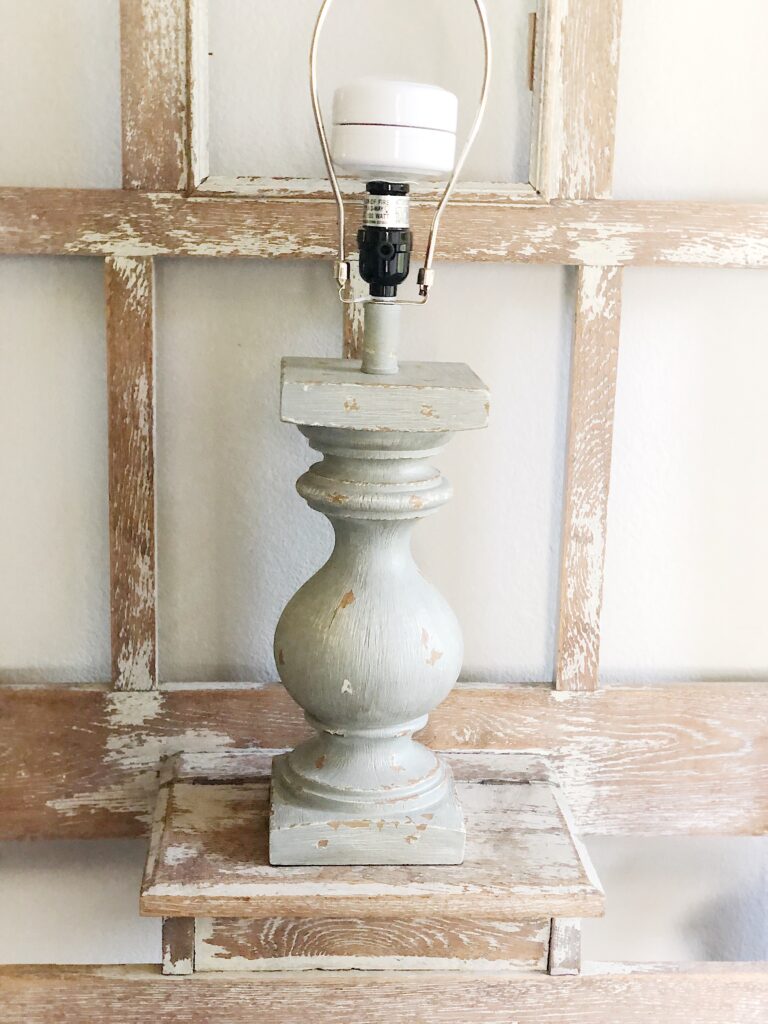
Stick the adhesive circle to the handy outlet on you lamp. Now, you have a light facing up and another facing down.
step 5

Lastly, attach your lamp shade, and voila’, you have light!!
You may want to cut the electrical cord off your lamp unless there is a good way to hide it. You won’t need it on this lamp, unless you decide you want to plug this lamp in another location, at some point.
Be sure and order the puck lights with a remote, because this is how you will turn your lamp on and off.
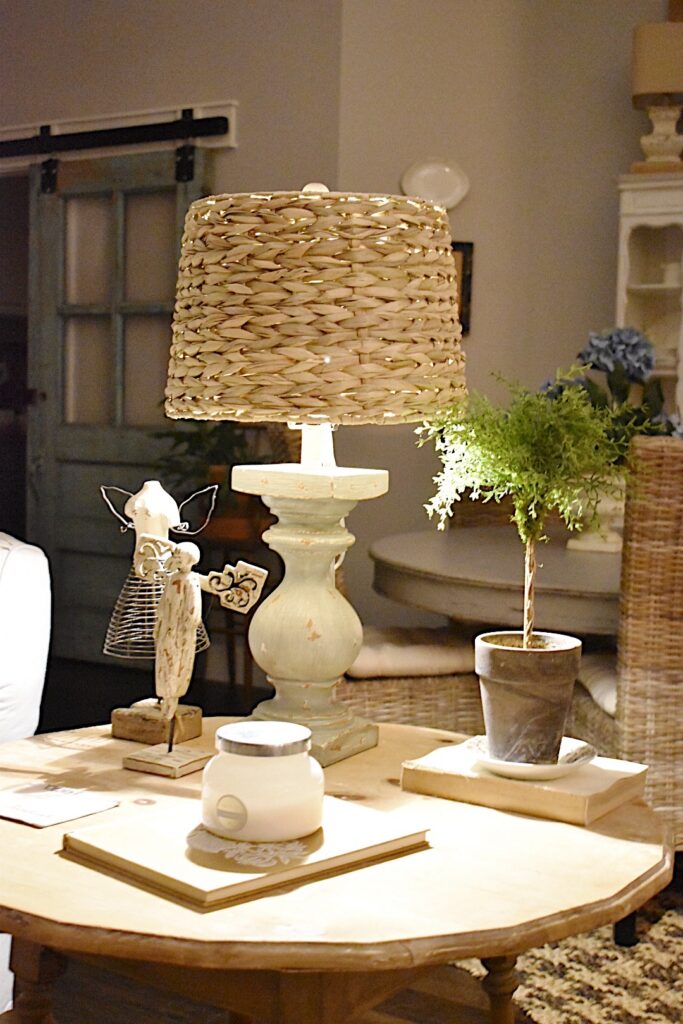
This was a super easy project, and I love how it turned out.
If you have an area where you need a lamp and don’t have a plug, you should definitely give it a try.
Another inexpensive option for a lamp is to use a lamp you already have that might not be working, since you will be cutting the cord off anyway. Or, you can shop at a thrift store and buy a used lamp for a fraction of what a new one would cost.
I hope you found this DIY helpful! Be sure and pop over to Itty Bitty Farmhouse blog and see how Jessica did this project. You can see it here.
blessings,
michele
If you liked this post, you might like this.

What a great idea! Never knew you could do that. I love the lamp. Where did you get it?
Isn’t it such a great idea?? I bought the lamp and the shade at “At Home” recently. Very good price too.
Thanks so much for following along and commenting!! Have a great weekend!
Love this idea. Your lamp is adorable. It puts out more light than I thought it would.
Thank you! It definitely helped solve a problem. It’s not a bright light, but better than none.
Genius!!! Definitely going to use this. My best wall for my entry table doesn’t have an outlet. Problem solved! Thanks for sharing.
Oh, great! So glad this post was helpful to you!!
Brilliant. Double the brilliance!! [pun intended 😉]
Ha!! Wasn’t it such a great idea? So glad I stumbled across it and was able to alter the idea a bit to work for my lamp.
Absolutely genius, and just what I needed! How did you know that, lol?
I have an old (1880) home, and while the electricity has had some updates, there just aren’t enough outlets where I need them. And just like you, I am switching my dining room with my living/tv/family room. ( Did I mention this house is also pretty small, as well as old?)
Thanks so much for sharing this brilliant idea!
Of course! I certainly can’t take all of the credit. Jessica aka Itty Bitty Farmhouse came up with the general idea. I just altered it a bit, but it works great!
Glad you enjoyed the post!
Would it work if you put the 2 attached Puck lights sideways instead of one on top, one on bottom?
Great idea that I am definitely going to try!
You could, but you would have to figure out a way to attach them to the socket. The puck lights have a sticky side that will attach to the socket, but if you put them sideways, you would need to find a way to stick the side of the puck lights to the socket. I hope this makes sense.
May I ask why you need the handy plug? Can it just attach to the socket that’s there?
It can, but the handy plug is a flat surface on the top, where the socket is open so there isn’t much surface to stick the puck light to.
You just solved so many of my problems. We don’t have floor plugs and it seems that everywhere I want a lamp, there are no plugs. I can’t wait to try this. Thanks for sharing.
Oh, good!!! So glad it will come in handy for you.
Thank you so much for following along Lisa!
LOVE this idea! I am sure I will use it at some point. Great for those little dark corners that need a sweet lamp to illuminate…..or inside a hutch on a shelf. Also, glad to see that beautiful chair once more and happy it is your favorite. It truly is beautiful! Cheers!
Thank you Treda! I do love it!
And isn’t this light trick fabulous??
Thanks so much for following along!
I love this light trick Michele. I did this a few years ago with a sconce light and it works wonderfully.
Isn’t it such a great idea? I would have never thought of it!
Thank you so much sweet friend! Happy weekend!!
Love it. I’ve seen it done for sconce lights but not sure I would have come up with your double-puck light solution to give more light.
Game changer! Thanks for sharing, Michele.
Blessings, Karen from Washington
Isn’t it such a great idea?? So glad I happened upon Jessica’s tutorial!
So glad you found it helpful, and thank you for following along!
blessings, michele
I am so doing this! It’s a solution to a similar problem I’m having in my bedroom. Thank you for the idea!
Of course!! So glad it was helpful for you!
Thank you so much for following along!
Great Idea!!!! Is it easy to change the batteries in the puck lights after they’re stuck together??
I haven’t had to change them yet, but I think it will be.
Thanks so much for following along!
michele
OMG this is brilliant! I’ve ordered the supplies & have the perfect spot for my lamp now. Truly appreciate this post 🙂
Oh, yay!!! So glad you enjoyed it!
Thank you so much for following along and commenting!
michele
Do the puck lights have batteries and how convenient is it to change the batteries after they are glued together? Great idea that I will try on my staircase landing. Thank you.
Yes, they have batteries. I haven’t had to change mine out yet, so I’m not sure about changing them yet. I made this several months ago and the batteries are still working great.
What a fabulous idea!!! I looked for years to find a cordless lamp in my home. Where were you 25 years ago? I have since sold my house, but kudos to you for a super ingenious idea!!! Love it!!
Thank you! I can’t completely take credit. I saw a version of this from another blogger and just adapted it for a lamp.
Thanks so much for your comments and for following along!
Of course it’s a brilliant idea. No pun intended. But I can’t help wondering how long the batteries last.
I’ve had mine quite a while and it’s still working great. Not sure yet how long it will be before I have to replace.
But, puck lights are battery operated, and those batteries will need to be replaced. Will that mean tearing apart the two puck lights to get to the battery opening? Also, why did you need the polarized handy outlet? Couldn’t the puck lights have just stuck to the top of the empty bulb opening?
I have had these for quite a while and the battery is still working great. And you use the handy outlet to provide a flat surface to attach the puck light to. You could just attach it to the socket but it would only have the rim of the socket to adhere to. Hope that makes sense.
OMG, I LOVE, LOVE, LOVE this. So lovely, so useful, so easy to do. It’s my gold standard of DIY.
Thank you for the inspiration..
Oh good!! So glad this idea was helpful to you.
Before permanently affixing the pucks to the lamp base, see how the light distribution is if you turn them 90 degrees so they both throw the light to the side. Also try them in the up/down configuration shown and decide which works better for you.
That’s a good idea, you just have to figure out a way to attach the puck lights to the socket if you put them at 90 degrees. The puck lights have a sticky side that attaches to the socket, so you would have to attach them some other way if you turn them a different angle. I hope this makes sense.
Love this idea!! I have my lamp on a table between two pieces of living room furniture and my cat has pulled the lamp down twice playing with the cord! lol I’m defintely doing this. Thank you for sharing this!!!
Oh, good. So glad this was a helpful idea!
Love this! I am a bit confused as to why you need the Handy Outlet. Since the cord is cut an it is not functional why would you need this? Could the lights not be affixed directly to the socket?
It just provides a flat surface to affix the puck lights. Since the socket is hollow it would be hard to stick the lights to it. I hope this makes sense.
I am in a similar position in that I make jewelry and usually do it while watching TV. The problem of course being that my lighting is next to the wall. This will solve the problem. Thank you x 100.
Patty
Glad this idea is helpful. It is not a bright light, but certainly better than no light at all.
Curious, I didn’t think puck lights put out enough light for reading. Have you found that your idea gives you the sufficient light you need.
It is definitely not a bright light. It just provides some ambient lighting for an area that is otherwise very dark in the evening time.
One question—-the handy adapter is only necessary to provide a base on which to fasten the puck light? (Nothing plugged into it) Thanks!
That is correct. So sorry for the delayed response! I have been out of town and just now able to catch up.
Thank you so much for following along.
So awesome! I was so excited to see this as I just started redoing my dining room and where the buffet is there is no plug. Problem solved! THANK YOU!!!
Oh, that’s awesome! So glad it was helpful to you!!
I just don’t understand what the handy outlet does if the pucks are battery operated? Please explain. I could really use this for our cabin.
It screws into the place where the lightbulb would typically go and it provides a flat surface for the pucks to attach.
So, it is not serving it’s usual purpose. I hope that makes sense.
Cool idea! Can you tell us where you got the lights? I saw some at Lowe’s but they were a pack of 6 lights with a remote. I don’t want to be turning off 3 lamps at a time if I don’t need to. A two-pack light kit would be perfect.
Of course! I got them on amazon, and they are linked under supplies on the post.
Love this idea! Can you tell me where you found your lamp shade?
Of course! It came from At Home stores.
Love this idea! I have a similar problem. Your lamp and shade are great too! Ordering a new lamp, puck lights, etc now.
Oh, good! Glad you got some help from this post.
Great idea! I think I’m just going to skip the screw-in outlet part and slap a little duct tape over the socket to provide more of a base to stick the puck lights to. Thanks for this great idea!
I absolutely love the charm and character of vintage home designs! The intricate details and unique architectural styles truly make a house feel like a home. Thank you for sharing such inspiring ideas!
Thank you so much for the kind words and I’m so glad you find inspiration here!
I absolutely love the charm of vintage home designs! Each element tells a story and adds so much character to a space. The mix of patterns and textures really brings a cozy feel to homes. Thanks for sharing such inspiring ideas!
Thanks so much and I’m so glad you find inspiration here!
I’ve been thinking about doing this, too. Where did you get the puck lights?
I ordered them from Amazon, but since I did that post there are some lightbulbs that are remote and rechargeable that actually are a little easier to use. Also available on Amazon.