The Best Decoupage Decorated Matchboxes DIY
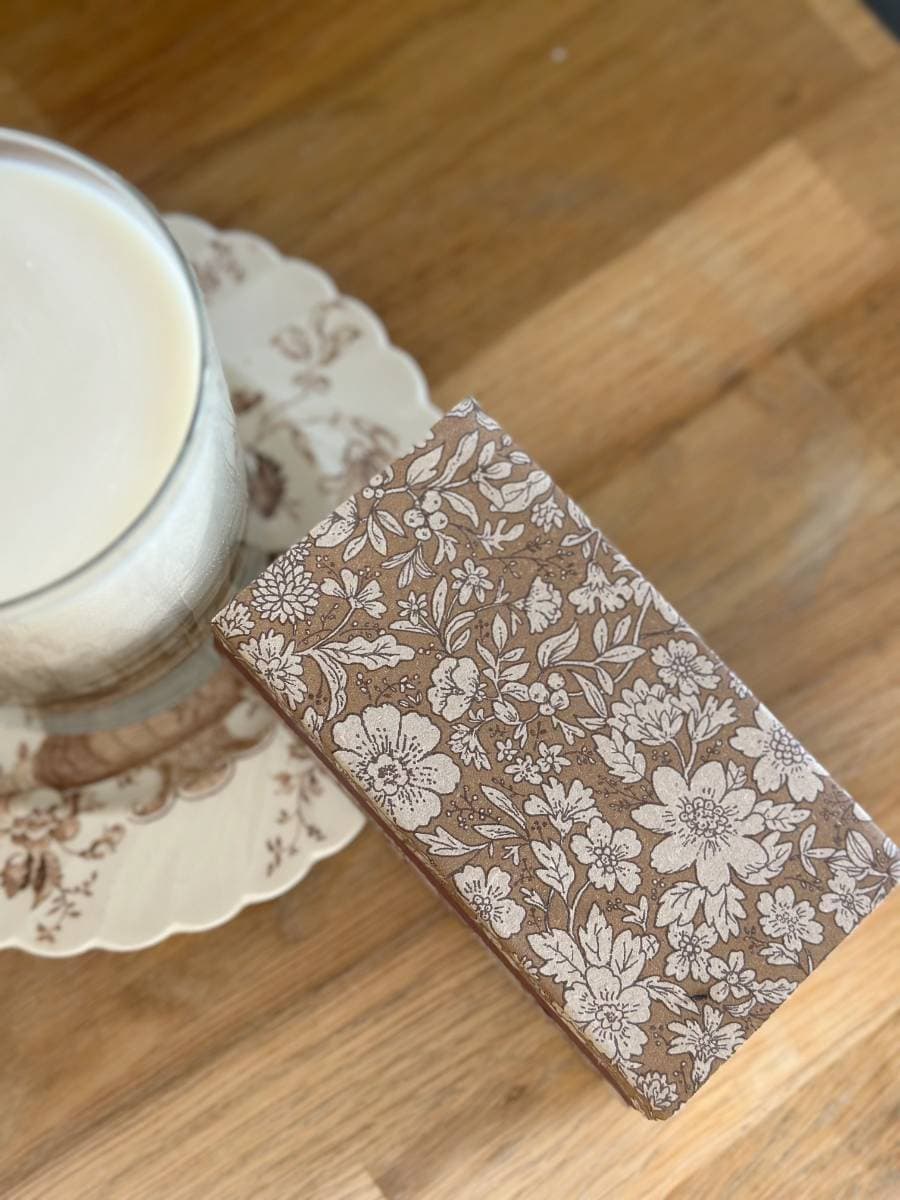
I like to use the large kitchen matches but don’t like the look of the box so I experimented with covering the boxes and they turned out so cute! Let me show you the best decoupage decorated matchboxes DIY so you can have cute matches too.

This post contains affiliate links which means if you purchase something, I make a small commission at no additional cost to you. Thank you for supporting my blog. You can read my full disclosure here.
This diy matchbox craft project is so easy and is a creative way to turn an unattractive box of matches into a pretty home decor accessory.
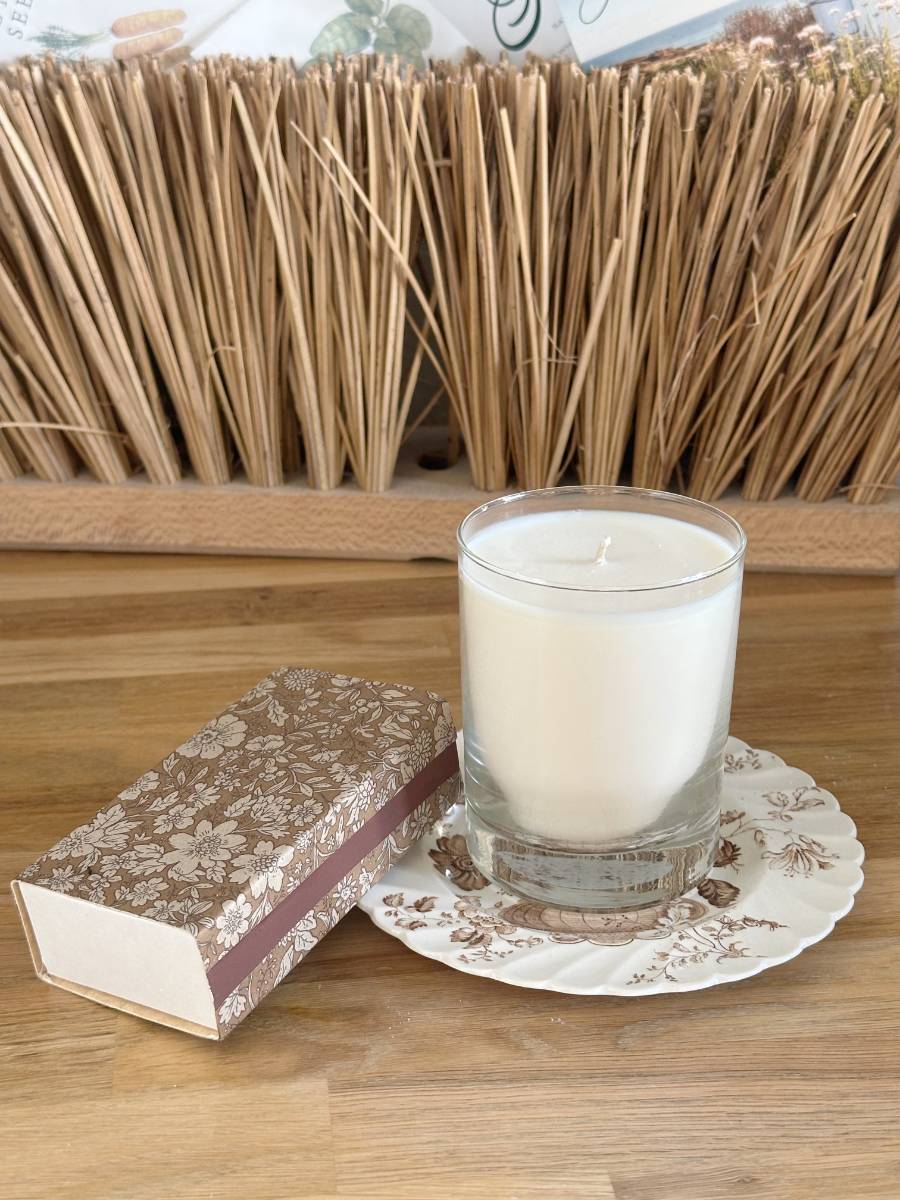
I like to use one of these cute box of matches anywhere I have a candle.
It’s a great addition to a candle on your coffee table, in a bathroom, the kitchen, etc.
If you need a simple gift or a gift for a large group, this matchbox DIY is perfect! They cost less than $2.00 to make.


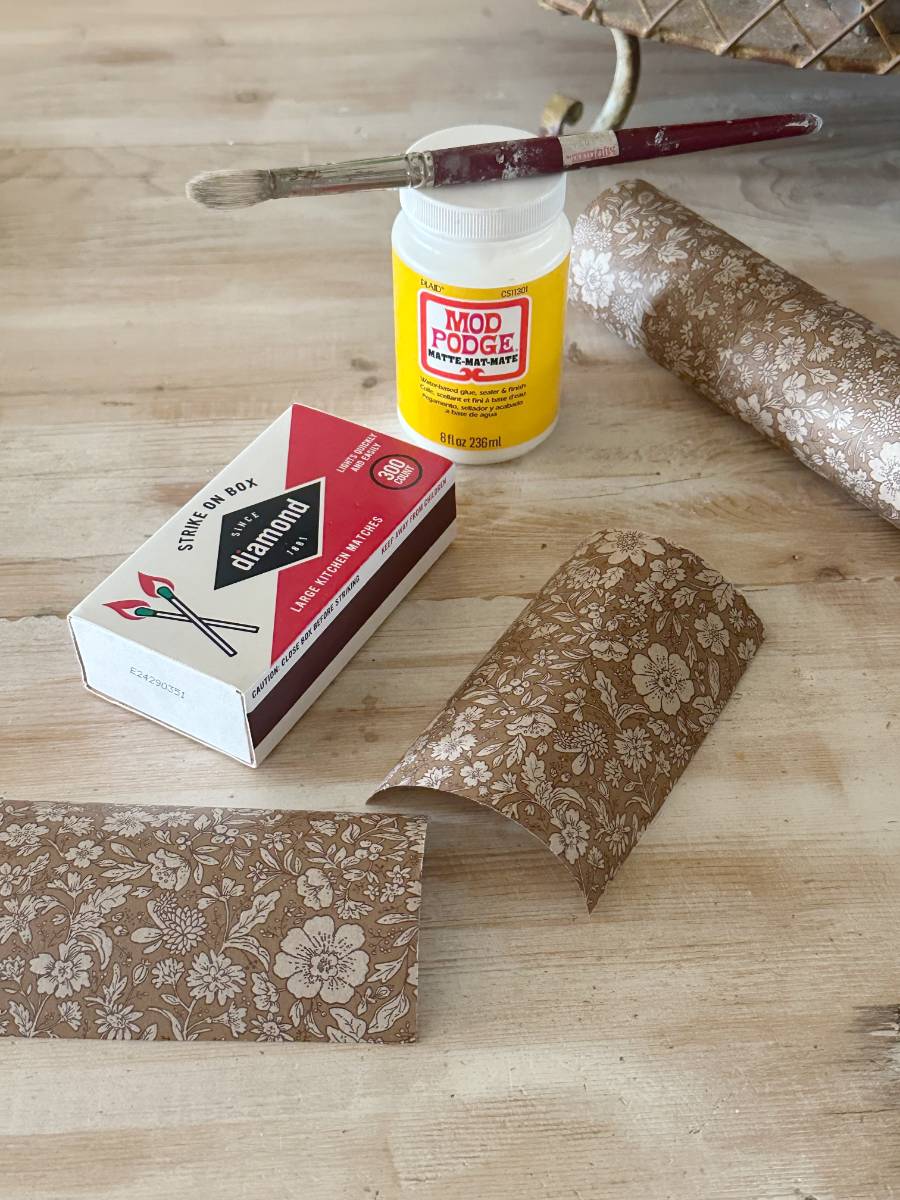
supplies for decoupaged match boxes
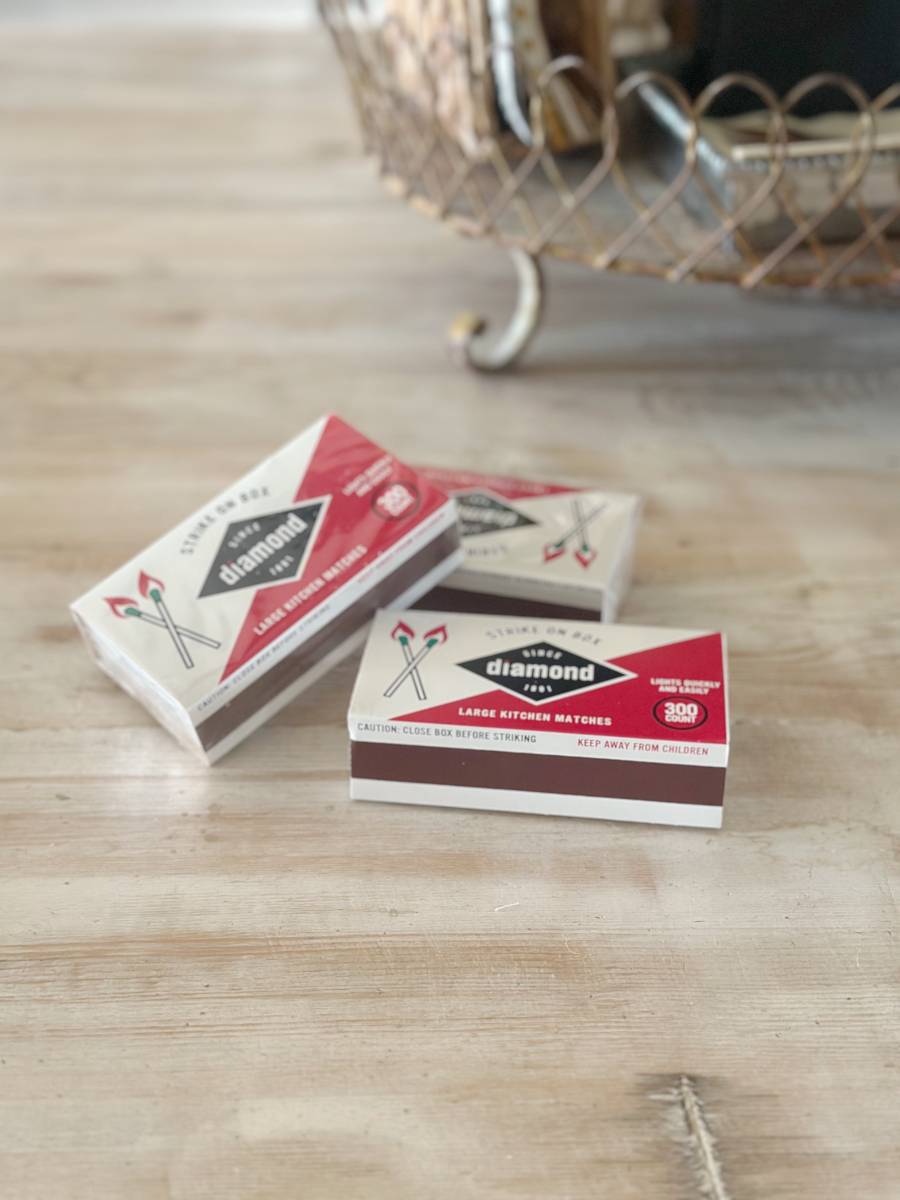
large matchbox (kitchen matches)
mod podge (or any decoupage medium)
decorative paper (more details about this below)
paint brush (for applying mod podge)
scissors

suggestions for decorative paper
For your decorative paper you can use scrapbook paper which is available at most craft stores.
Wrapping paper, scraps of wallpaper, decorative paper napkins, vintage book pages, and sheet music are also great options.
I used a really cute wrapping paper that I found recently to cover my match boxes, but can’t wait to try other prints and colors of papers.

instructions for making diy decorative matchboxes
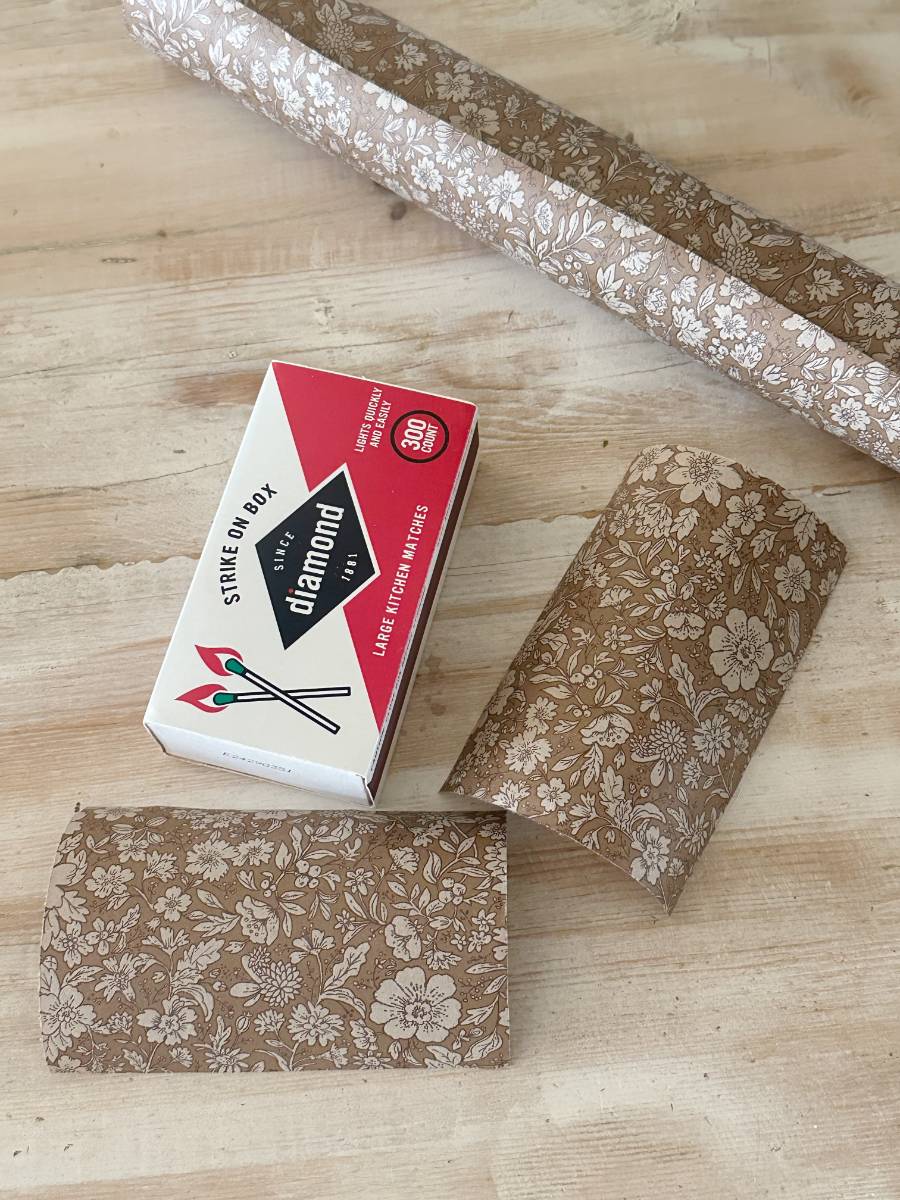
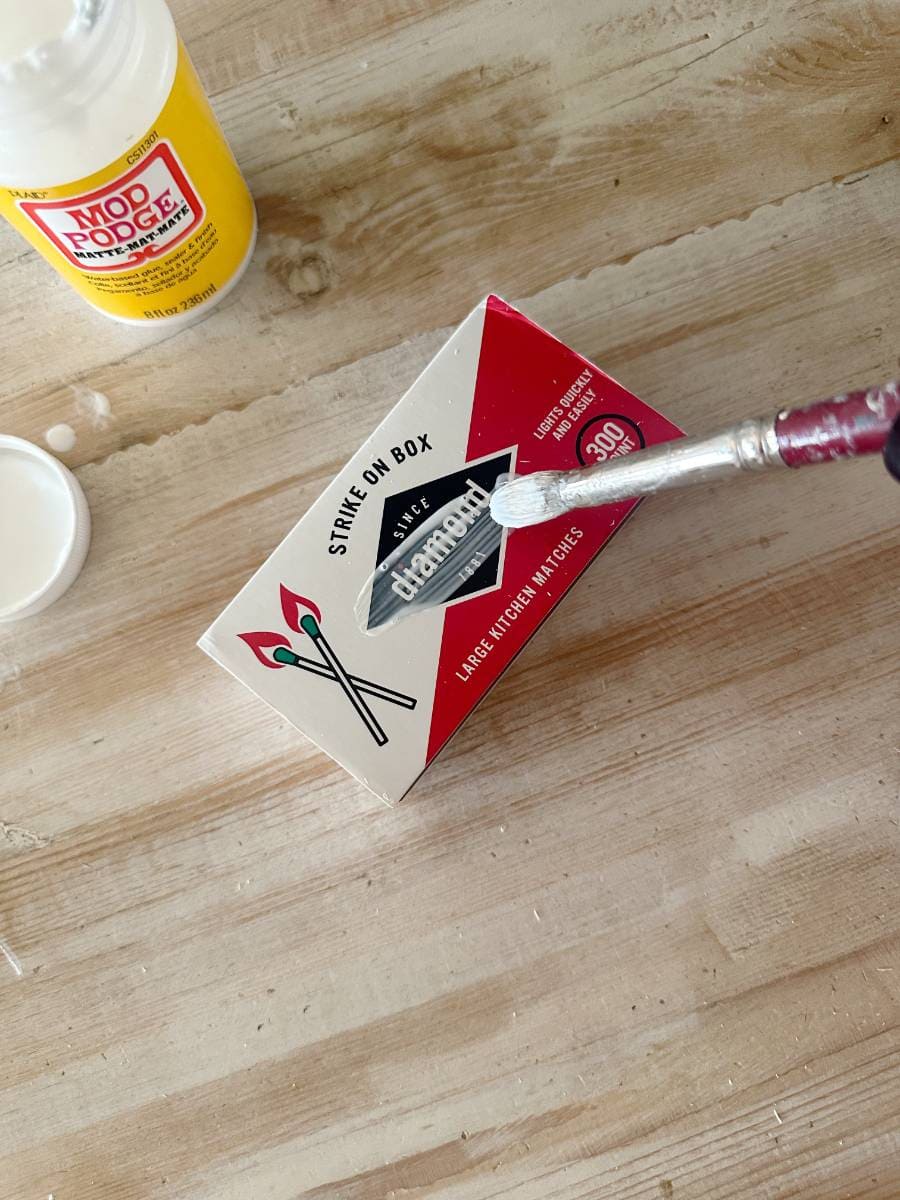
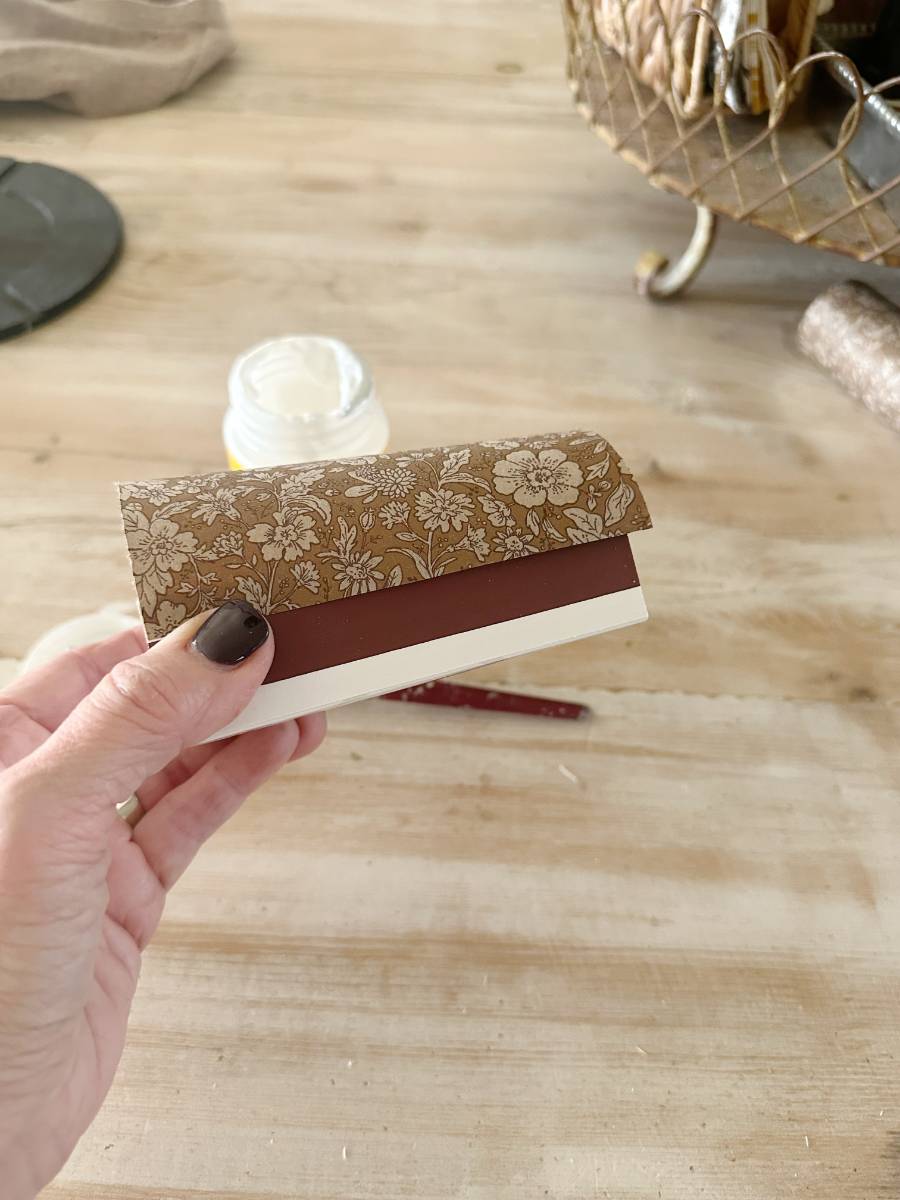
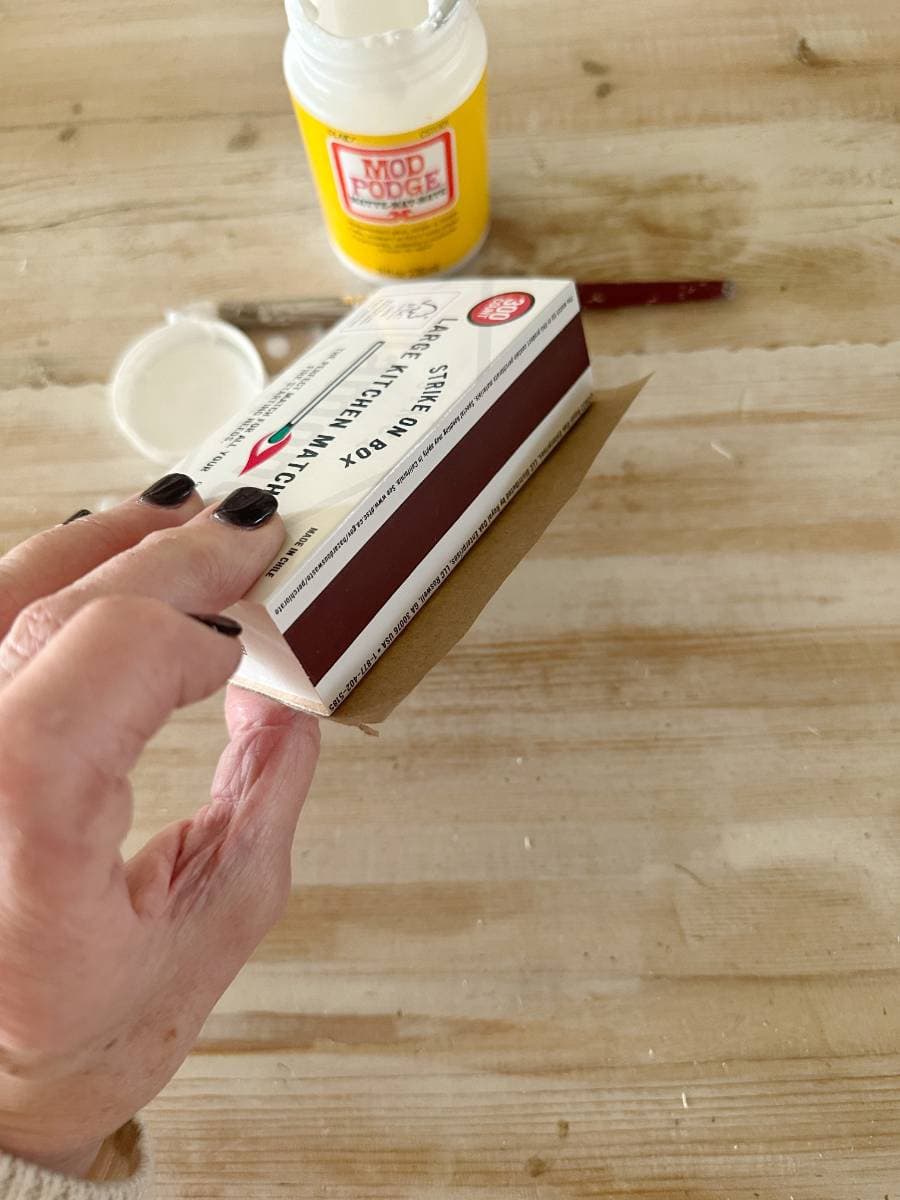
First, you will need to make a pattern.
To do this, measure from the top of the striker strip on one side of the box, over the top of the box, and to the top of the striker strip on the other side of the box.
You will cut 2 pieces of paper this same size.
Cover one of the sides of the matchbox with a thin coat of mod podge being sure to cover the area above the striker strip on each side.
Now, lay the paper on top of the area you have applied mod podge. Start at the top of the strike strip on one side, wrap around the top of the box and go all the way to the top of the strike strip on the other side of the box.
Press the paper down firmly and smooth out any air bubbles and wrinkles.
Be sure and only apply a thin layer of mod podge or your paper will buckle and have wrinkles.
The type of paper you use will have a lot to do with that. The thinner the paper the more careful you will need to be with the amount of mod podge you use.
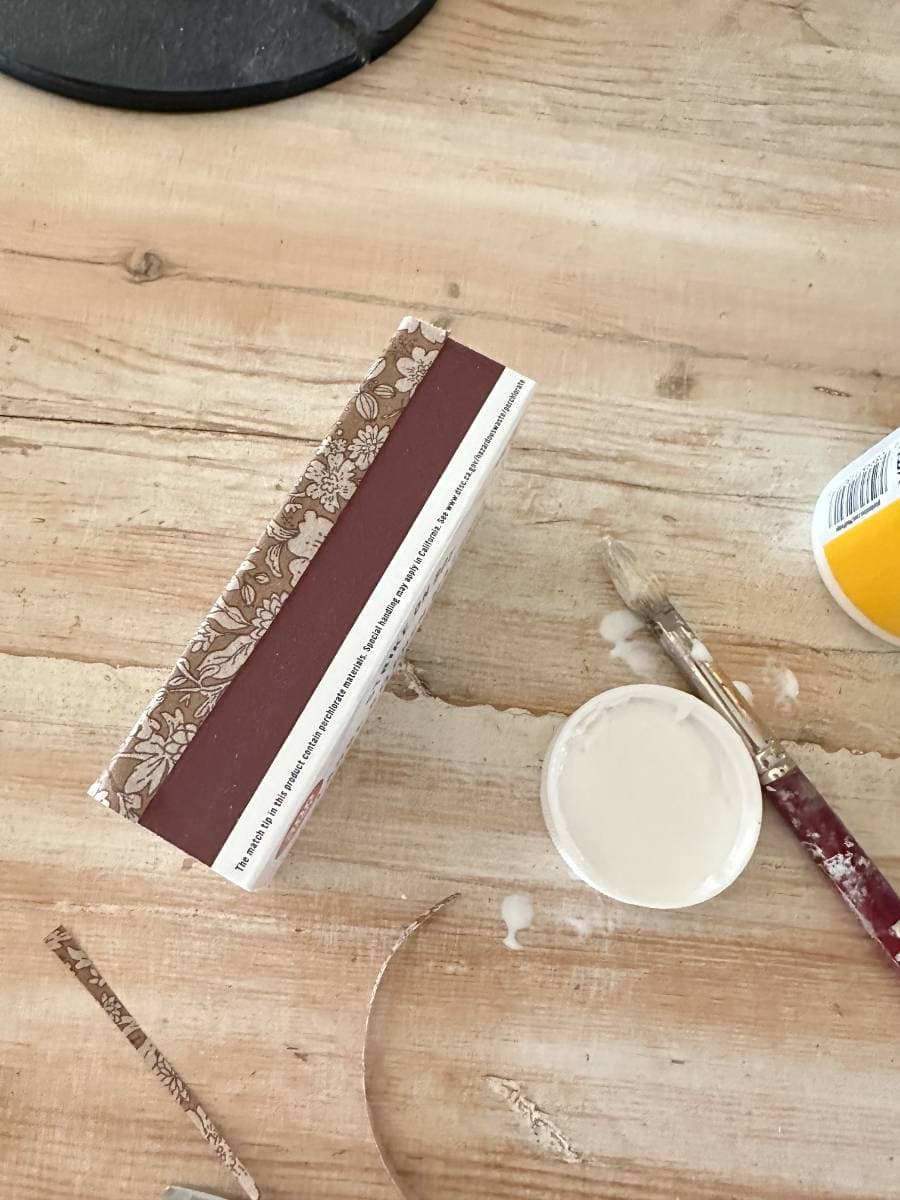
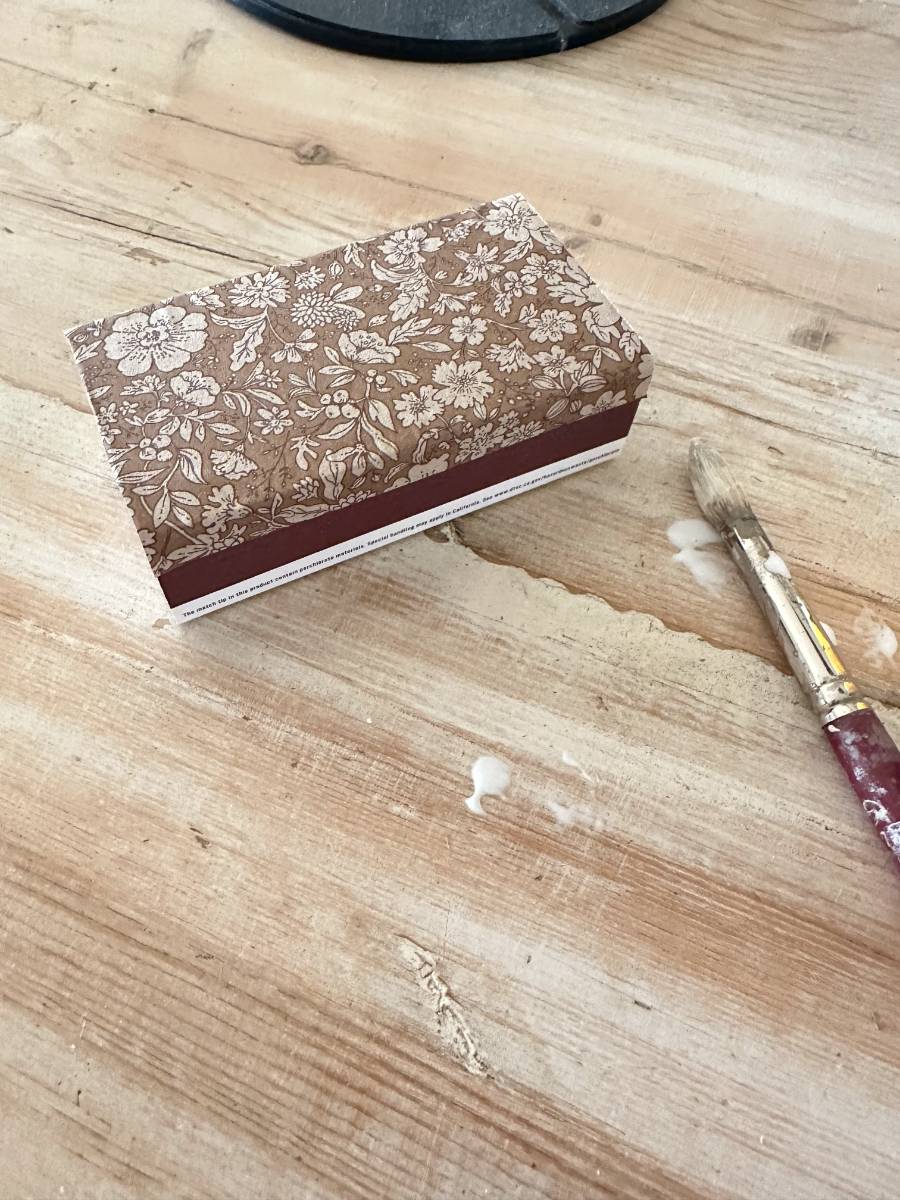
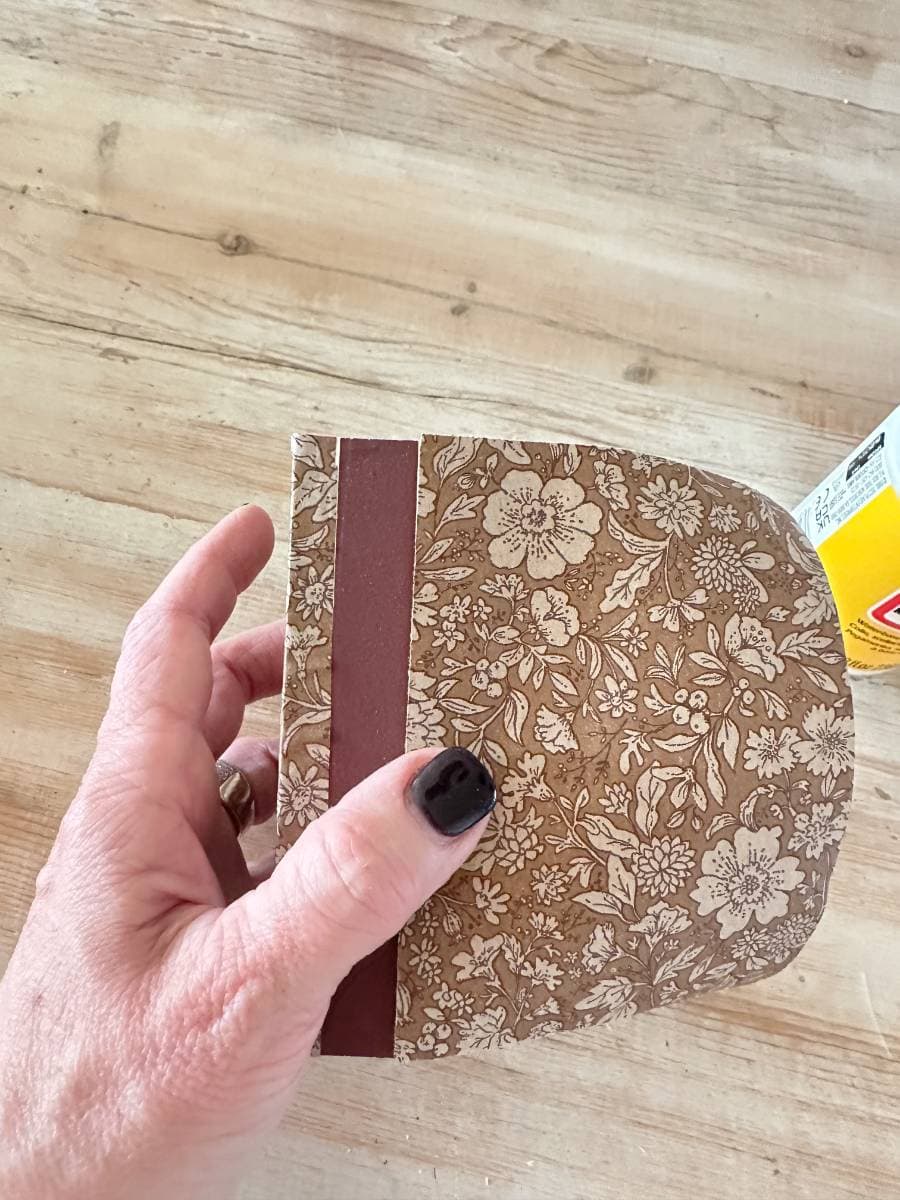
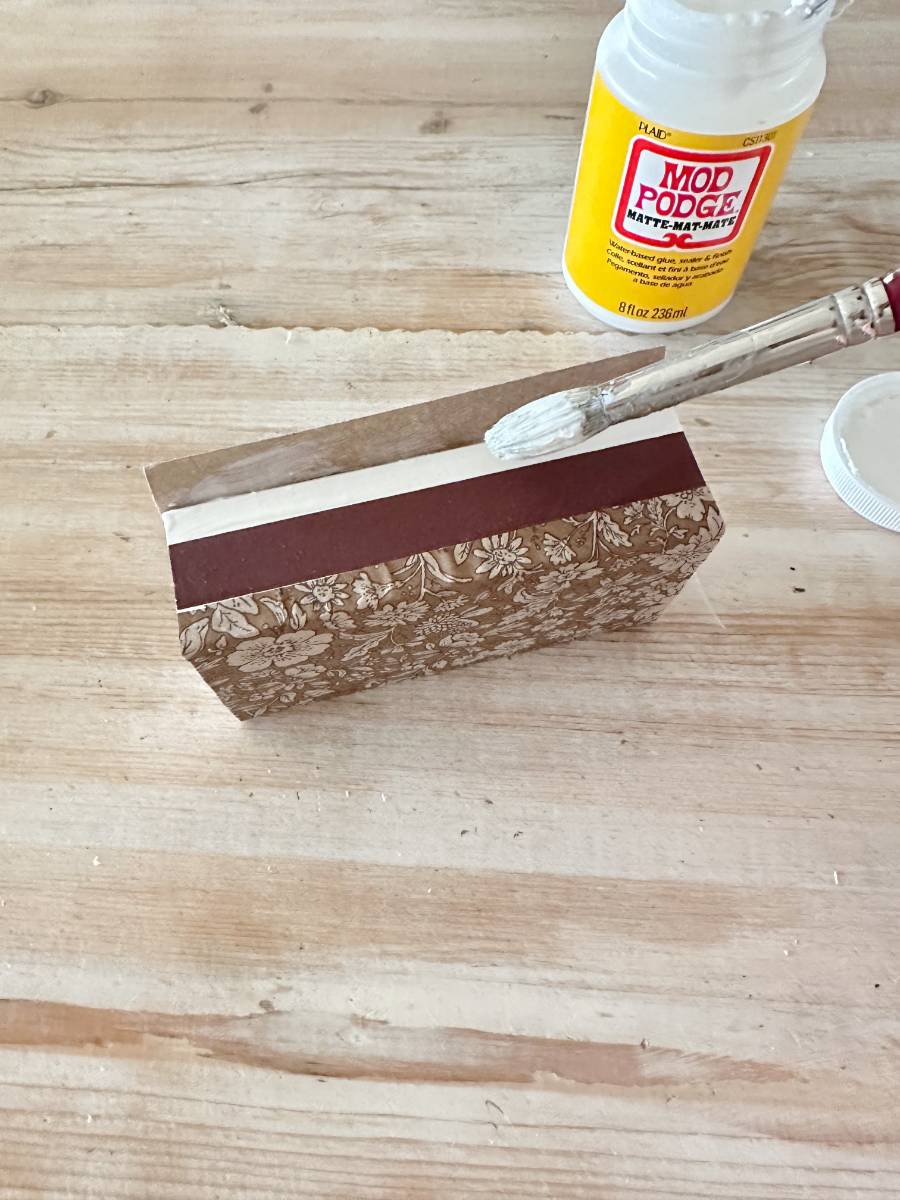
Now apply mod podge the same way on the other side of the match box.
The mod podge will dry in a few minutes and your decorative matchbox will be complete.
Tip:
It is a good idea to cover your work surface before using the mod podge.
Also, this is a great project for making a lot at one time. Cut all of your pieces of paper before you start the project and you can make a lot of them in a short time.
You can also use the small boxes of matches, I just prefer the large boxes.
You can usually find the boxed matches at the grocery store, dollar store or hardware store.

diy decorative matchboxes perfect for holiday gifts
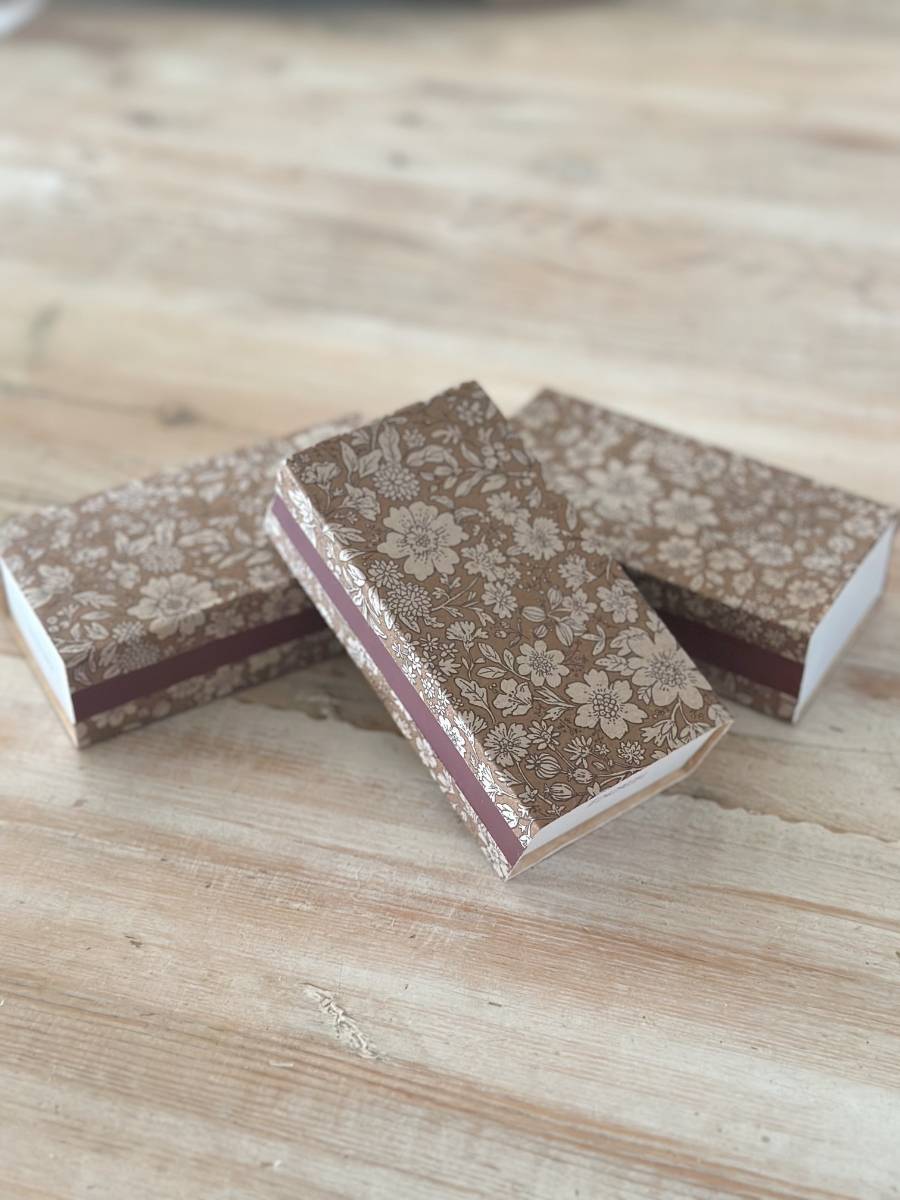
These creative decorative matchboxes would make a great gift paired with a candle.
Choosing a color and pattern of paper is a fun way to customize the gift based on the recipient.
DIY decorative match boxes would be a great gift for Mother’s Day, birthday, and Christmas.
Elevate the gift even more by adding a cute vintage saucer as a candle plate.
The great thing is it only takes a few minutes to make these cute decoupage match boxes. They are a great way to add a personal touch to your home decor.
I hope you enjoyed seeing how to make the best decoupage decorated matchboxes DIY, and try some of your own.
blessings,


If you enjoy home decor ideas, decorative DIY project and crafts as well as tablescape inspiration, be sure and join the VHD family.
If you enjoyed this post, be sure and Pin It to remember it.

shop the post
If you enjoyed this post, you might also like…
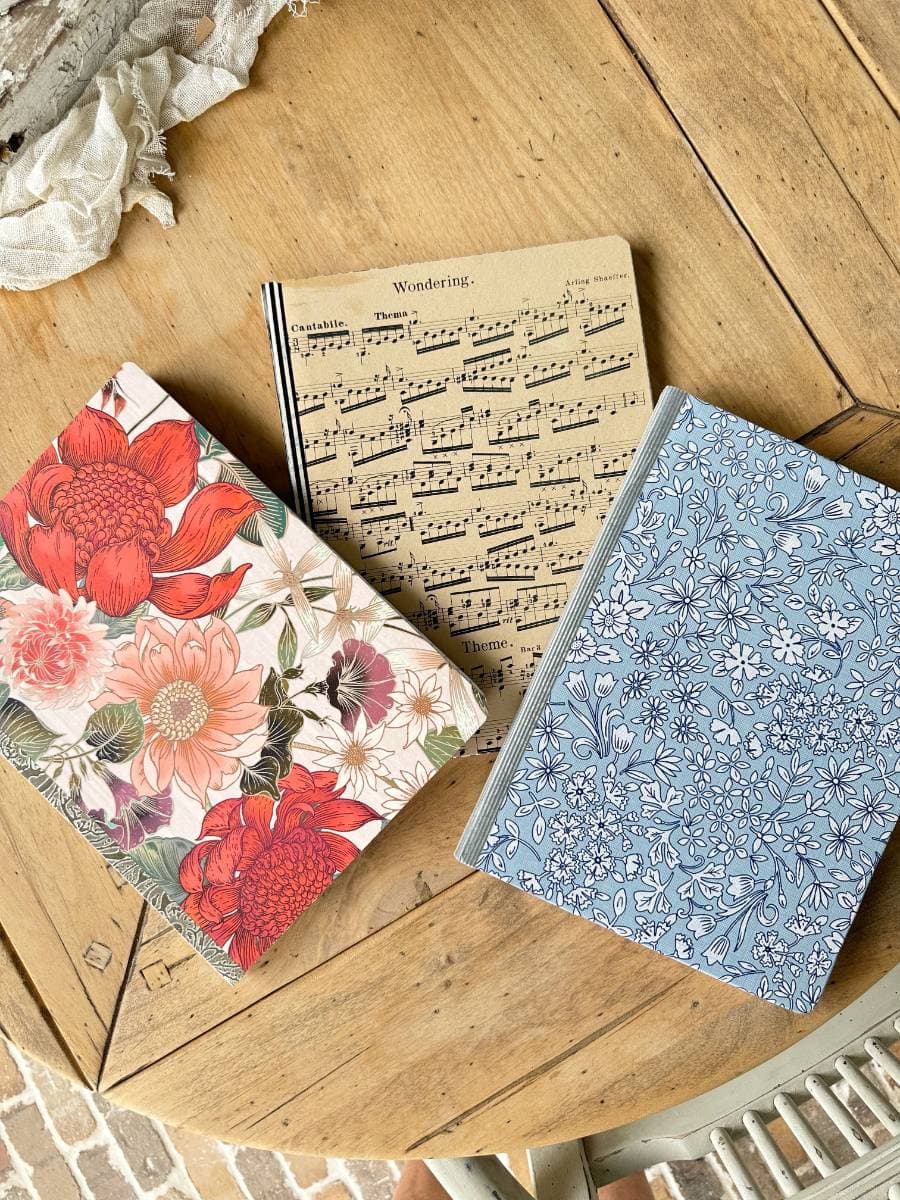
Easy DIY to Create Your Own Personalized Journal Notebook


Pure genius Michele — and full of such style. Love the idea of matching it to a vintage saucer. I’m off to the thrift store!
Oh good! So glad you liked the idea Diane.
Michele, this is so simple yet yields fabulous results. There are so many ways to make these matchboxes extra special. Thank you for sharing…so fun!
Thanks so much and I’m so glad you like the idea!
This is so adorable Michele! What a great idea!
Thanks so much Cindy! I’m so glad you like the idea. They have been really fun to make for gifts.