Easy DIY to Create Your Own Personalized Journal Notebook
I love using composition notebooks for note taking and journaling. I have an easy DIY to create your own personalized journal notebook that I want to share with you.
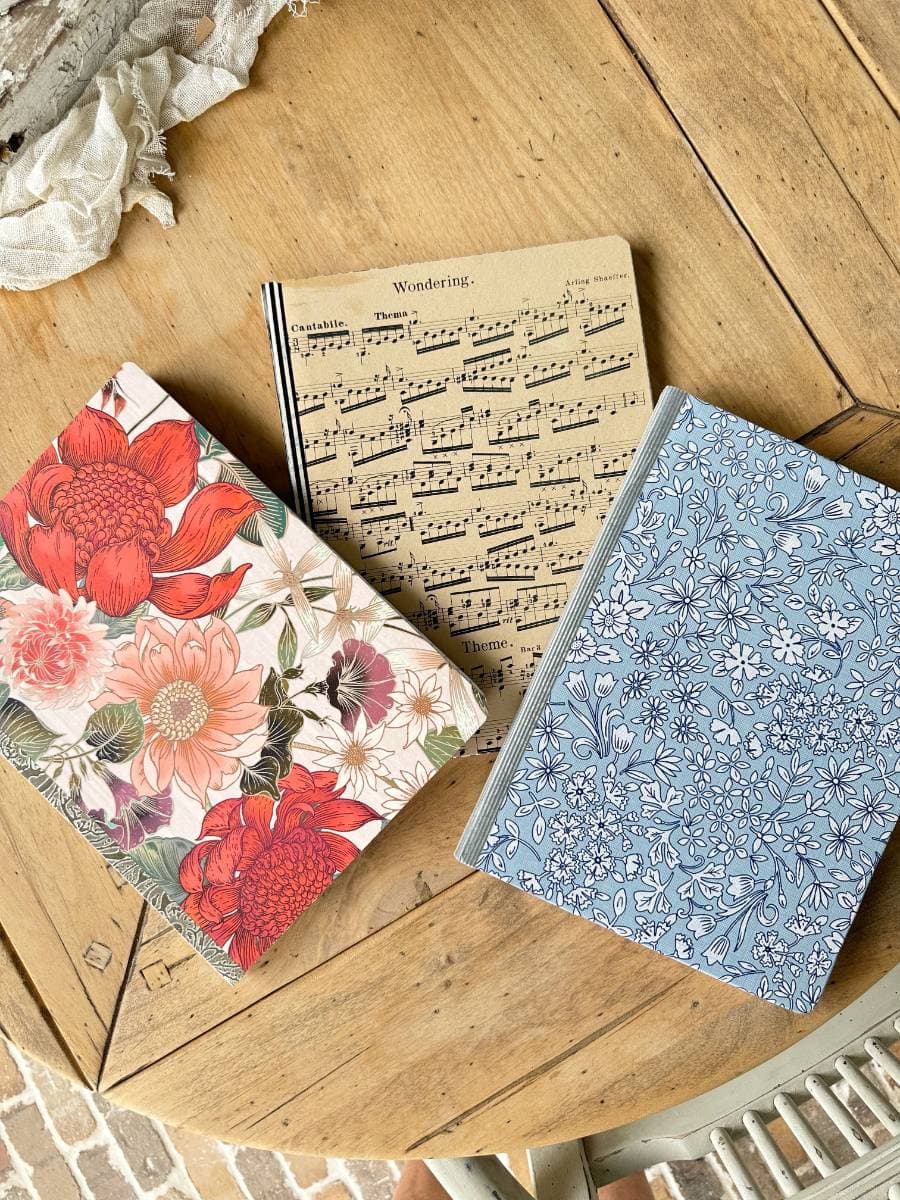
These journals are so fun to create!
They make an excellent gift and I love finding decorative papers to cover them in to really personalize them for the recipient.
This post contains affiliate links which means if you purchase something, I make a small commission at no additional cost to you. Thank you for supporting my blog. You can read my full disclosure here.
supplies for a personalized journal notebook
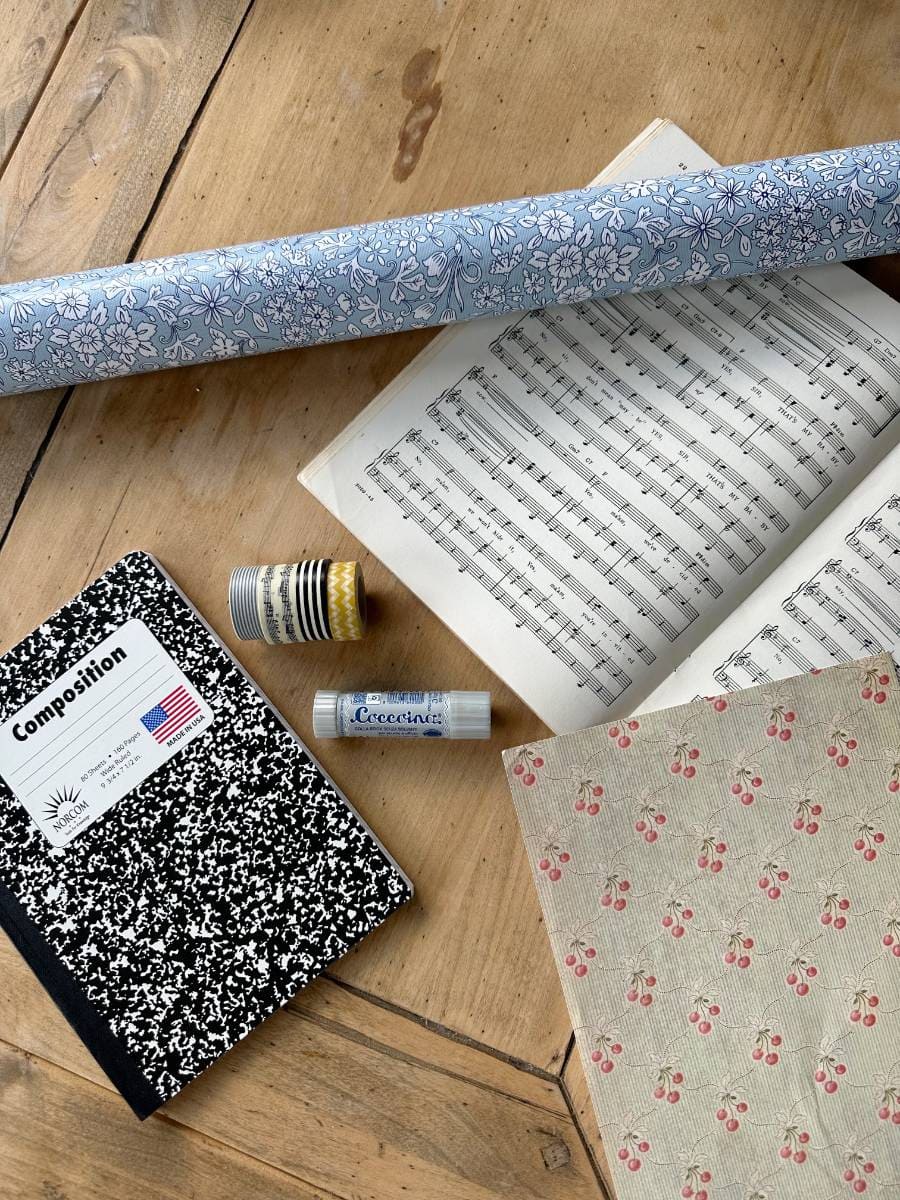
- composition notebook (these can be found at most dollar stores as well as Walmart, Target, etc.)
- glue stick (I like this Coccoina Italian Glue Stick)
- decorative papers
- washi tape
- large piece of paper for a pattern
- 1 piece of white card stock
getting started making a customized notebook
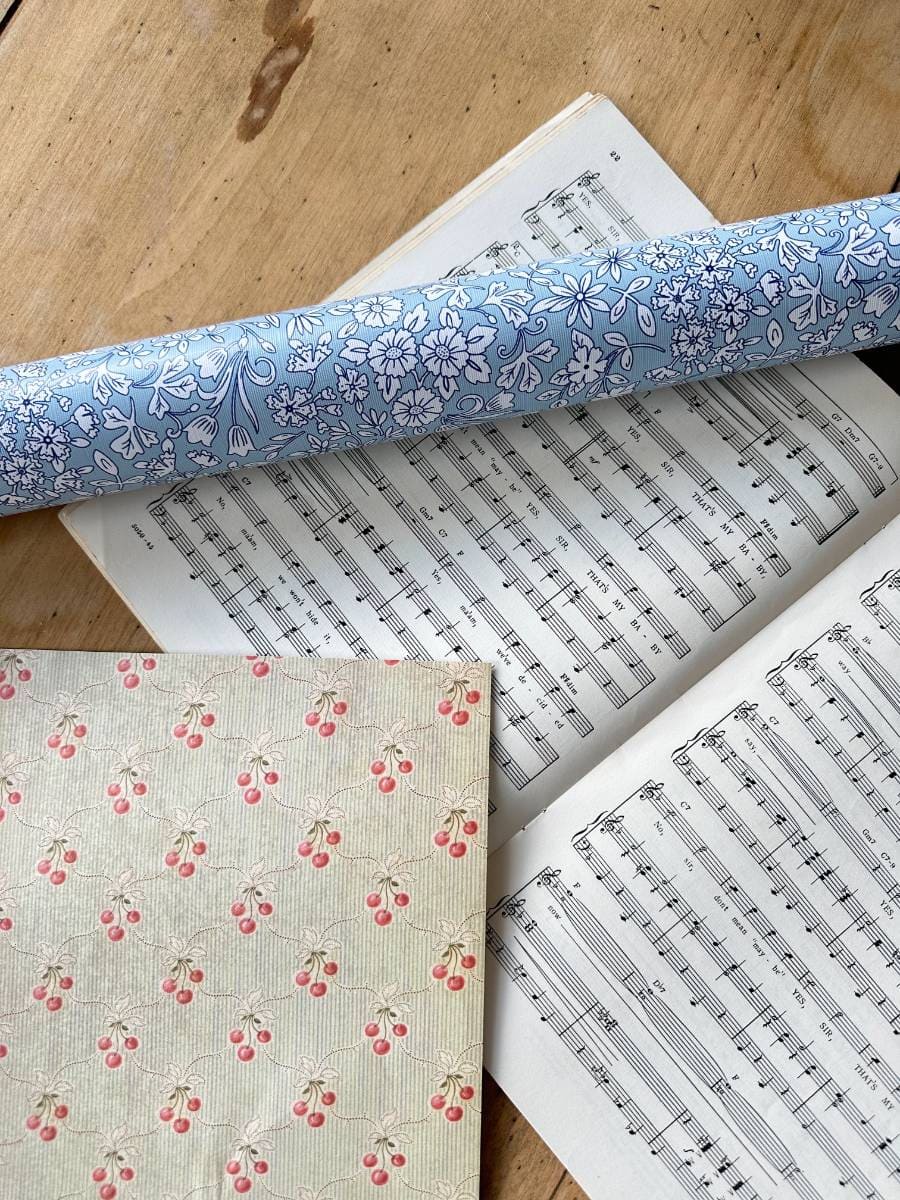
First, you will want to gather your supplies and select the decorative paper you want to use for your notebook cover.
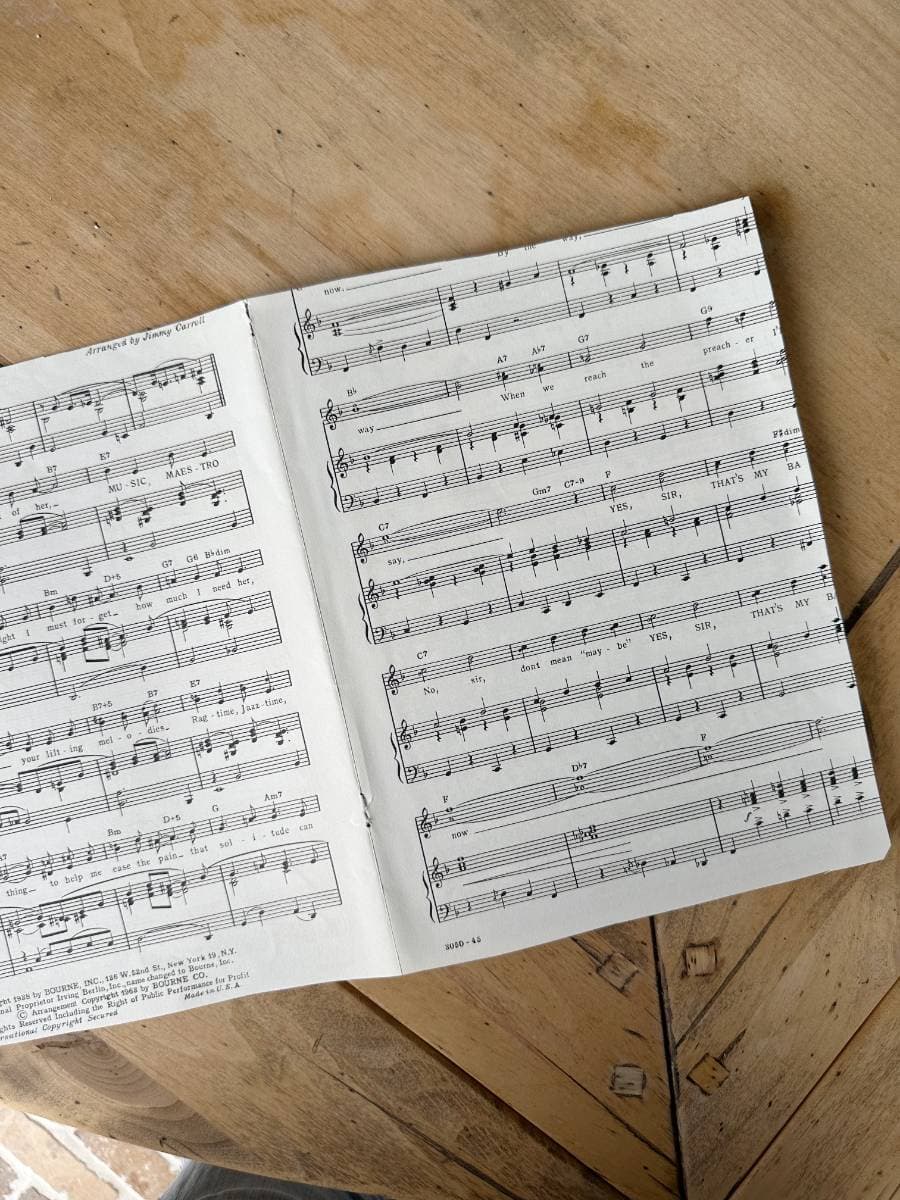
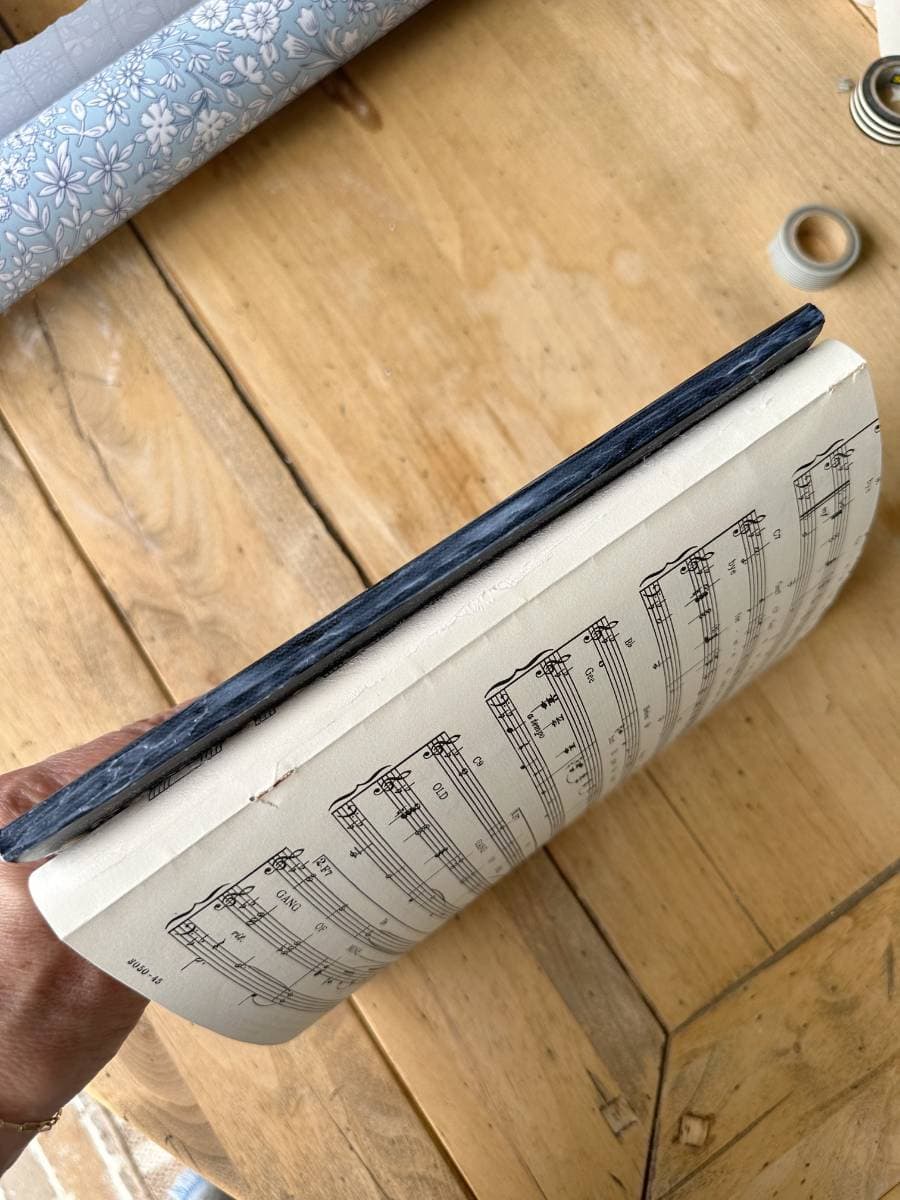
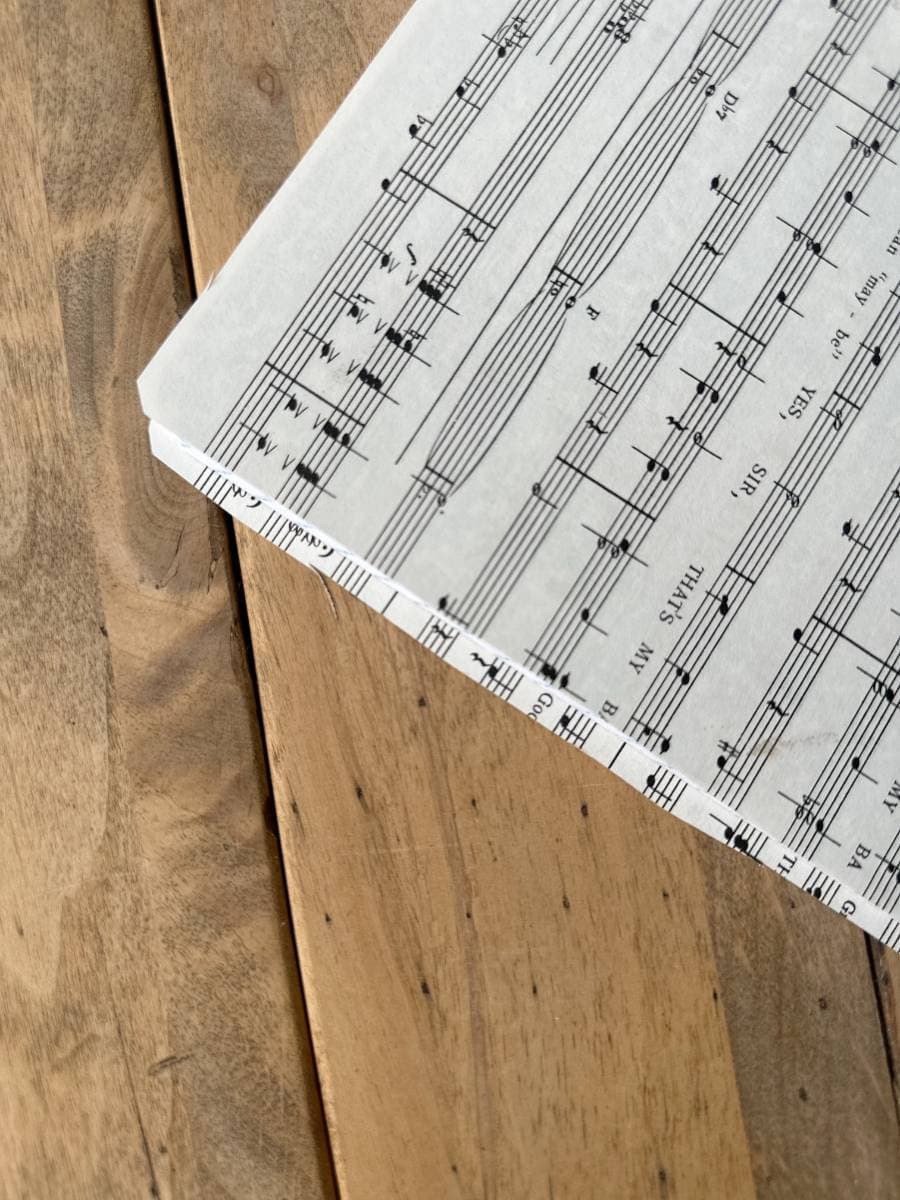
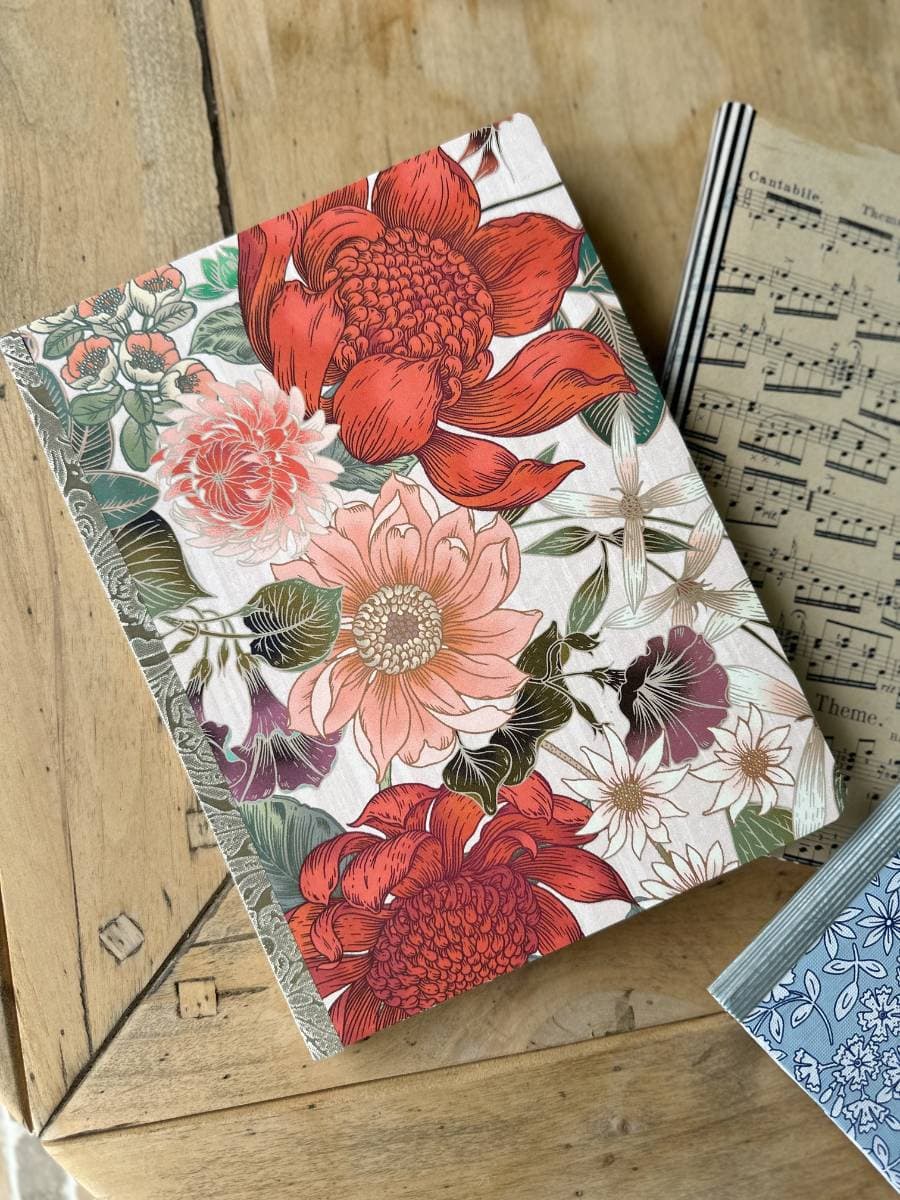
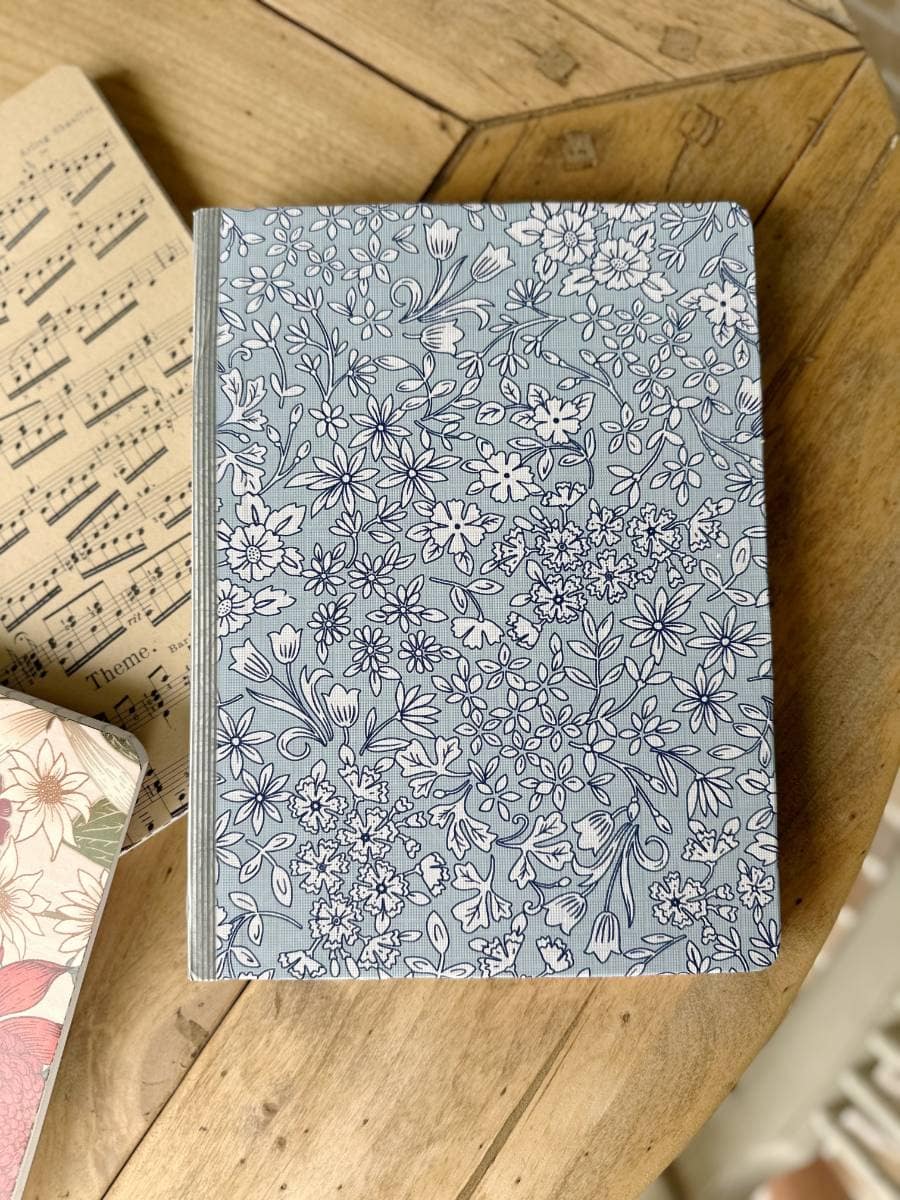
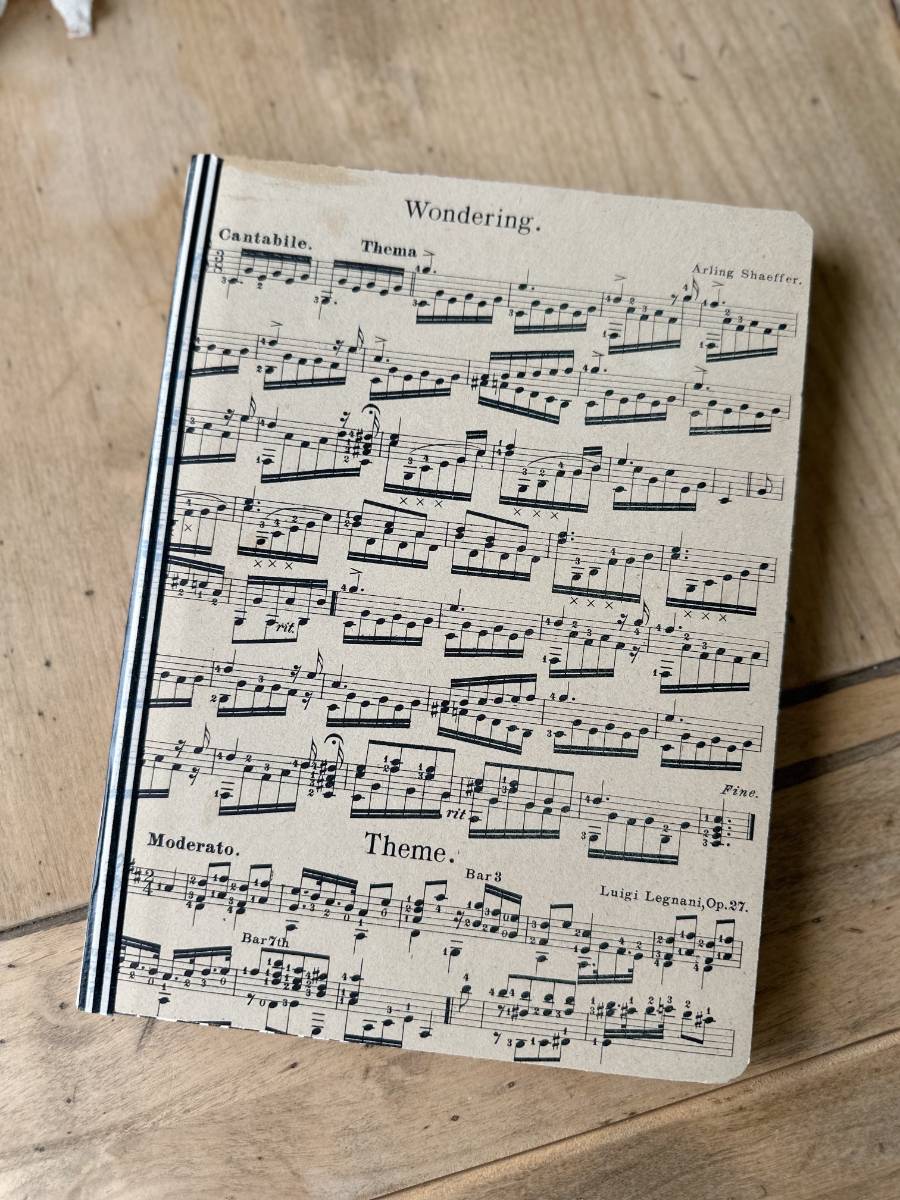
I like to use wrapping paper, sheet music pages or decorative scrapbook paper.
Use your imagination when thinking of papers to cover your composition book.
The paper just needs to be at least as large as the front cover of your notebook.
It’s really fun to customize each notebook for the person you will be giving it to.
For example, if you have a friend that likes to garden, they might use this notebook for a gardening journal.
So, a decorative paper with a garden theme would be perfect.
making a pattern for a custom notebook
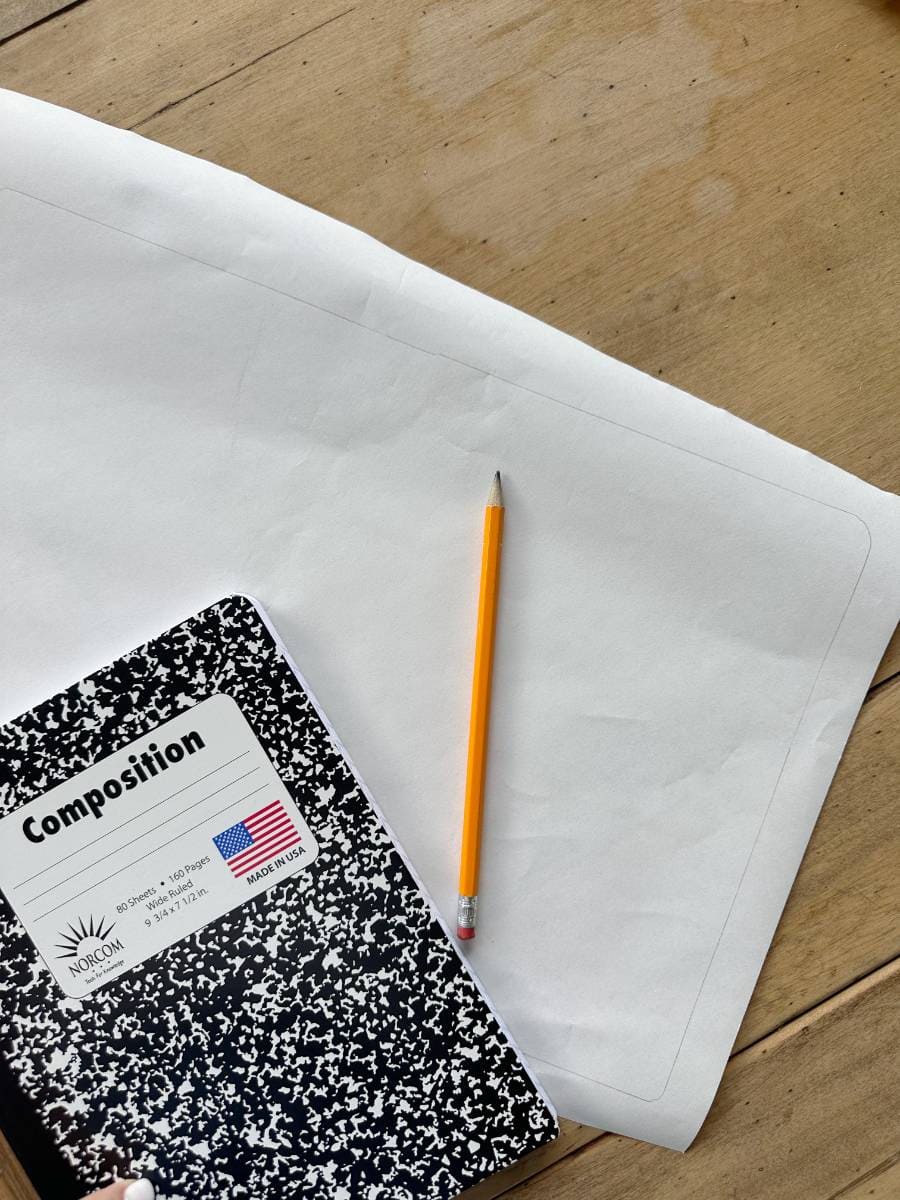
You will need to make a pattern for your journal cover.
A piece of paper the size of your journal when it is opened up and laying flat is what you need.
I typically use wrapping paper or a roll of brown kraft paper.
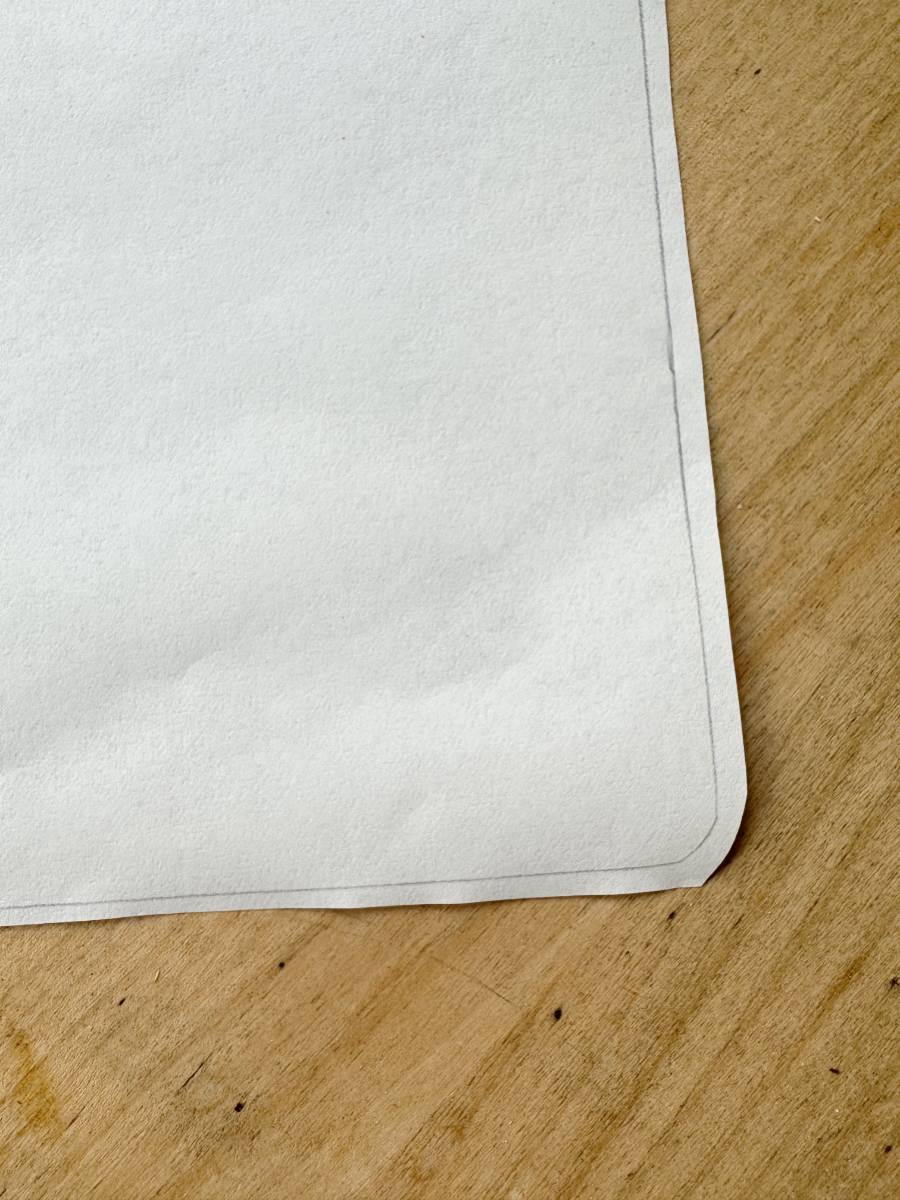
Lay your paper on a flat surface.
Open up your journal and lay on top of the paper that will be your pattern.
Using a pen or pencil, trace around the edge of your journal onto the paper.
I typically draw it a little larger, just to make sure it is large enough to completely cover the front and back cover when the journal is closed.
Next, you will cut out your pattern.
The great thing about making a pattern is you can keep it and reuse the next time you want to make a journal.
steps for making a diy notebook journal
covering your journal with 1 large piece of paper

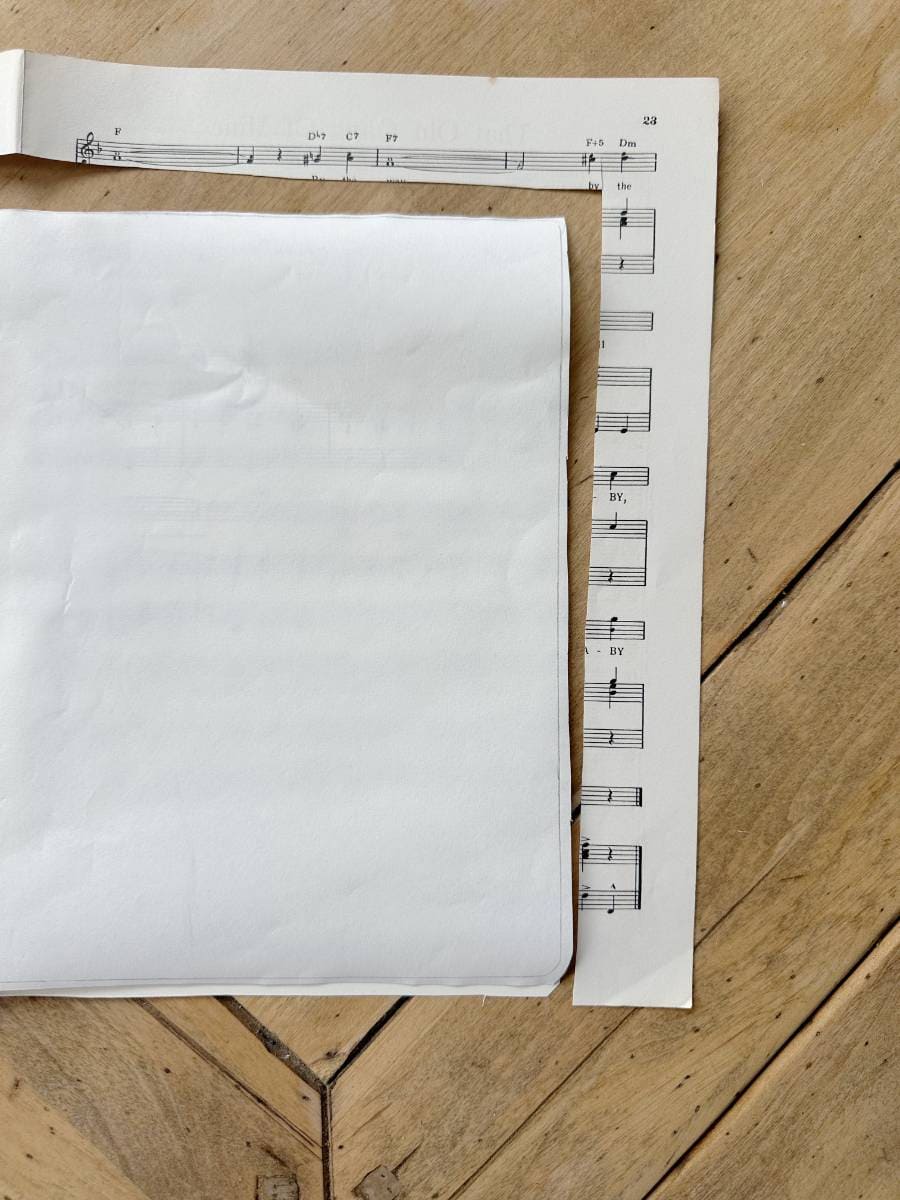
Once you have your supplies and have made your pattern, you will begin cutting out your decorative paper for the outside cover.
Lay your pattern on top of your decorative paper.
You can either trace around the pattern onto your decorative paper or just cut around it if you feel comfortable not tracing the pattern.
If you are using wrapping paper or a full page spread of sheet music, your paper will be large enough to cut one large piece that will cover the entire cover, front and back.

To attach the decorative paper to the notebook you will need to cover the entire surface of the front cover with the glue stick. You can also use a thin layer of mod podge, if you prefer.
Attach the paper to the front side, pressing down to make sure the paper adheres well and any air bubbles are out.
Then add glue to the binding and the back of the notebook.
Wrap the paper around the binding and around the back and press the paper into place on the glued surface.
covering your journal with 2 pieces of paper –
one for the front and a different one for the back
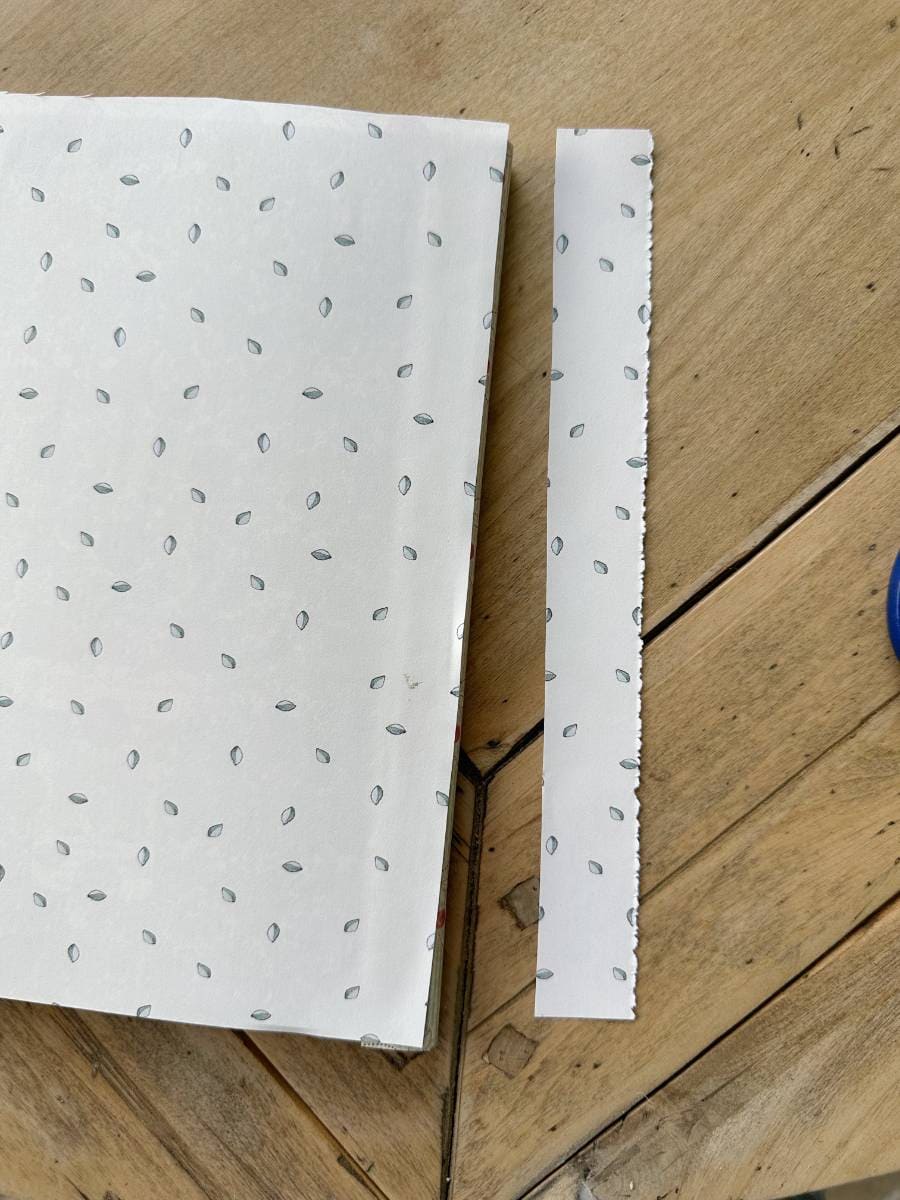
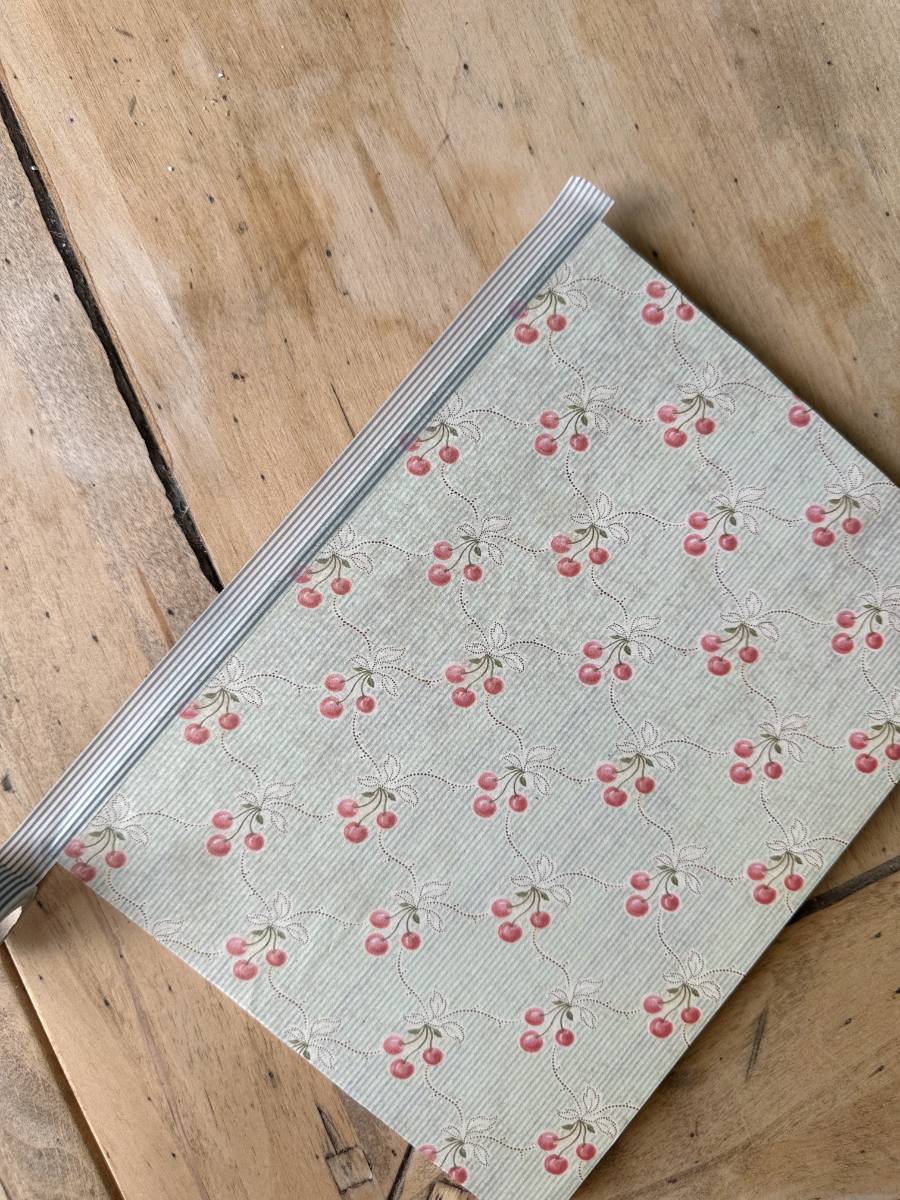
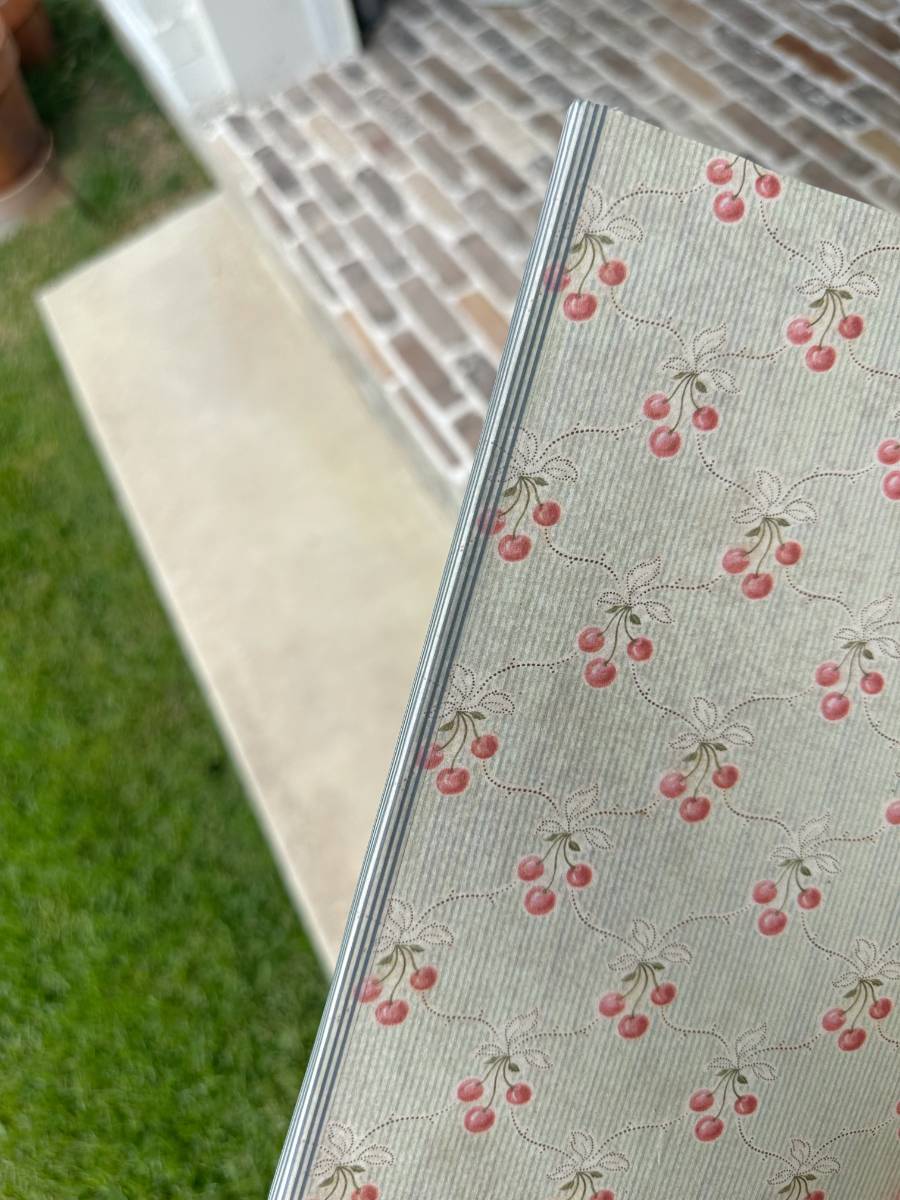
If you are using scrapbook paper or some other type of paper that isn’t large enough to cover the entire composition notebook, you can use 1 piece for the front and another for the back.
The fun thing about this, is you can use 2 different colors or patterns of paper.
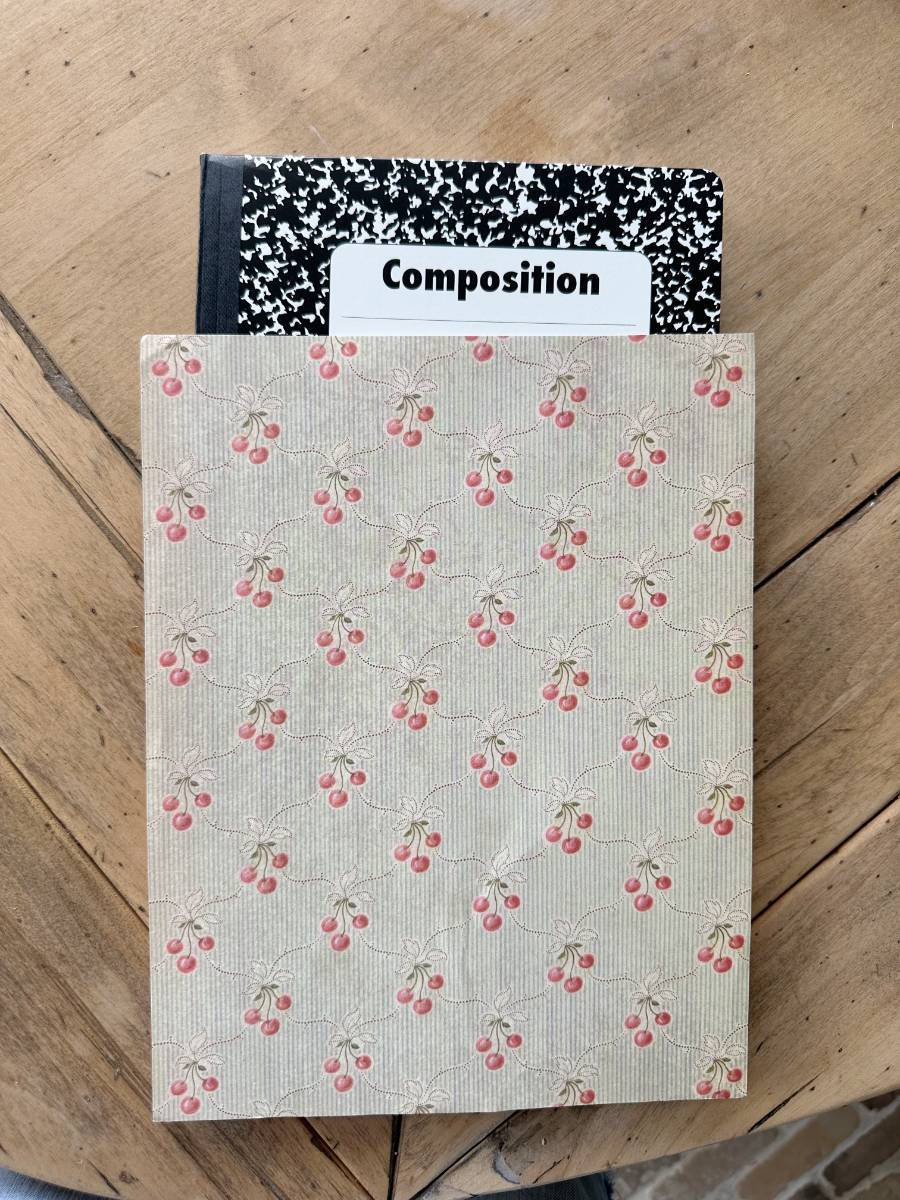
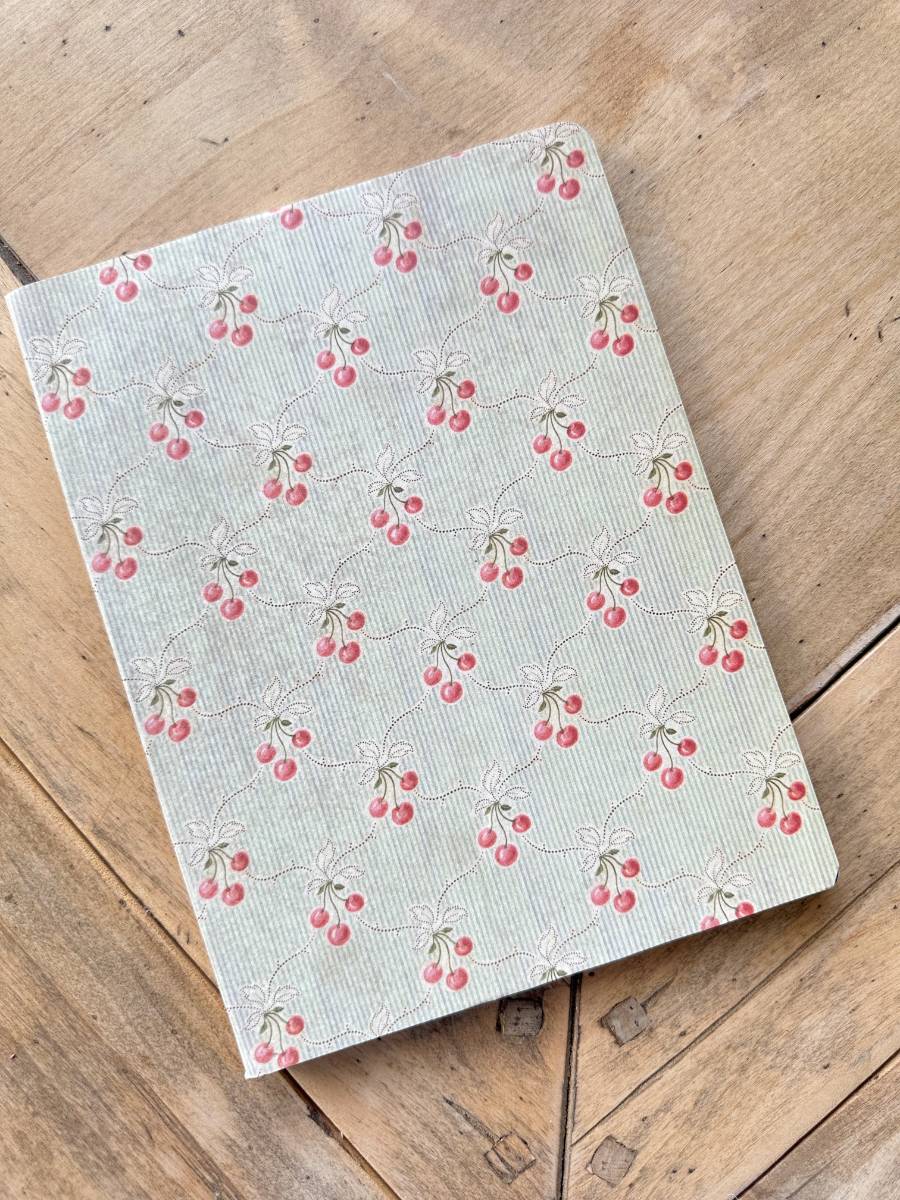
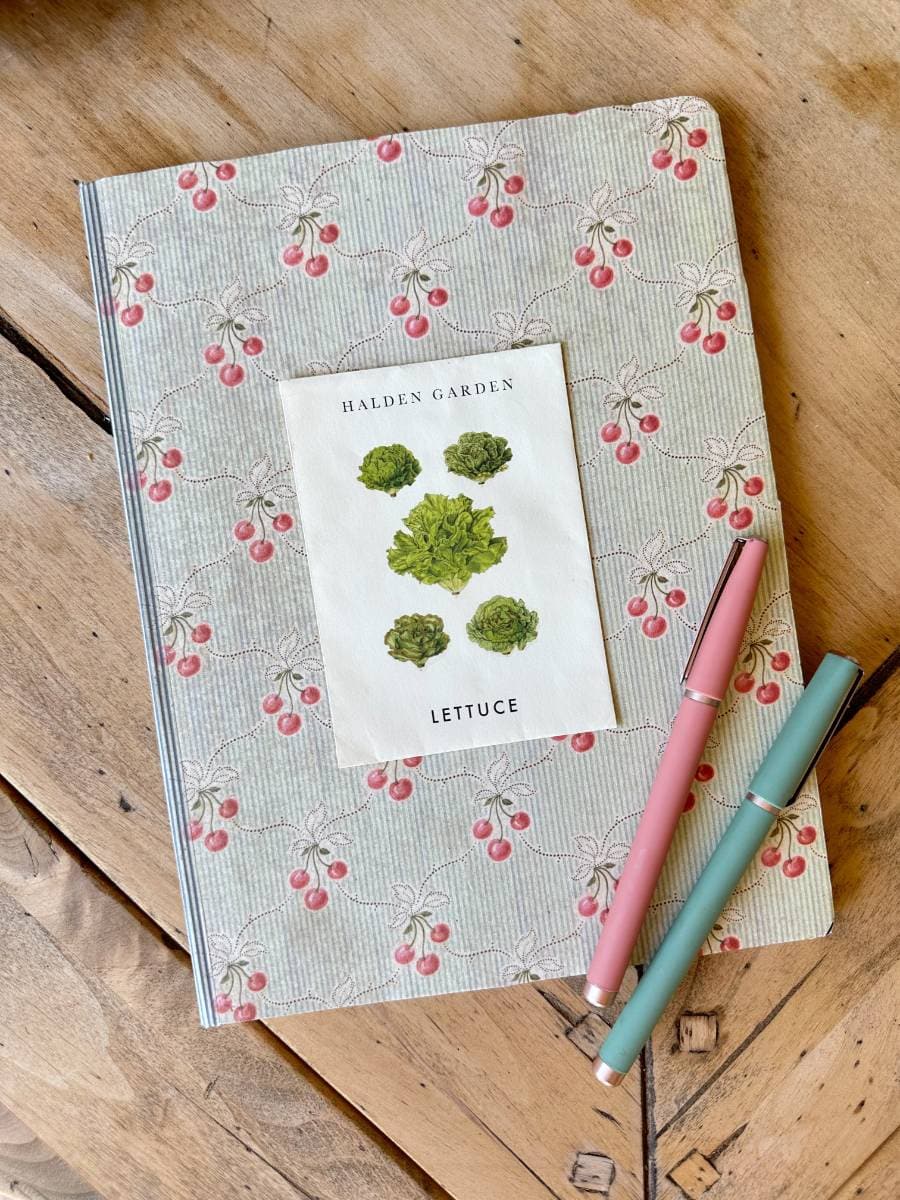
Choose 2 coordinating papers and cover the front in one pattern and the back in another pattern or color.
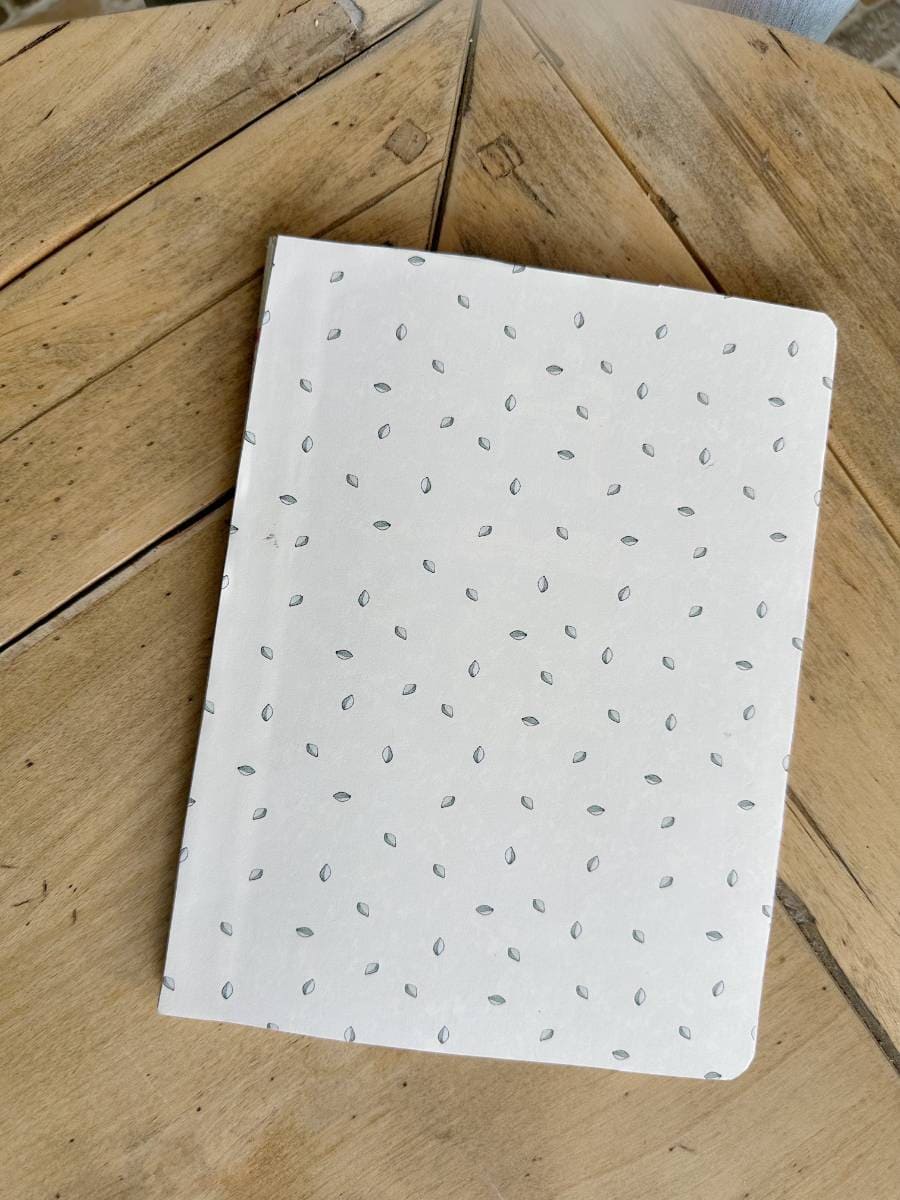
You can see in the photos above that I used a cherry print paper for the front and a tiny leaf print paper on the back of this journal.
Cover the entire surface of the front cover with the glue stick.
Attach your decorative paper pressing down to make sure it adheres all over.
Next, cover the back side of the journal with the glue stick or mod podge.
Press your decorative paper onto the back cover.
Don’t worry about covering the binding, but you want to get the front and the back pieces of paper fairly close the the binding edge.
The most important thing when covering your notebook with the glue stick is to pay close attention to the edge of the journal. Make sure you get the edges glued down really well so your paper won’t begin to peel up from the edges.
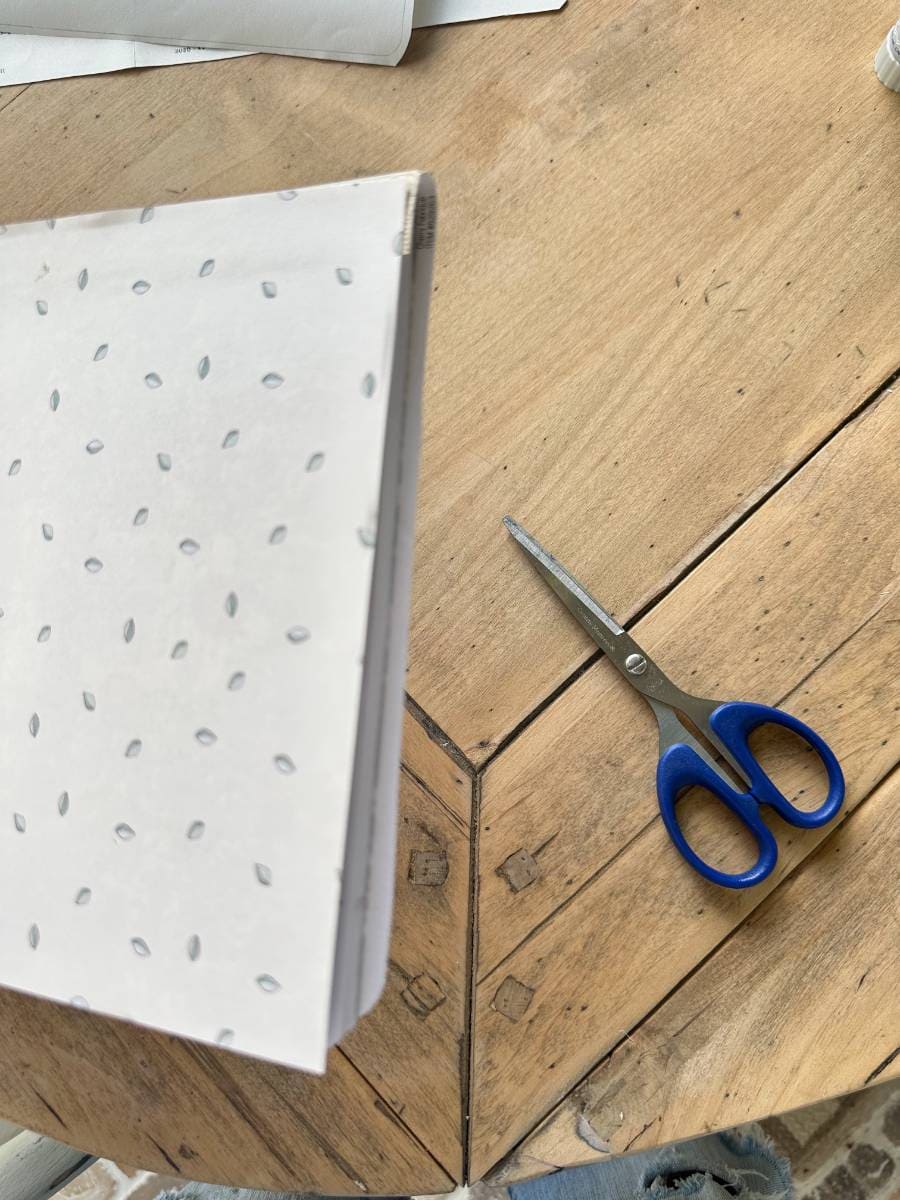
After you papers are glued in place you will want to go along the edge of the journal with a pair of scissors and trim any excess paper off all along the edge.
decorative touches for your diy journal notebooks
Next step is to finish off where the papers meet if you are using 1 paper on the front and another on the back.
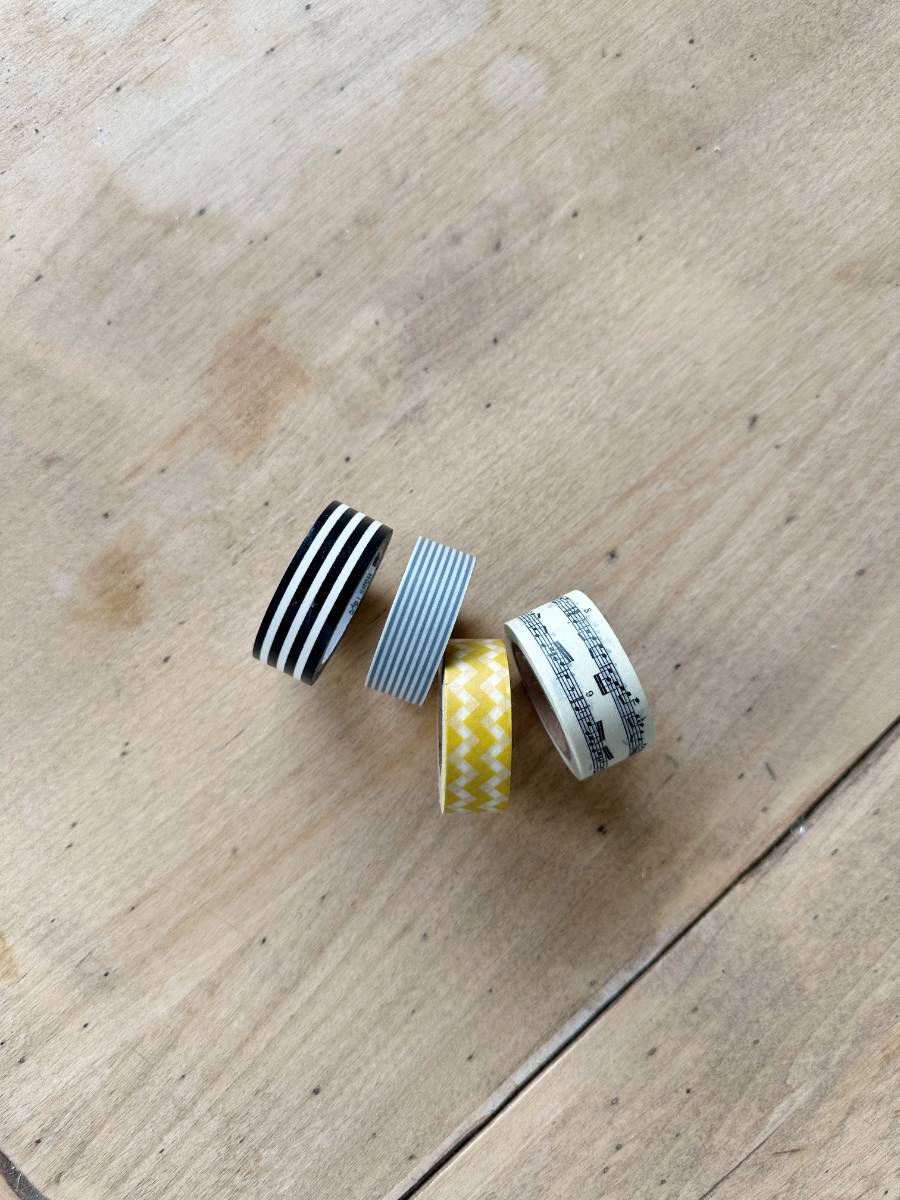
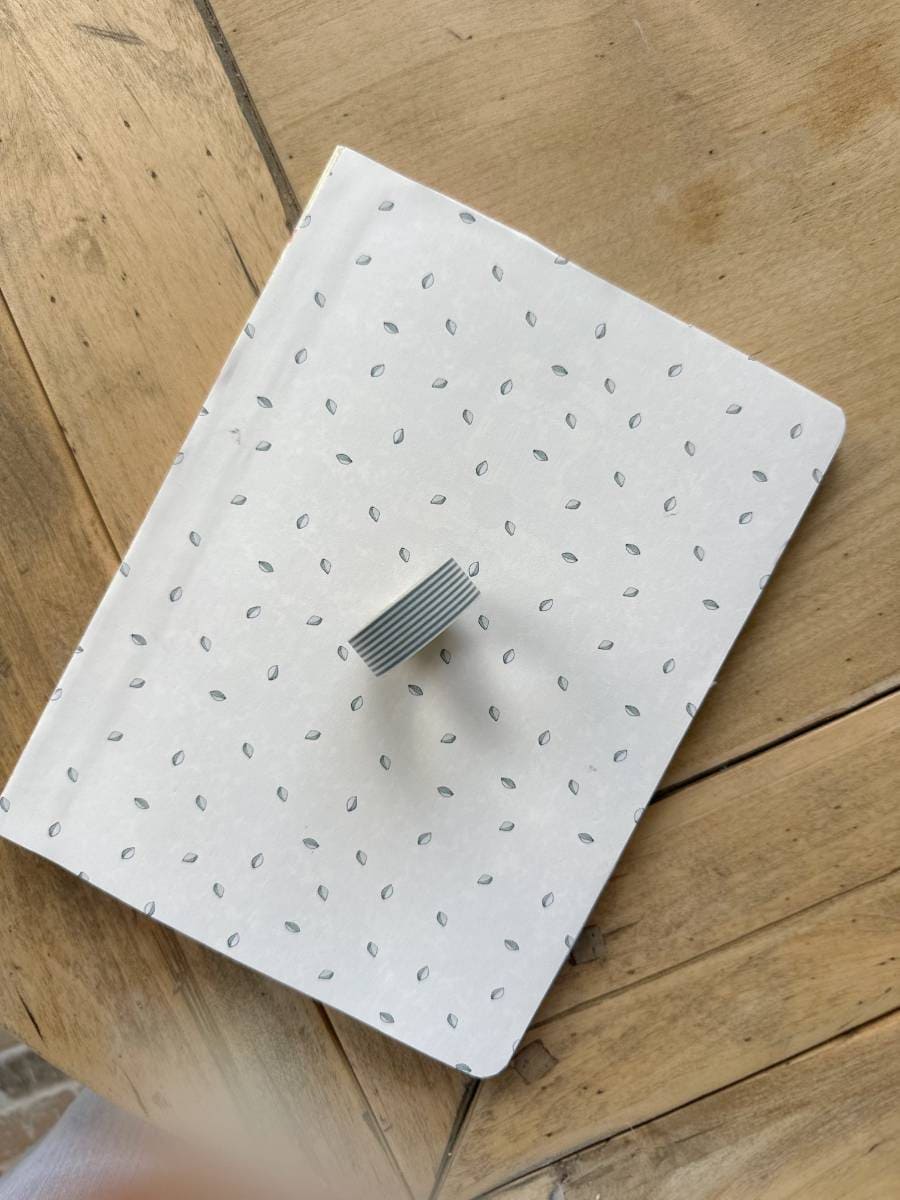
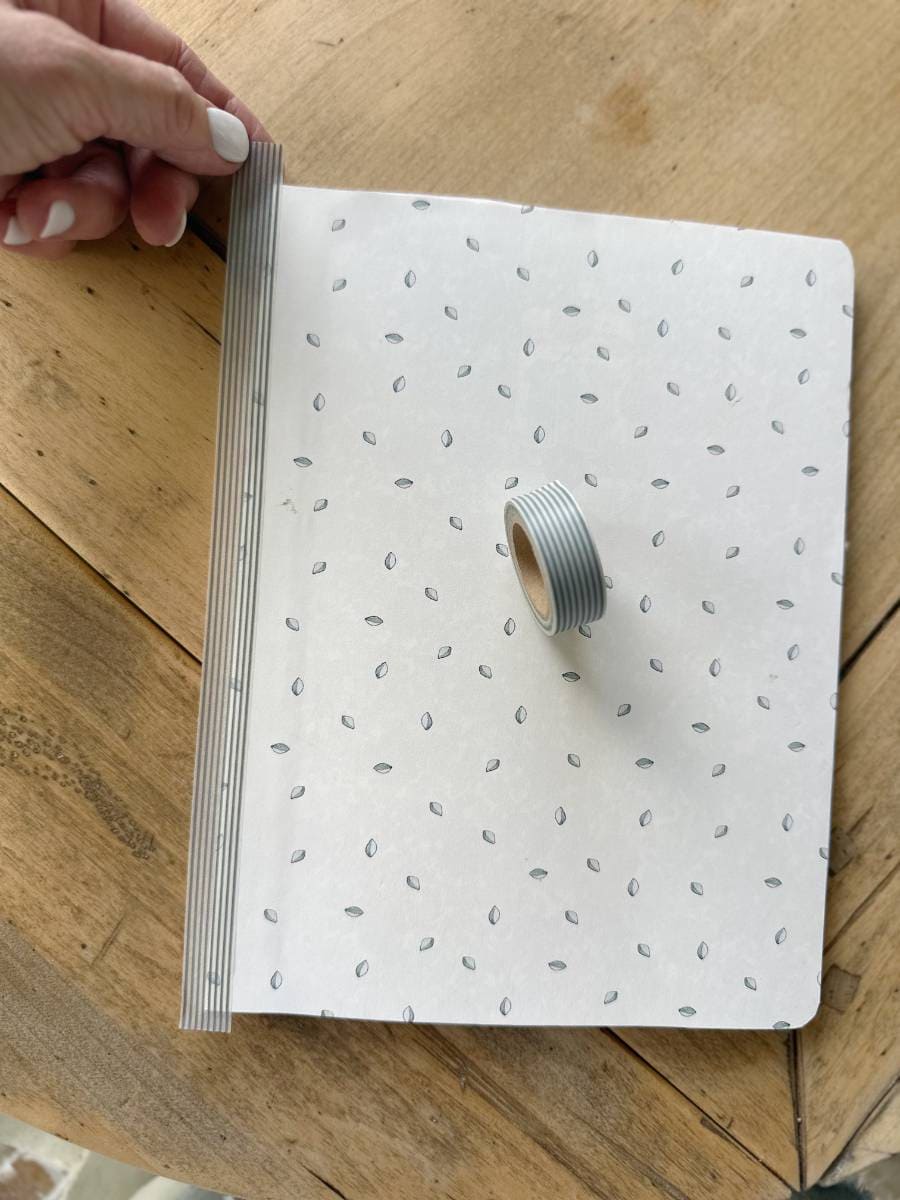
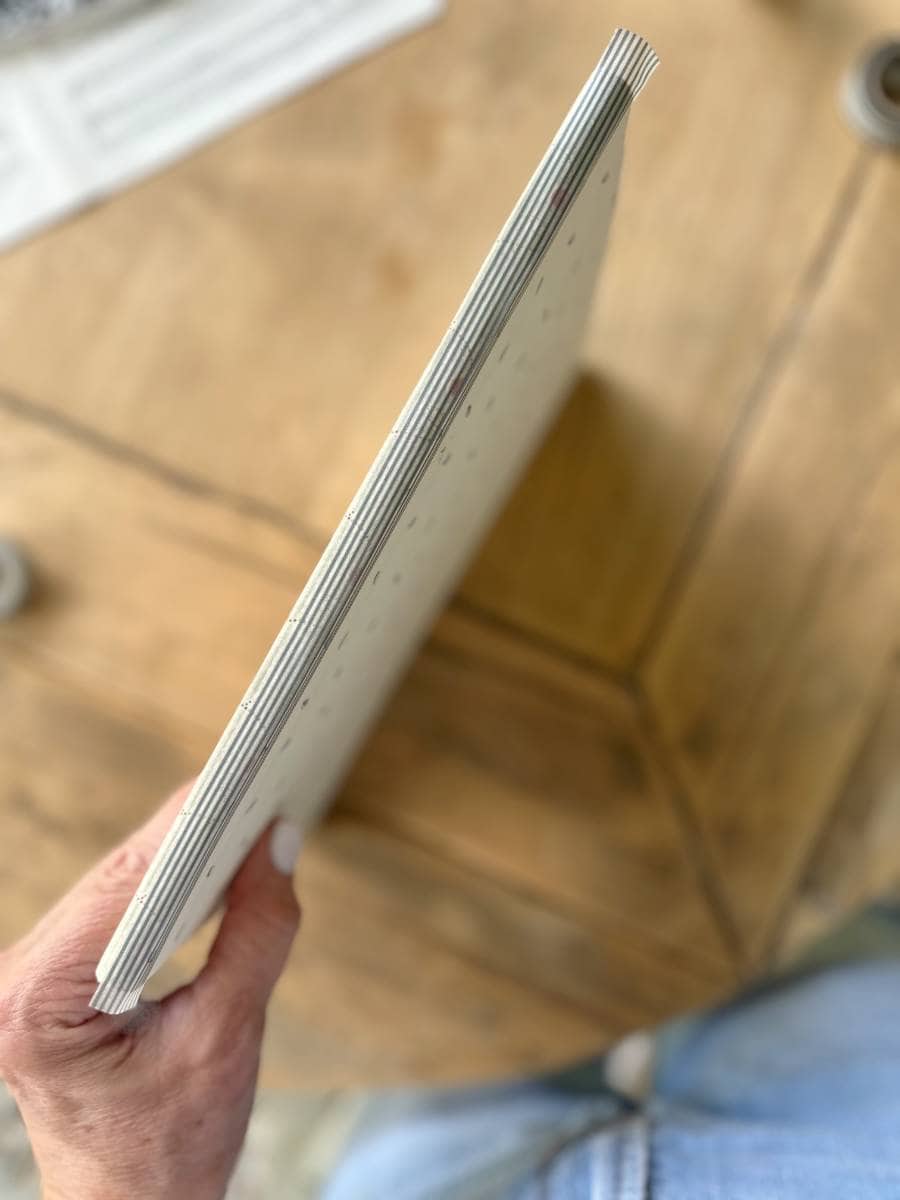
You will use your washi tape down the spine of the composition notebook for this.
If you are using a narrow washi tape, you can use 2 widths to make it wide enough to cover the binding edge and fold over the edge of the binding far enough to cover the edge of the paper.
A wider washi tape should be wide enough to only use 1 width to cover the binding area.
I also like to use the washi tape along the binding even if I am using 1 large piece of paper that covers the entire notebook.
The washi tape isn’t necessary for the sake of covering the binding since it is covered by the decorative paper. It just adds another creative element and another pattern.
There are so many different colors and patterns of washi tape. It’s so fun to look for a coordinating pattern or design to embellish the edge of your handmade journal with different pattern or color combinations.
finishing touch for your personalized journal notebook
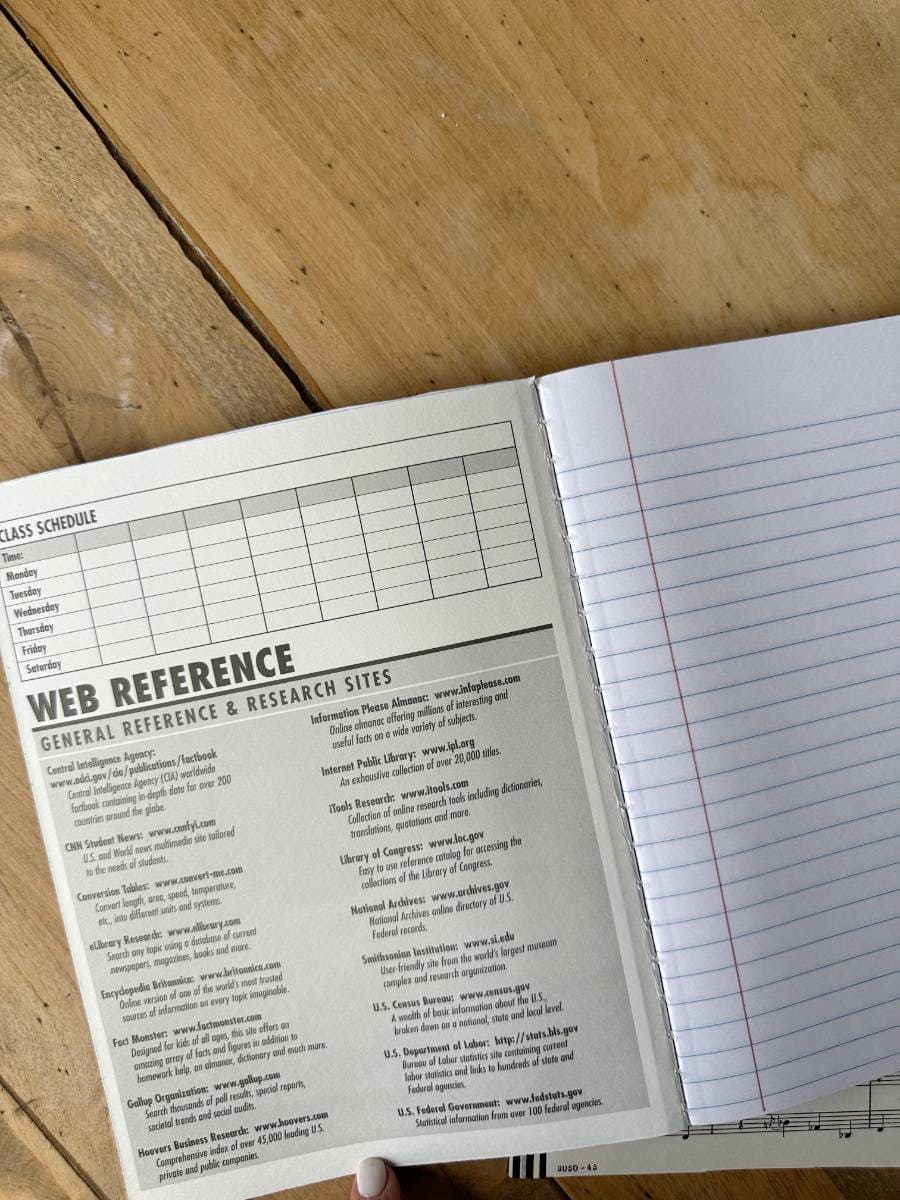
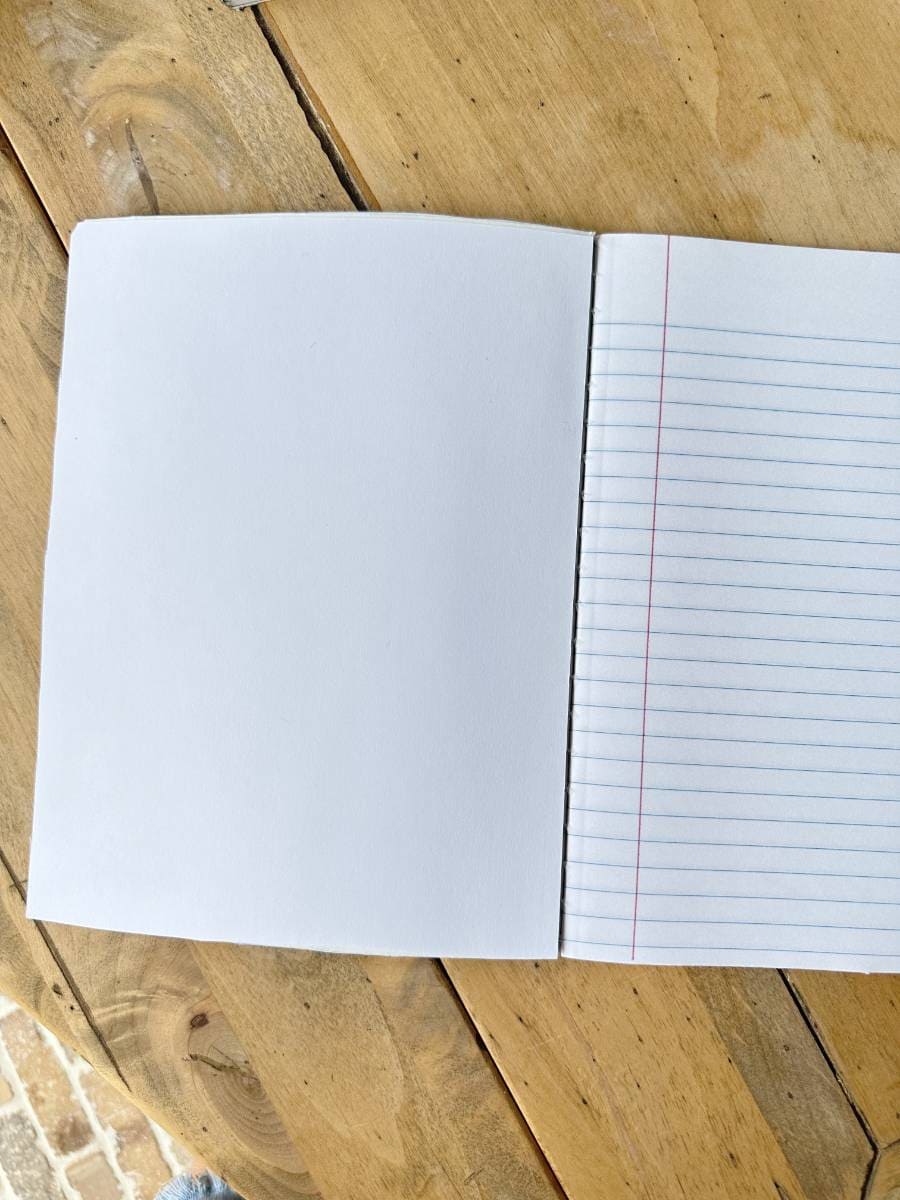
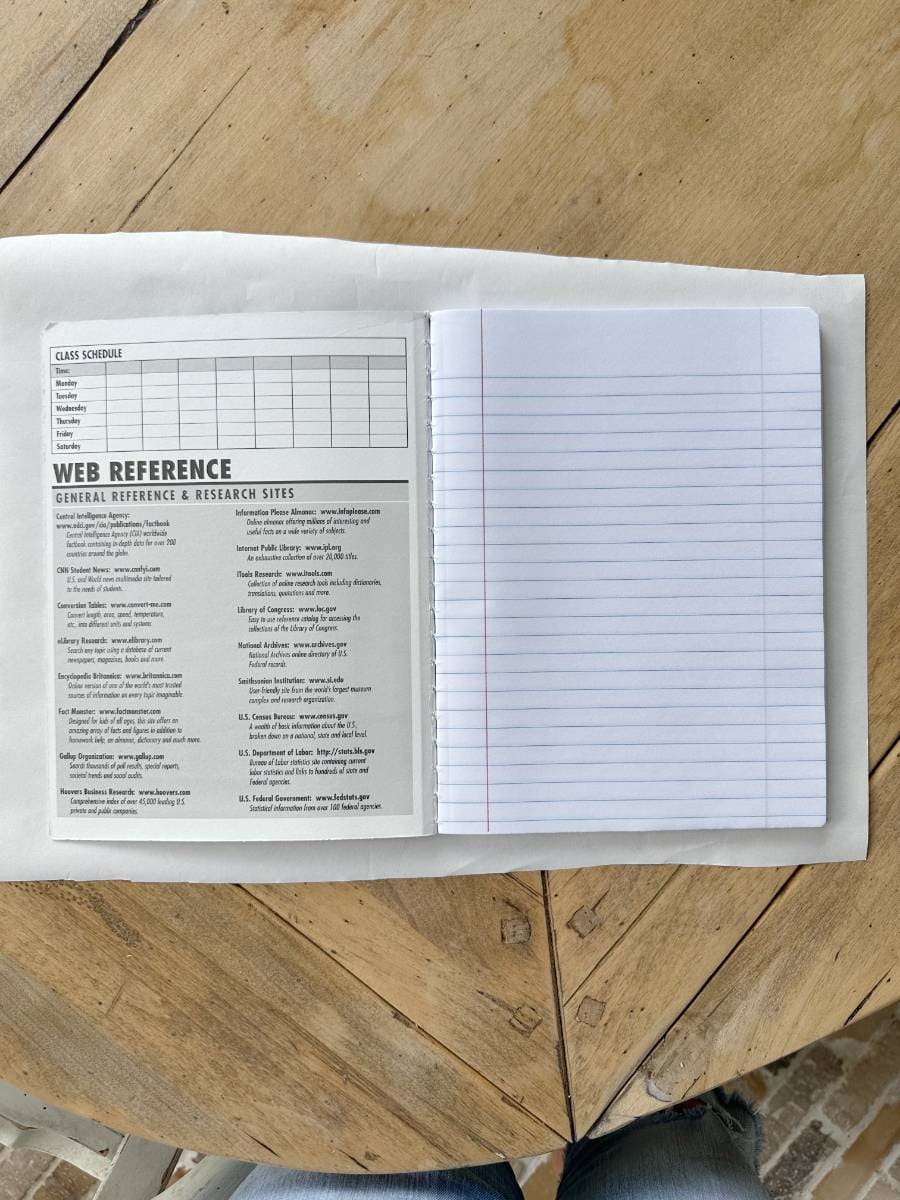
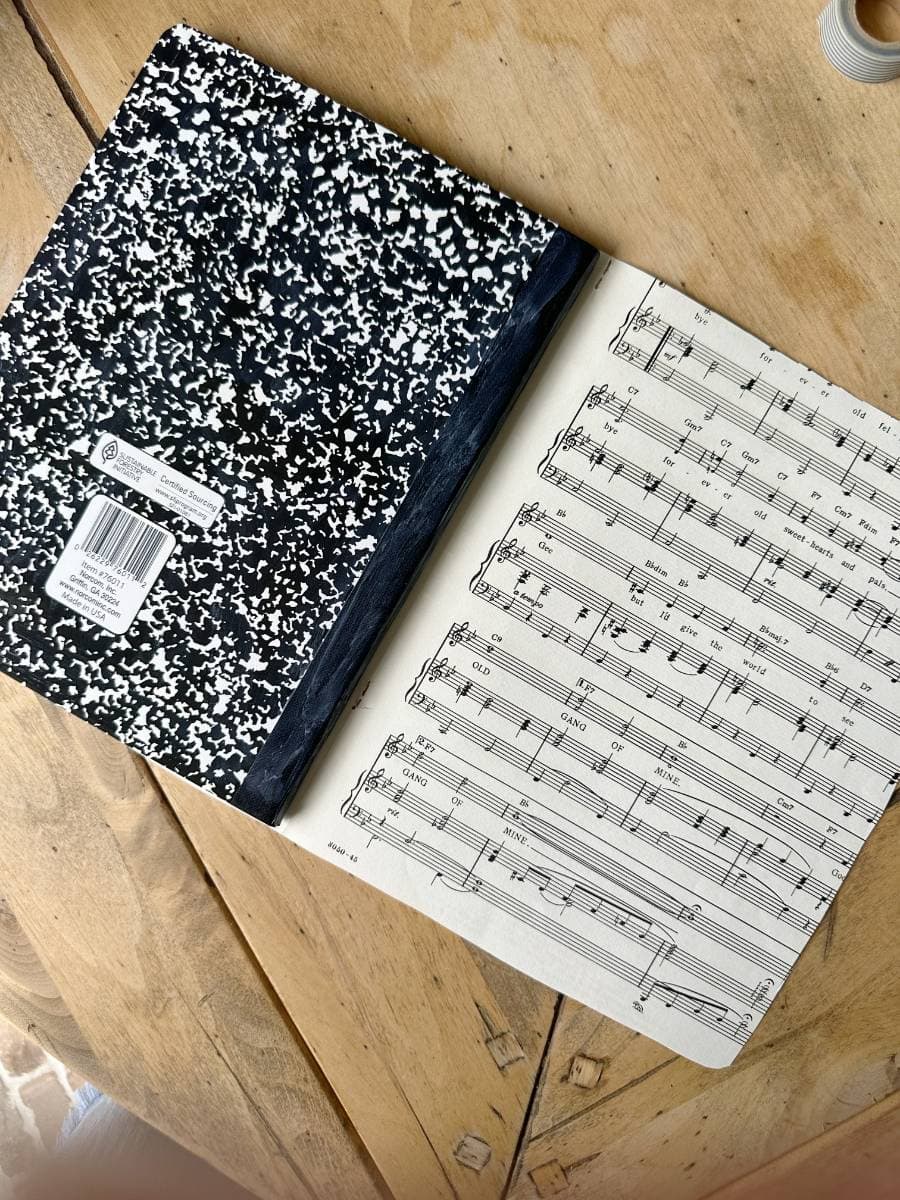
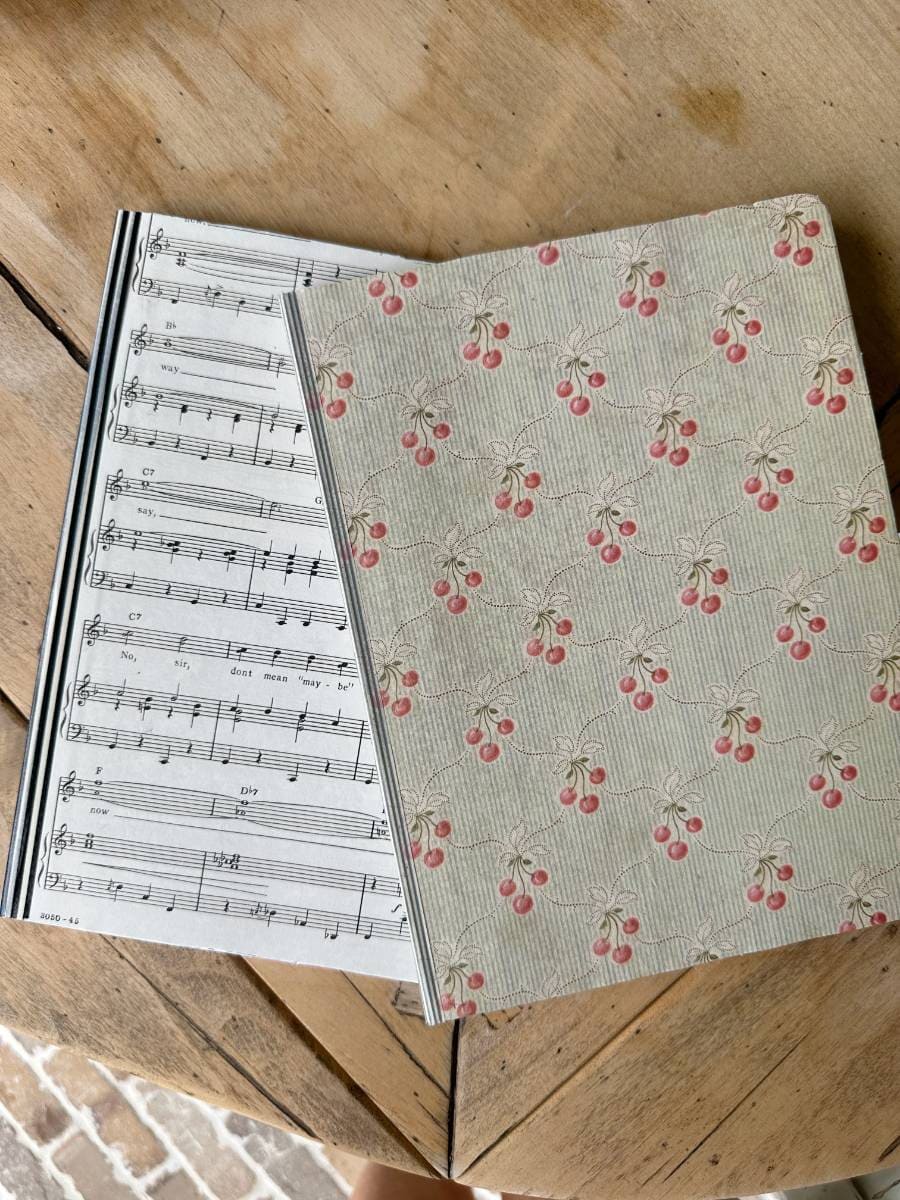
Most of the time, the inside cover of these composition notebooks isn’t very attractive.
They typically have some type of writing that takes away from the charm of your journal.
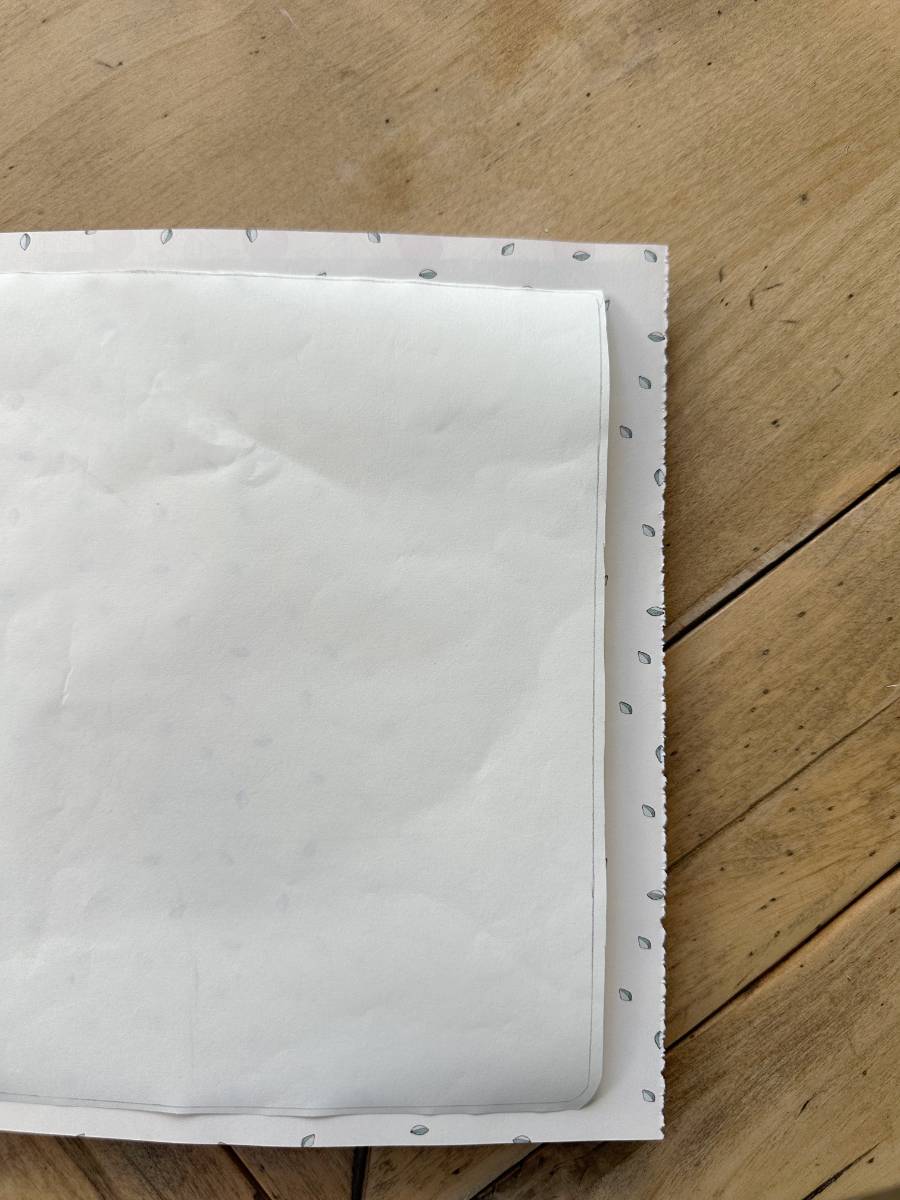
I like to cut a piece of plain white cardstock and cover this area.
You can use the same pattern you used for the outside cover, but just cut half of the pattern to cover the inside cover.
Glue the white cardstock into place the same way you attached the outside cover.
This is also another opportunity to add another patterned paper to your journal, if you prefer that instead of plain paper.
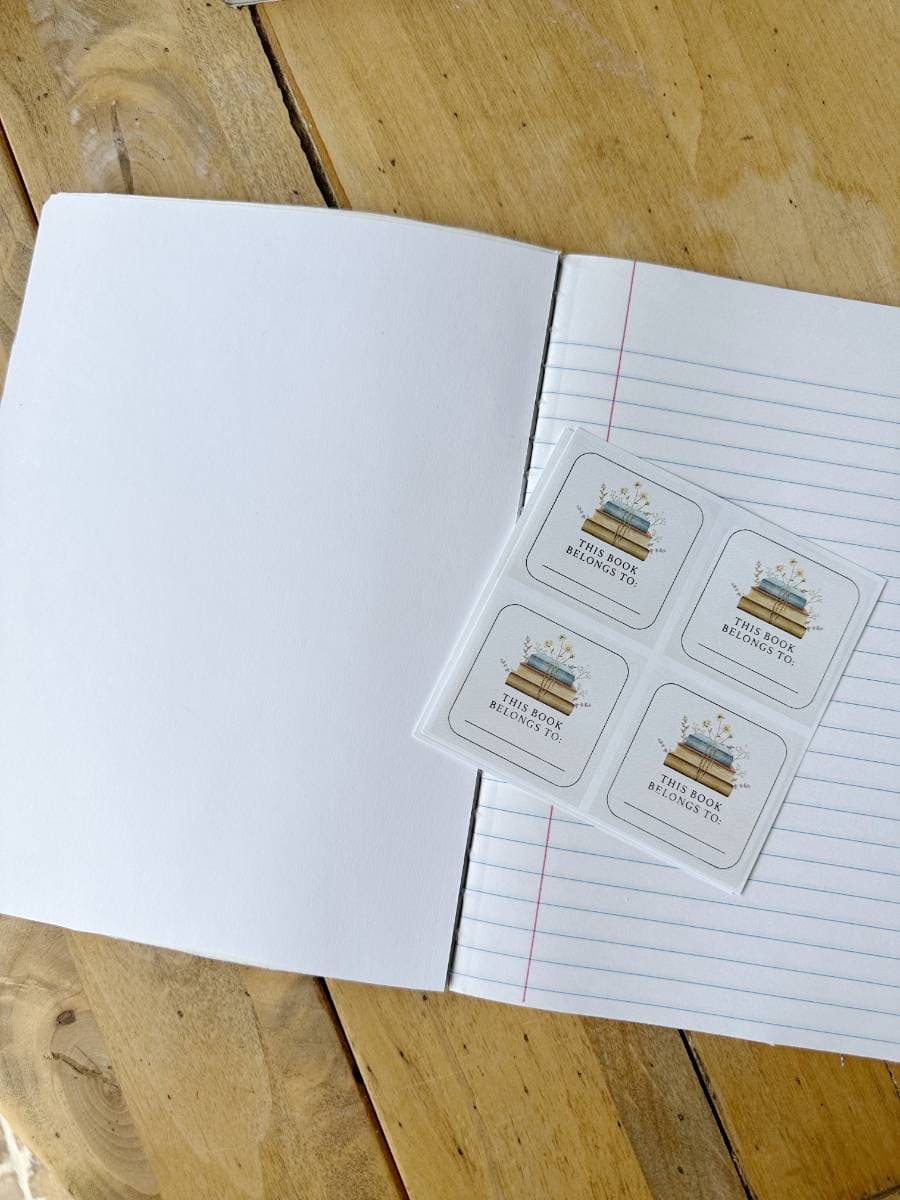
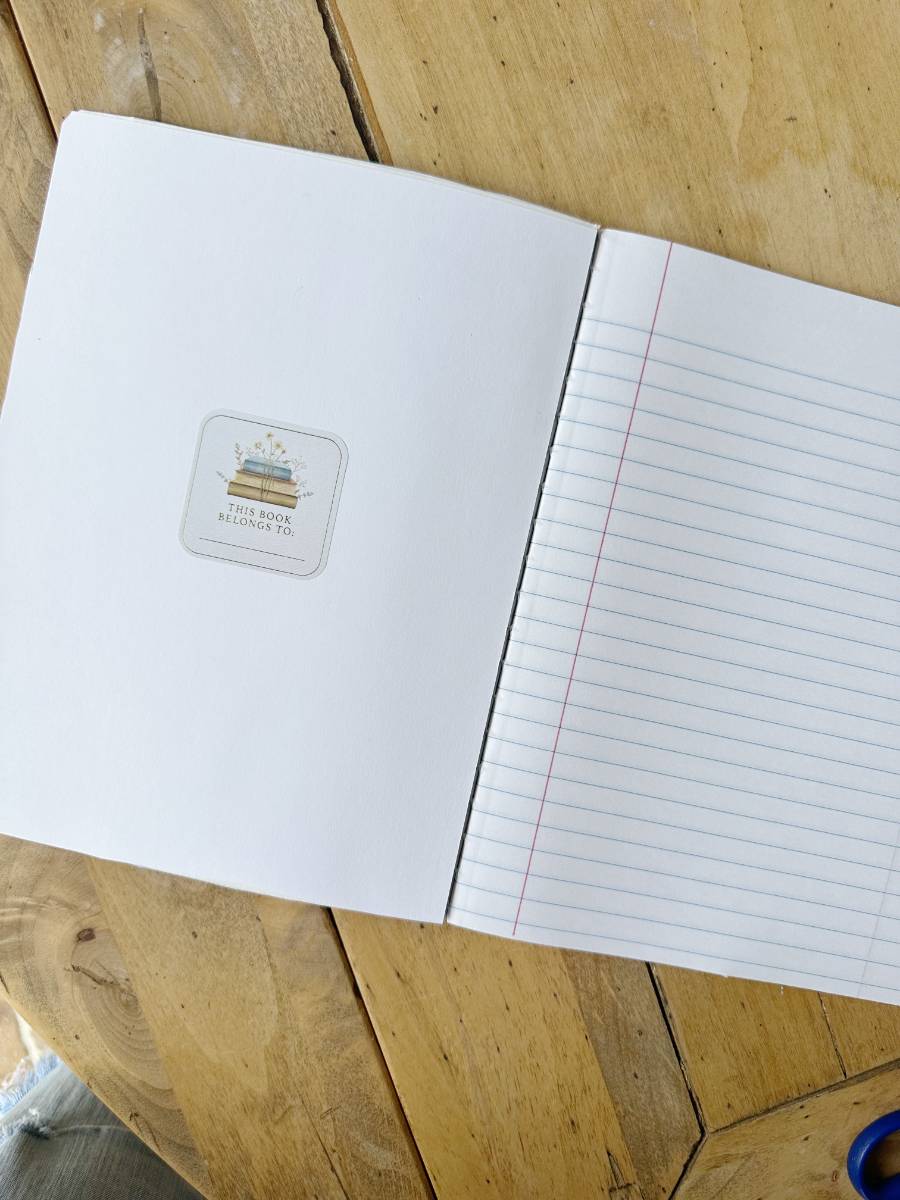
Lastly, I add a book plate sticker so the recipient can add their name to the journal notebook.
It’s also nice to add to your own notebook in case you want to add a title, if you have multiple journals.
For example, you could add the date/year, or the title of the journal like “travel journal” or “garden journal”.
gifting ideas for a DIY personalized journal notebook
These handmade journals make great gifts!
They would make a great teacher gift or gift for a friend, neighbor or family member.
Even a student going off to college would enjoy this.
They can be used for a garden journal, travel journal, personal journal, bible journal, etc.
Or, just a cute notebook for jotting down notes or a to-do list.
Pair one of these customized notebooks with a cute pen, a set of colored markers or maybe a highlighter pen.
If you want to go a step further, you could add a cover design on the journal by decorating with a decal, large rubber stamp design, free printables, vintage buttons, seed packet, etc.
It’s fairly easy to make a lot of them at one time if you want to make several for gifts or an event.
I did this for a recent event and just made an assembly line and made all of them at one time.
For example, cut all of your paper covers first and glue them to your notebooks.
Then add the washi tape to each of them, and so forth.
I hope you enjoyed this easy DIY to create your own personalized journal notebook.
I would love to hear if you make one!
blessings,

If you enjoyed this post be sure and Pin It to remember it….

shop the post

Michele
What a cute idea. I need to make one of these! I plan to share your link on my DRA on Sunday.
Oh, thanks so much Rachel! They are so fun to make and I’m so glad you liked it.
Omgoodness Michele, these are the cutest journals! They would make great girlfriend gifts! I love using the one you made for us during our blogging retreat. It’s perfect for meeting notes!
I’m so glad you like it Cindy! And yes, they make such great gifts!
I love these! I am a notebook-aholic. I love your choice of papers too!
Thanks Amy! So glad you liked them. They make such a fun and easy gift.
Hi Michele – I am a washi tape addict. What a great idea to use it on the spine of the composition book! Love this idea. Also – you inspired me to try it with some peel and stick wallpaper. (By the way -Dollar Store has some cute peel and stick wallpaper panels) Thanks for the inspiration.
Oh, that’s a great idea Anna!! I have actually bought some of the Dollar Store peel and stick wallpaper for another project, but didn’t think about it for this.